Swirls have a way of sneaking up on you. One minute you are scrolling past them, convinced that simple milky nails are your forever look. The next minute you catch a glimpse of a colleague’s manicure in good lighting, and something shifts. The curves feel fresh without being fussy. The colors can whisper or shout depending on your mood. That is the quiet power of swirl nail designs. They offer movement and artistry without demanding a full commitment to rhinestones or elaborate 3D sculptures. If you have ever felt stuck between plain polish and over-the-top nail art, swirls might be the bridge you did not know you needed.
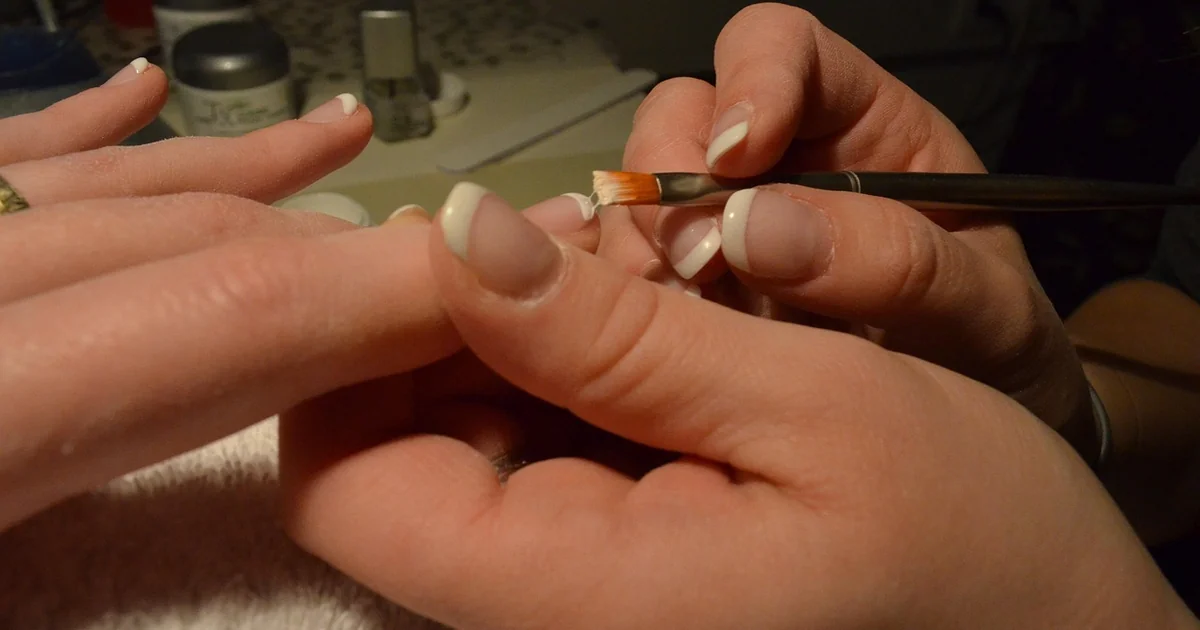
What Makes Swirl Nail Designs So Appealing This Season
Part of the magic lies in their flexibility. A swirl can be thin and delicate, almost like a ribbon painted onto the nail. It can be bold and chunky, covering the entire surface in hypnotic patterns. Unlike strict geometric lines, swirls forgive small mistakes. A slight wobble in the curve looks intentional, even charming. This forgiving nature makes them an excellent choice for anyone who is new to nail art. You do not need a steady hand that belongs to a surgeon. You just need a decent brush and a little patience.
Another reason these patterns have gained traction is their ability to bridge seasons. A pastel swirl feels right for spring brunches. A neon swirl fits a beach vacation. A deep burgundy swirl with gold accents works for autumn evenings. The same technique changes its personality based on the palette you choose. That adaptability means you can master one skill and wear it all year long without getting bored.
11 Swirl Nail Designs That Earn Compliments
The following list includes options for every comfort level. Some require a salon visit. Others are achievable at home with the right tools. Each design brings something unique to the table, whether it is a pop of color, a touch of texture, or a minimalist nod to the trend.
1. Monochrome Black and White Swirls
For those who usually avoid nail art, this is the safest entry point. A crisp white base with thin black swirls feels graphic and intentional. It resembles the kind of pattern you might see on a ceramic mug or a modern art print. The contrast is sharp, so the swirls stand out clearly. You can keep the design to one accent nail per hand or cover all ten for a bolder statement. The monochrome palette also means it pairs with virtually any outfit, from a linen sundress to a tailored blazer.
To recreate this look, start with two coats of a bright white polish. Let it dry completely. Use a thin nail art brush dipped in black polish to draw gentle S-curves across the nail. Do not overthink the shape. Let the brush flow naturally. Seal everything with a clear top coat for a glossy finish that protects the design.
2. Blue Swirl French Tips
French tips have been a staple for decades, but adding a swirl element gives them a modern twist. Instead of a straight white line across the tip, imagine a soft blue curve that winds its way along the edge of the nail. The swirl can start at one corner and loop gently toward the center. This design works especially well in summer because the blue mimics the ocean or a clear sky. It feels fresh without being loud.
You can choose a pastel blue for a subtle effect or a cobalt shade for more drama. Either way, the swirl keeps the French tip from looking dated. It is a small change that makes a big difference.
3. Pastel Green and Pink Combination
Combining two nail art trends in one manicure sounds risky, but pastel green and pink prove that opposites can attract beautifully. The green serves as a calming backdrop while the pink swirls add a playful energy. Together, they create a design that feels both whimsical and polished. This combination works well for garden parties, baby showers, or any event where you want your nails to spark conversation without overwhelming your outfit.
Apply a pastel green base coat first. Once it dries, use a fine brush to paint thin pink swirls that weave across the nail. Keep the swirls sparse rather than dense for a more elegant look. A single loop or two per nail is plenty.
4. 3D Silver Swirls
If you are ready to go beyond flat polish, 3D silver swirls offer texture that catches the light from every angle. Nail artists achieve this effect using a thick gel or acrylic that holds its shape as it cures. The result looks like liquid metal frozen in motion. It is dramatic without being gaudy. The silver tone acts as a neutral, so it pairs well with any base color, but it looks especially striking over a glossy black or deep navy.
A salon visit is recommended for this technique because the application requires precision and the right curing equipment. However, the compliments you receive will make the appointment worthwhile.
5. Purple Swirl Accent Nails
Purple occupies a sweet spot between playful and sophisticated. A lavender base with deeper violet swirls creates a gradient effect that feels intentional. This design works beautifully as an accent on one or two nails per hand, leaving the rest in a solid matching shade. The purple family offers many options. A dusty mauve feels understated. A bright orchid feels celebratory. Choose the tone that matches your personal style.
The key to making purple swirls pop is contrast. If your base is light, use a dark purple for the swirls. If your base is deep, use a lighter lavender or even a white for the pattern.
6. Earthy Green Swirls
Earthy tones have been gaining popularity across fashion and beauty. A sage or olive green base with darker forest green swirls fits right into this trend. The colors remind you of moss on tree bark or leaves rustling in the wind. This design feels grounded and organic. It works well for outdoor events, camping trips, or simply days when you want your nails to reflect a connection to nature.
Finish with a matte top coat instead of a glossy one. The matte finish enhances the earthy vibe and reduces shine, making the swirls look more like natural patterns than painted decorations.
7. Pastel Rainbow Swirls
Why choose one color when you can use several? Pastel rainbow swirls involve painting thin arcs of different colors across each nail. Pink, yellow, blue, and lavender all appear in the same design, creating a cheerful mosaic. This look is ideal for festivals, birthday parties, or any day when you want your nails to be the center of attention. Despite the multiple colors, the pastel tones keep the overall effect soft rather than chaotic.
Start with a white or very light pink base. Then use separate brushes for each color, painting small swirls that overlap slightly. The white base helps each pastel shade stand out clearly.
8. Minimalist Single Swirl
For those who prefer subtlety, a single swirl on an otherwise bare nail offers the perfect balance. Paint your nails with a sheer nude or milky pink polish. Then add one thin swirl in a neutral color like taupe, soft gray, or dusty rose. The swirl should be small, perhaps starting near the cuticle and curving toward the center of the nail. This design whispers rather than shouts. It is appropriate for office environments, formal dinners, or any situation where loud nails might feel out of place.
The minimalist approach proves that swirl nail designs do not have to be bold to be beautiful. Sometimes less really is more.
9. Red Swirl French Tips
Red nails have a timeless appeal. Adding a swirl to the French tip updates the classic without losing its essence. Imagine a deep cherry red winding along the edge of a nude nail. The swirl can be thick or thin, depending on your preference. This design feels confident and sophisticated. It works well for date nights, holiday parties, or any occasion where you want to feel a little extra glamorous.
Apply a nude or clear base coat first. Then use a thin brush to draw the red swirl along the tip. Keep the line clean and continuous for the best effect.
10. Butter Yellow Swirls
Butter yellow has been predicted to become one of the biggest nail polish colors of the season. Its warm, creamy tone makes an excellent base for swirls in white, pale blue, or even a soft peach. The combination feels sunny and optimistic, like a jar of honey catching the morning light. This design is perfect for summer vacations, brunch with friends, or any day when you want a mood boost from your manicure.
You may also enjoy reading: Trend Report Says Thrift Stores Are Out – Shop Here Instead.
Apply two coats of butter yellow polish. Once dry, use a contrasting color to paint loose swirls that travel diagonally across the nail. The yellow base provides enough warmth to make any accent color pop.
11. Neon Swirls for Maximum Impact
For the brave souls who love attention, neon swirls deliver. Choose a bright pink, electric orange, or lime green base. Then add swirls in a contrasting neon shade or a stark white. The result is impossible to ignore. These nails scream summer fun. They are made for pool parties, concerts, and beach days. The high visibility means you will receive compliments from strangers at the grocery store.
Neon polishes often require a white base coat underneath to achieve full brightness. Apply a layer of white polish first, then your neon color, and finally the swirl pattern. This extra step makes the colors glow.
Essential Tools for At-Home Swirl Nail Designs
Attempting swirl patterns at home requires more than just regular polish. A thin nail art brush is the most important tool in your kit. Standard polish brushes are too wide for precise curves. A dedicated brush with a fine tip allows you to control the thickness of each line. It might take a few practice attempts on a piece of paper or a fake nail tip, but the effort pays off quickly.
Another helpful item is a dotting tool. Some swirls start as dots that you then drag into curves. A dotting tool gives you a consistent starting point. You can also use a toothpick or the end of a bobby pin if you do not have a professional tool handy.
Do not forget a high-quality clear top coat. Once your swirl design is completely dry, a glossy top coat seals the pattern and gives your nails a salon-worthy finish. It also smooths out any minor bumps or unevenness in the polish layers.
Common Challenges and How to Overcome Them
One frequent frustration is polish that dries too quickly. When you are painting a swirl, you need the polish to stay wet long enough for you to complete the curve. If your polish starts to drag or skip, try adding a few drops of nail polish thinner to the bottle. This restores the consistency and gives you more working time.
Another issue is shaky hands. Rest your painting hand on a flat surface and brace your pinky finger against the table. This simple stabilization technique reduces tremors and helps you draw smoother lines. If your hands still shake, try holding your breath gently while you paint each curve. The brief stillness often improves control.
Messy edges are also common. Keep a small brush dipped in acetone nearby. If a swirl wanders outside the nail, clean it up immediately before the polish dries. Quick corrections prevent the design from looking sloppy.
How Long Swirl Nail Designs Typically Last
The longevity of your swirl manicure depends on the products you use and how well you care for your nails. Standard nail polish with a good top coat usually lasts about five to seven days before chipping becomes noticeable. Gel polish lasts longer, often two to three weeks, because it cures under a UV or LED lamp and resists everyday wear.
To extend the life of your design, apply a fresh layer of top coat every two or three days. This seals the edges and prevents chips from forming. Wear gloves when washing dishes or cleaning. Avoid using your nails as tools to open cans or scrape stickers. Small habits make a big difference in preserving the pattern.
Are Swirl Nail Designs Suitable for the Office
Many people worry that nail art might look unprofessional in a corporate setting. The answer depends on the specific design and your workplace culture. Minimalist swirls in neutral colors like taupe, gray, or soft pink generally pass as professional. A single accent nail with a subtle swirl adds personality without crossing any lines.
Bolder designs with neon colors or 3D elements might be better saved for weekends or vacations. When in doubt, observe what your colleagues wear. If you see others with painted nails, you likely have room to experiment. If the environment is more conservative, stick to understated swirls on a nude base.
Color Combinations That Work for Beginners
If you are trying swirl nail designs for the first time, choose colors that naturally complement each other. White and black is the safest combination because the contrast is clear and the result always looks intentional. Another easy pair is a pastel pink base with a white swirl. The similar tones blend softly, making small mistakes less noticeable.
Blue and white also work well together. The colors are distinct enough to show the pattern but forgiving enough to hide imperfect lines. Avoid pairing two dark colors at first. A dark blue swirl on a black base is hard to see and frustrating to paint. Stick to one light color and one medium or dark color until you build confidence.