Shade gardens often feel like a blank canvas where few plants dare to perform. Dappled light under a mature oak or the dim corner beside a north-facing wall can discourage even experienced gardeners. Yet one unassuming perennial changes that story entirely. Deadnettle, a member of the mint family, thrives in low light and rewards you with months of color. Its foliage ranges from silver-spangled green to golden hues, and its tiny hooded flowers keep appearing from late spring until frost. If you have tried and failed to fill shady spots, the following five secrets will transform your approach to growing deadnettle into a reliable success.
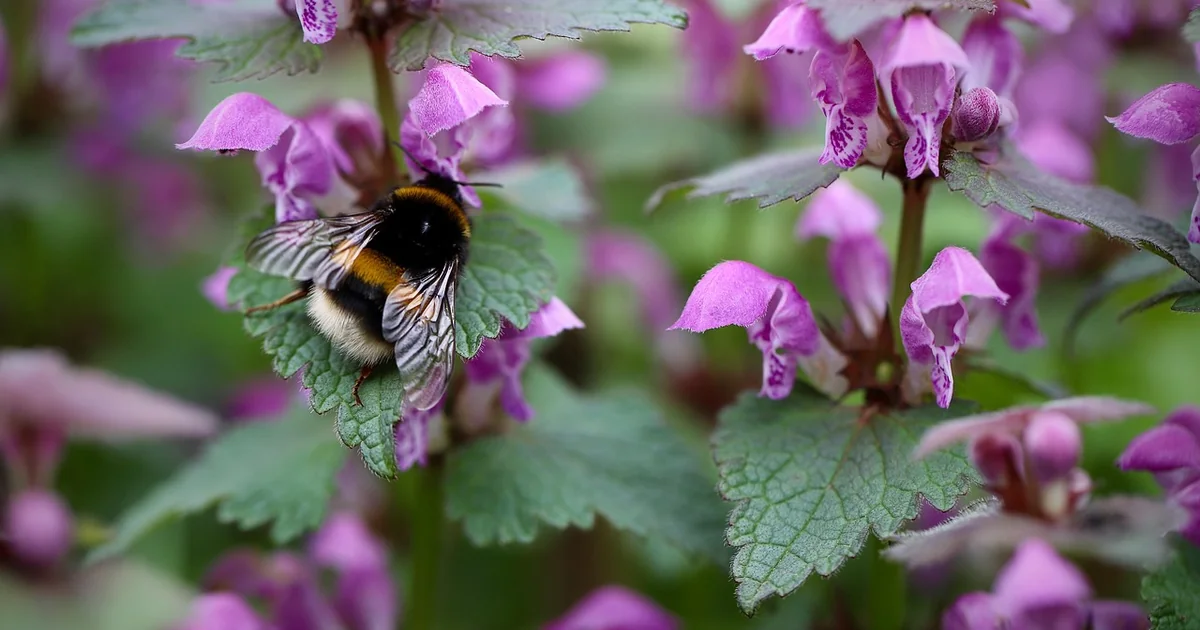
Secret #1: Choose the Right Variety for Your Space
Not all deadnettle plants behave the same way. Some spread aggressively; others stay neatly clumped. Before you dig a single hole, match the variety to your garden’s conditions and your tolerance for maintenance. The genus name Lamium covers dozens of species, but a handful dominate the nursery trade.
Spotted Deadnettle (Lamium maculatum)
This is the most common garden form. It reaches 6 to 12 inches tall and spreads 1 to 3 feet wide. The leaves often carry a silver stripe down the center, and the flowers appear in pink, purple, or white. ‘Beacon Silver’ and ‘Purple Dragon’ are reliable cultivars. Spotted deadnettle stays manageable in most settings and rarely becomes weedy.
Golden Deadnettle (Lamium galeobdolon)
Also sold as yellow archangel, this species produces chartreuse foliage that brightens deep shade. It spreads faster than the spotted types and can become invasive in moist, rich soil. In the Pacific Northwest and parts of the Midwest, it escapes garden beds and chokes native groundcovers. Check with your local extension service before planting this one. If you want golden leaves without the risk, look for the smaller cultivar ‘Hermann’s Pride’, which is less aggressive.
Silver-tone Varieties
For a luminous effect under trees, choose deadnettle with heavily silvered leaves. ‘White Nancy’ has almost entirely silver foliage with thin green edges and white flowers. ‘Shell Pink’ offers pink blooms over silver-green leaves. These cultivars stay compact and spread politely, making them perfect for edging paths or softening stepping stones.
When you practice growing deadnettle, matching the trait to the task matters. A slow spreader works for borders; a vigorous one suits a difficult slope you want to stabilize. Always read the plant tag and note the mature width — some varieties claim 5 feet of spread, which can overwhelm small beds.
Secret #2: Plant in the Right Place at the Right Time
Deadnettle’s adaptability is legendary, but it still demands a thoughtful start. Most varieties crave partial to full shade. In cooler northern climates, a few hours of morning or late afternoon sun are fine. South of zone 7, afternoon sun scorches the leaves and fades the variegation. Aim for a spot that receives dappled light or bright indirect light for most of the day.
Timing Your Planting
Spring is the safest season, especially if winters in your area dip below zero. A spring planting gives the root system four to six months to establish before the first freeze. Fall planting works in mild climates (zones 7 and 8), but the plant needs at least six weeks of soil temperatures above 50°F to anchor itself. If you push a fall planting too late, frost heave can push the shallow roots out of the ground.
Soil Preparation
Deadnettle prefers acidic to neutral pH — aim for 5.5 to 7.0. Loamy, well-drained soil is ideal. Before planting, dig a hole twice as wide and twice as deep as the nursery pot. Mix a generous handful of finished compost into the backfill. This step improves drainage and provides a gentle nutrient boost. Do not add synthetic fertilizer at planting time; it can burn tender new roots.
When you place the plant, set the crown at the same depth it was in the pot. Backfill, firm the soil gently, and water thoroughly. For the first month, check moisture every few days. This early care is critical for successful growing deadnettle — a dry spell during establishment can stunt growth for the entire season.
Secret #3: Master Moisture Without Overwatering
Deadnettle sits in a sweet spot: it tolerates dry shade once mature, but it will not abide soggy feet. Overwatering is the fastest way to kill it. The roots, like those of many mint relatives, rot quickly in stagnant water. Yet if the soil dries out completely for more than a week, the leaves wilt and the plant stops blooming.
The One-Inch Rule
During the first growing season, deliver about one inch of water per week, including rainfall. Use a rain gauge or an empty tuna can to measure. If nature provides that amount, skip supplemental watering. In sandy soils, you may need to split that inch into two half-inch applications spaced three days apart to keep moisture consistent.
After the first year, deadnettle becomes surprisingly drought-tolerant. In shade gardens under trees, the tree roots often consume all available moisture, so you may still need to water during extended dry spells. A layer of shredded bark mulch, 2 inches deep, helps retain soil moisture and keeps the roots cool. Keep the mulch away from the crown to prevent stem rot.
Signs You’re Overwatering
Yellow lower leaves, a sour smell from the soil, or sudden collapse of the plant all point to excess water. If you see these symptoms, stop watering immediately and let the soil dry out for a week. In heavy clay, consider moving the plant to a raised bed or a slope where drainage improves.
Understanding how water and light interact is a secret weapon for growing deadnettle successfully. More shade means less evaporation, so you water less. More sun (within reason) means you water a bit more. Adjust based on your specific microclimate.
You may also enjoy reading: Eating Cheese Wrong? 1 Simple Trick for Better Taste.
Secret #4: Prune Like a Pro for Continuous Blooms
Deadnettle flowers on new growth. Without pruning, the plant produces one respectable flush in late spring and then slowly declines. A simple shearing after the first bloom resets the cycle and encourages dense, bushy growth.
The Mid-Summer Shear
As soon as the first wave of flowers fades (usually late June or early July in zones 4–6), grab a pair of clean pruners or hedge shears. Cut the entire plant back by one-third to one-half its height. This sounds drastic, but it forces stems to branch. Within two weeks, fresh foliage emerges, and by late summer, a second round of flowers appears. Many varieties continue blooming until the first hard frost.
Seasonal Cleanup
In cold climates where deadnettle dies back to the ground, wait until spring to remove the old stems. Those dried stalks trap fallen leaves and provide a bit of insulation for the crown. Trim them to ground level as soon as you see new growth pushing through. In warmer zones where deadnettle stays evergreen, simply remove any tattered or brown leaves in early spring for a tidy look.
Controlling Spread Through Pruning
If your deadnettle sends out runners beyond its intended boundary, cut them back to the main clump. You can also lift and share these rooted sections — they transplant easily. Regular pruning keeps the plant contained and productive. This maintenance routine is the cornerstone of long-term growing deadnettle without frustration.
Secret #5: Protect Roots in Winter and Containers
Deadnettle is hardy in zones 4 through 8, but that hardiness depends on consistent snow cover or a good mulch blanket. In zone 4, where temperatures can plunge to -30°F, the crown needs protection. Apply a 3- to 4-inch layer of straw, shredded leaves, or pine bark after the ground freezes (not before, or you invite rodents). Remove the mulch gradually in spring as the soil warms.
Container Growing Considerations
Deadnettle makes an excellent potted plant for a shady porch or patio. Use a container with drainage holes and a well-draining potting mix (standard potting soil amended with perlite works well). Because pots dry out faster, you will need to water more frequently — check every two or three days during summer.
Potted plants also need nutrients. Apply a balanced, slow-release fertilizer (such as a 10-10-10 formula) at half strength in early spring, then again in midsummer after the first shear. Do not fertilize after mid-August, because new growth is vulnerable to frost damage.
Winter Protection for Potted Plants
A container exposed to freezing temperatures can kill the roots even if the variety is zone-4 hardy. The roots in a pot experience temperatures 10 to 15 degrees colder than in-ground roots. To overwinter a potted deadnettle, move the container to an unheated garage or basement that stays between 30°F and 45°F. Water sparingly — just enough to keep the soil from turning to dust. If you cannot move the pot, bury it up to its rim in garden soil and mulch the top heavily. This insulates the root zone and mimics in-ground conditions.
By following these five secrets, even a beginner can enjoy the vibrant, low-maintenance beauty of deadnettle in the shadiest corners. The plant asks for little: a cool spot, modest moisture, and one good haircut a year. In return, it delivers silver-splashed leaves and cheerful blooms that last for months. Whether you fill a bare patch under a maple tree or dress up a container on a covered porch, growing deadnettle will quickly become one of the simplest pleasures in your gardening routine.