How to Draw a Flower: An Easy Step-by-Step Guide for Beginners
You can draw a convincing flower by building it from a few simple shapes: a circle for the center, curved forms for the petals, two lines for the stem, and tapered shapes for the leaves. The key is to sketch lightly, observe how the parts connect, and add shading only after the proportions look right.
This beginner-friendly tutorial uses a daisy-like flower to teach the process. Once you understand it, you can apply the same principles to roses, sunflowers, tulips, and many other flowers.
What You Need to Draw a Flower
You do not need a complete art kit. Start with the materials you already have and add specialized supplies only when they support a technique you want to explore.
- HB or No. 2 pencil: Suitable for construction lines and general shading.
- Eraser: A white vinyl eraser removes larger marks, while a kneaded eraser can lift graphite gradually.
- Paper: Printer paper is adequate for practice. Sketch or mixed-media paper is more durable if you plan to erase repeatedly or add color.
- Pencil sharpener: A sharp point helps with veins, petal edges, and other small details.
- Optional color: Colored pencils, markers, or watercolor can be added after the drawing is complete.
- Reference flower: Use a real flower or a clear photograph showing the angle you want to draw.
If you are using markers or watercolor, test them on a spare piece of the same paper first. Thin paper may buckle under water or allow marker ink to bleed through.
How to Draw a Flower Step by Step
Place your paper vertically if you want room for a long stem, or horizontally if you plan to add several flowers. Keep your first marks pale enough to erase without leaving grooves in the paper.
Step 1: Sketch the Flower Center
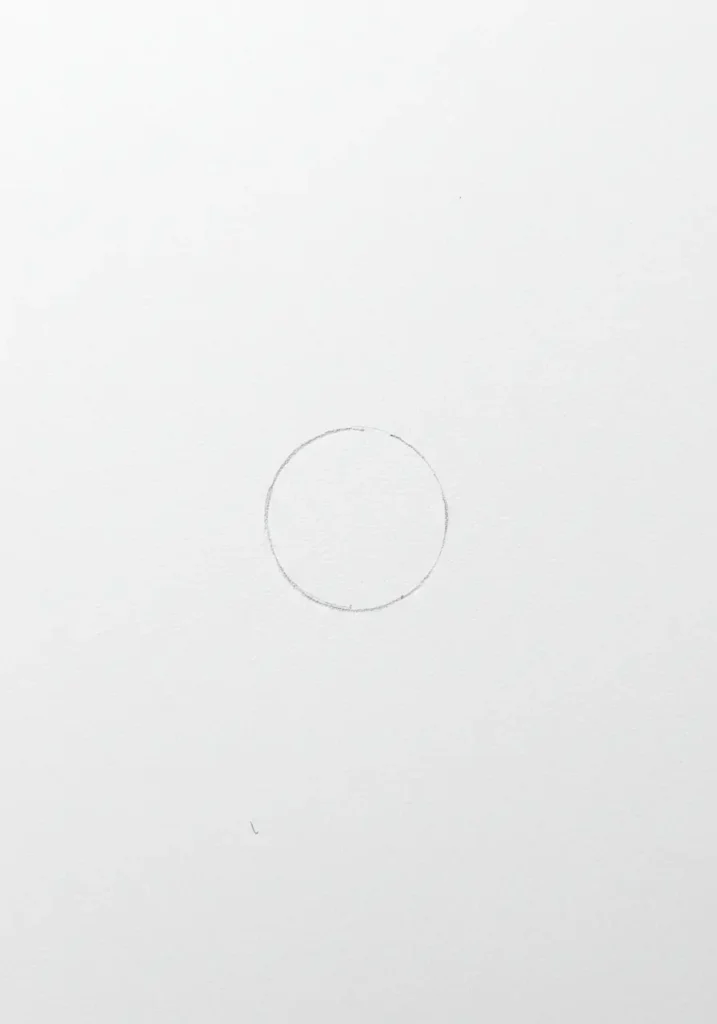
Draw a small circle where you want the flower head to sit. It does not need to be perfectly round. A slightly uneven contour often looks more natural than a mechanically precise circle.
Before continuing, check the placement. Leave enough space around the center for petals and enough space below it for the stem. If the flower will be viewed from an angle, use an oval instead of a circle. A flatter oval suggests that the flower head is tilted away from the viewer.
Step 2: Establish the Main Petal Directions
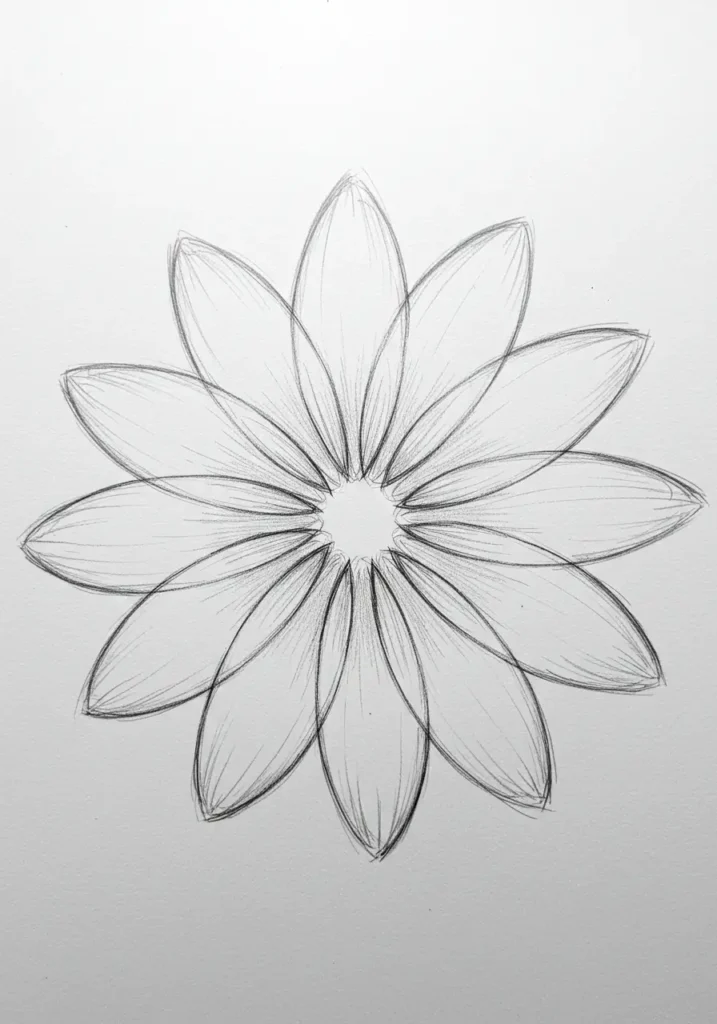
Add four guide petals at the top, bottom, left, and right. These first petals establish the flower’s overall size and help prevent one side from becoming crowded.
Fill the spaces with more petals. Begin each one near the center and draw outward before curving back toward its starting point. Avoid making every petal identical. Real petals can differ in length, width, direction, and curvature.
Show depth by allowing some petals to overlap. A petal in front should interrupt the outline of the petal behind it. Do not draw every hidden edge through the foreground forms, because that can make the flower look transparent.
Step 3: Draw the Stem and Leaves
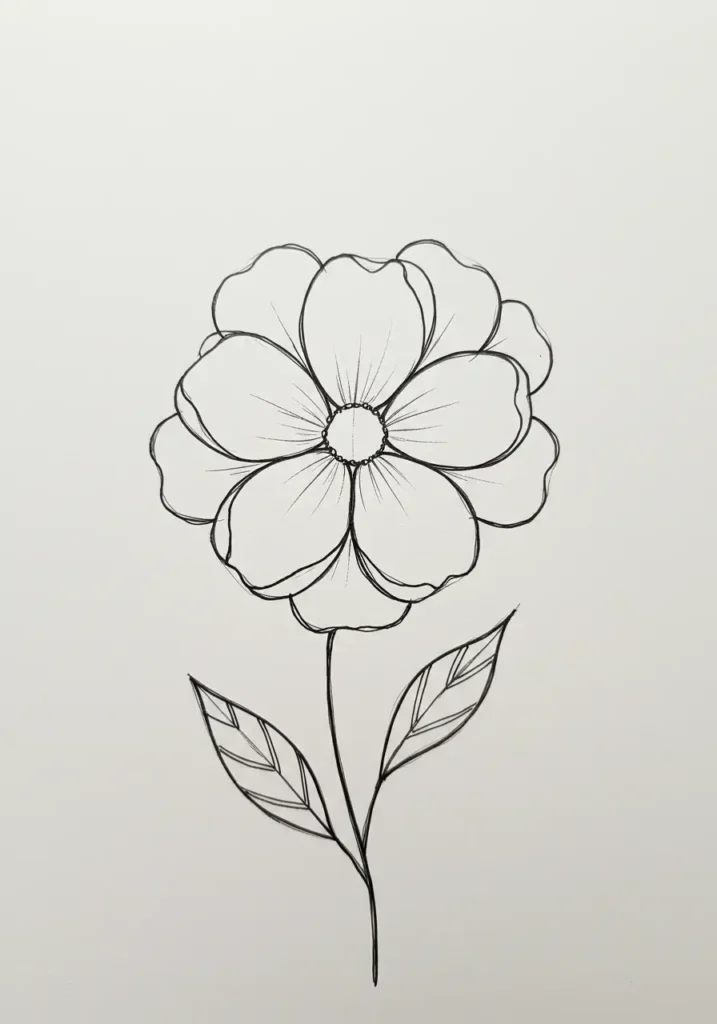
Draw a light line downward from the flower head to establish the direction of the stem. Add a second line beside it to give the stem thickness. Keep the two lines roughly parallel, but allow small variations so the stem does not look rigid.
Add one or more leaves at different heights. Begin each leaf with a center line that indicates its direction. Build the outer edges around that line using two curves that meet at the tip.
A leaf pointing toward you appears wider. A leaf turning away appears narrower because of foreshortening—the visual shortening that occurs when an object points toward or away from the viewer. Include a center vein, but postpone the smaller veins until the main shapes are correct.
Step 4: Correct the Shapes and Strengthen the Outline
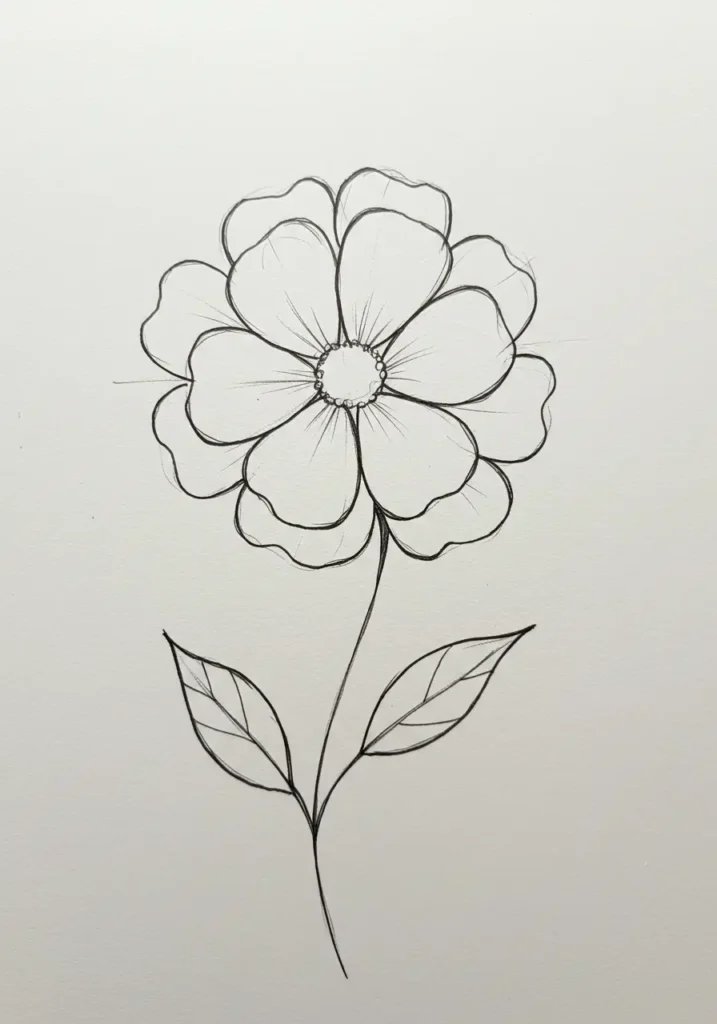
Compare the flower head with the stem and leaves. Ask whether the stem looks strong enough to support the bloom and whether the leaves feel balanced rather than perfectly symmetrical.
Correct awkward shapes while the lines remain light. Then strengthen only the edges you want to keep. Use a smooth motion from your wrist or arm instead of constructing every contour from many short, hesitant marks.
Vary the line weight when useful. Slightly darker lines can clarify overlaps and shaded edges, while lighter lines keep illuminated areas delicate. Erase unused construction marks carefully without removing the final contours.
Step 5: Add Color or Graphite Shading
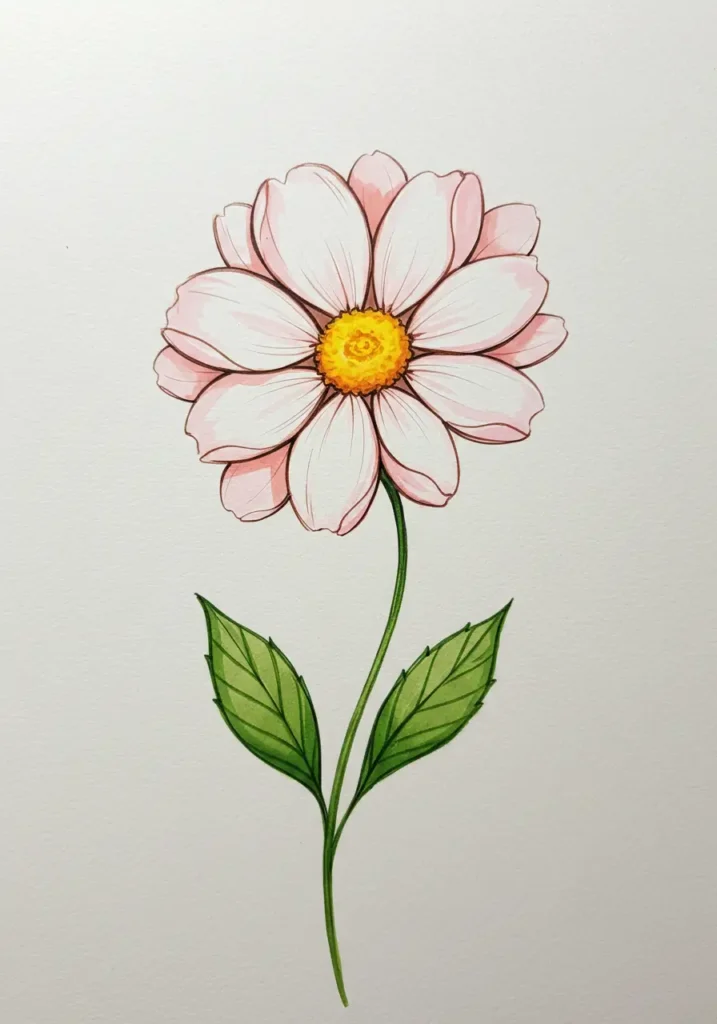
Choose one light direction before shading. For example, if the light comes from the upper left, the lower-right areas of the center, petals, stem, and leaves will generally be darker.
With graphite, begin with a light, even layer. Darken the gaps between overlapping petals and the areas where petals meet the center. Leave parts of the paper visible for the strongest highlights.
With colored pencils, use several light layers instead of pressing hard immediately. A pale base color followed by a darker related color creates more depth than one heavy layer. Change the direction of your strokes to follow the form: curve strokes along petals and angle them along leaf veins.
White petals still need value changes. Very light gray, blue, lavender, or warm cream can describe shadows while allowing the flower to read as white.
Step 6: Add a Simple Setting
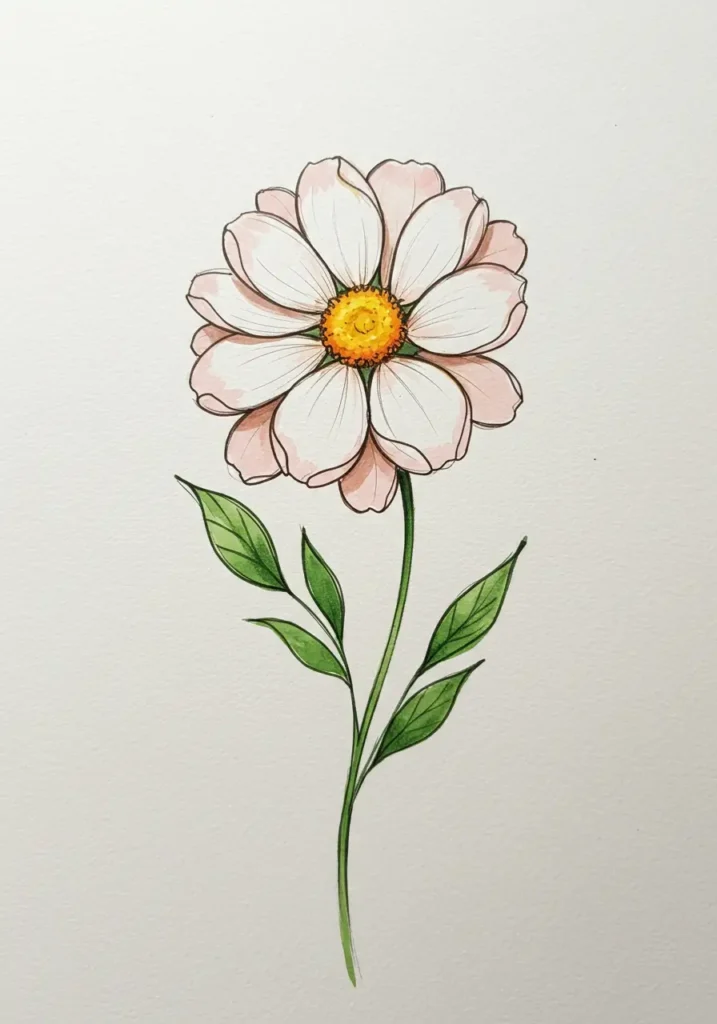
A background is optional. A clean, unshaded page can make a botanical study feel precise and elegant. If the flower appears to float awkwardly, add one simple grounding element:
- a cast shadow beneath a cut flower;
- a table edge and a small vase;
- a few blades of grass around the stem;
- a softly shaded shape behind the bloom; or
- two or three smaller flowers placed farther away.
Keep the background quieter than the main subject. Softer edges, lighter values, and fewer details help the flower remain the focal point.
Step 7: Create Texture
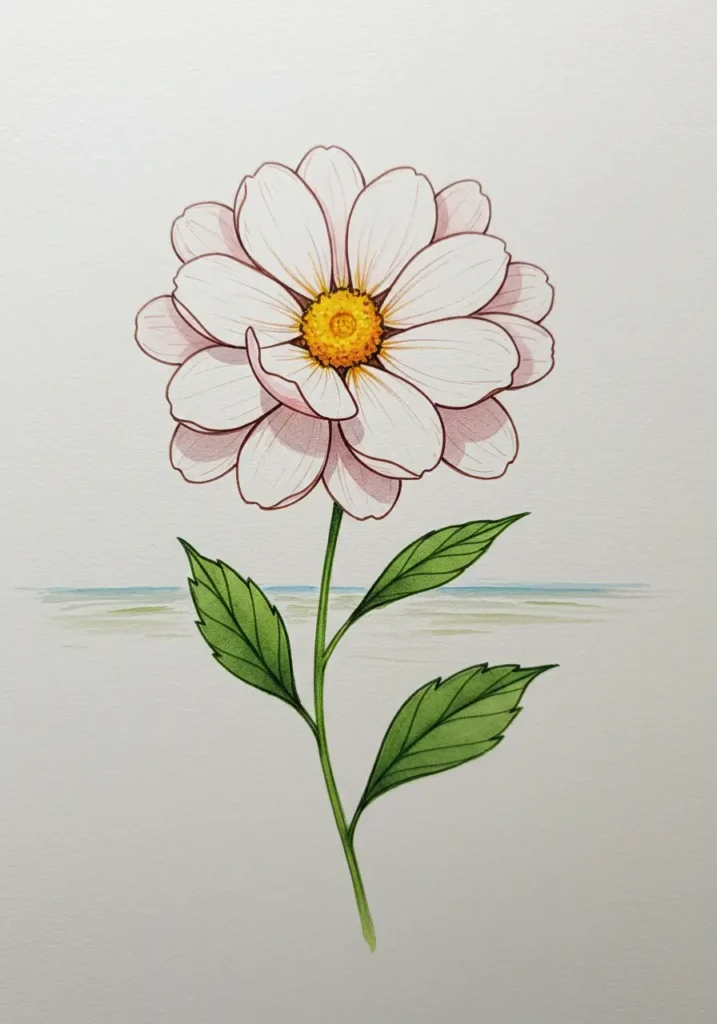
Add small dots, short curves, or tiny circular forms to the flower center. Follow the center’s rounded shape instead of distributing texture as a flat, uniform pattern.
Draw a few subtle lines from the base of each petal toward its tip. Do not make every line equally dark or equally long. On the leaves, branch smaller veins from the main vein at gentle angles.
Texture should describe the material, not cover every empty space. Smooth petals, fibrous stems, and veined leaves benefit from different kinds of marks.
Step 8: Blend, Lift Highlights, and Finish
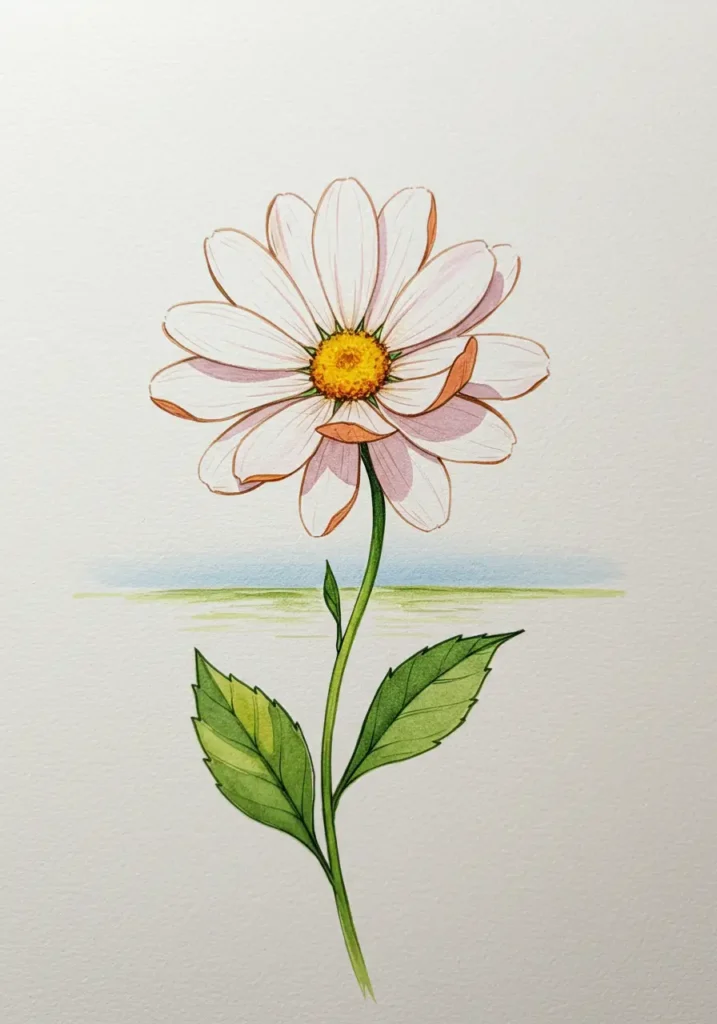
Step back from the page or view the drawing in a mirror. This makes proportion problems easier to notice. Strengthen the darkest overlaps, soften distracting marks, and use an eraser to lift highlights where the light strikes the petals or leaves.
Blend only where a soft transition supports the form. Over-blending can remove the lively pencil texture and turn separate values into a dull gray area. A folded tissue or blending stump is preferable to a finger, which can transfer natural skin oils to the paper.
Stop when additional marks no longer improve the form. A few carefully chosen details usually communicate more than a surface filled with equally strong lines.
Related: Continue practicing basic forms with How to Draw a Cat: A Simple Step-by-Step Guide for Beginners.
How to Draw Different Types of Flowers
The basic process remains the same for most flowers: establish the overall shape, place the main petals, draw the supporting stem and leaves, and then refine the values and details. What changes is the structure of the bloom.
How to Draw a Rose
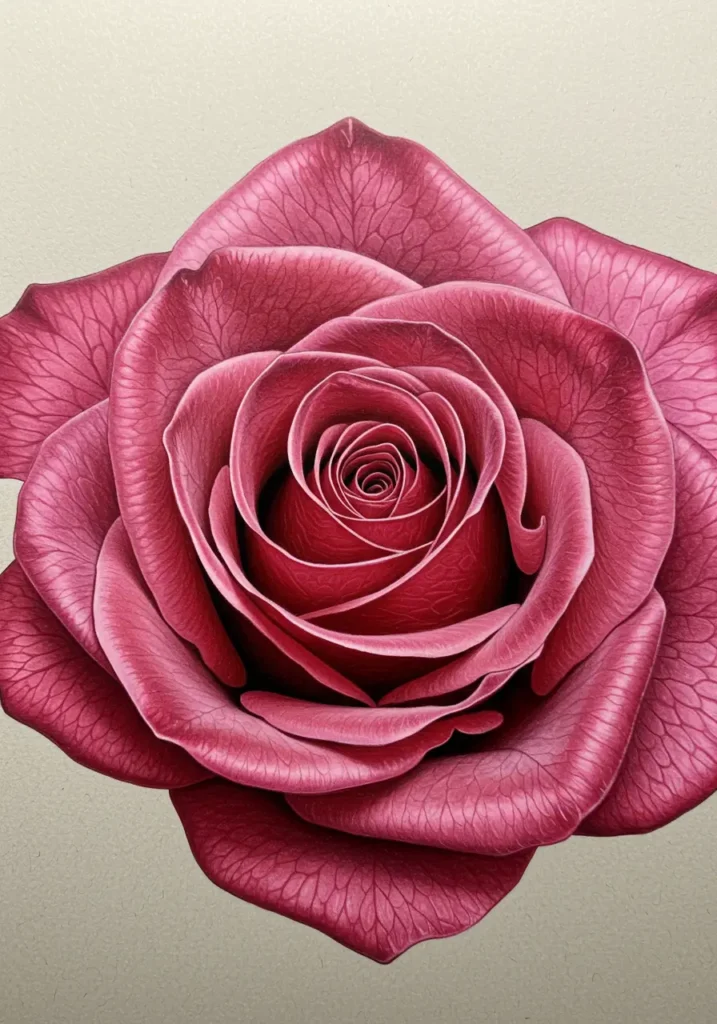
- Draw a small spiral or irregular curled shape for the tightly folded center.
- Place short, curved petals around it, allowing their edges to overlap.
- Add progressively larger petals as you move outward.
- Use angular bends or shallow waves along some outer edges.
- Darken the narrow spaces where one petal folds beneath another.
- Add sepals beneath the bloom and connect them to the stem.
A common mistake is drawing the rose as a perfect spiral. The spiral is only a starting guide. Break it into individual overlapping petal edges, and vary the direction in which those edges turn.
How to Draw a Sunflower
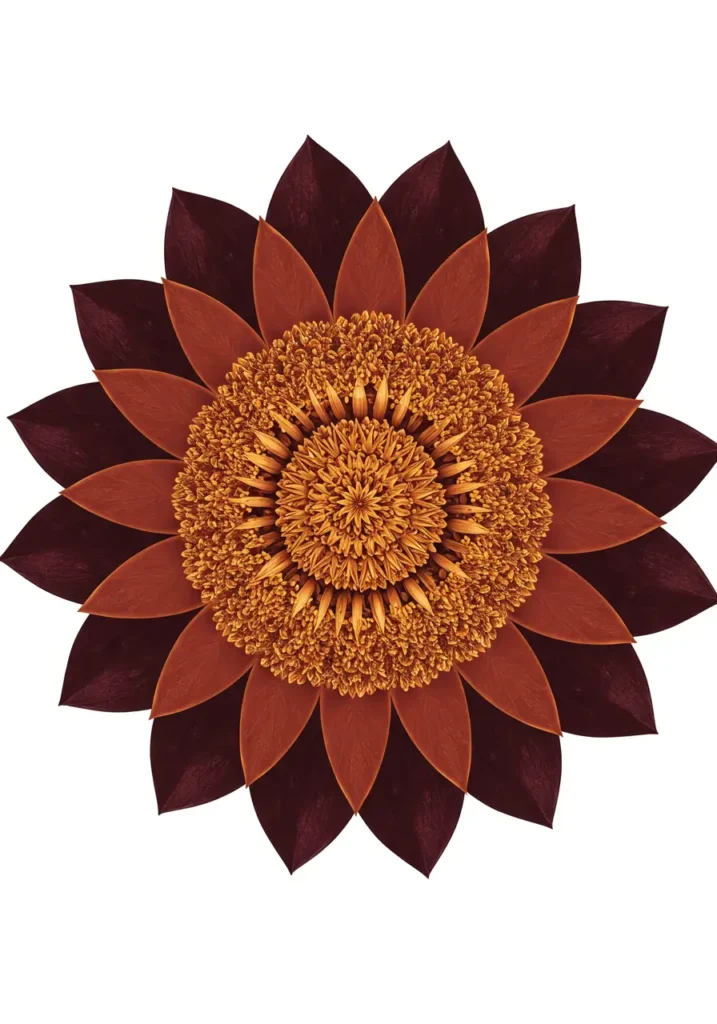
- Draw a large circle or oval for the central disk.
- Place the first layer of long, tapered petals around the disk.
- Add a second layer behind the first to fill visible gaps.
- Texture the center with small curved marks, dots, or clustered shapes.
- Draw a sturdy stem and broad leaves with irregular or lightly toothed edges.
- Shade beneath overlapping petals and along one side of the flower head.
A sunflower center can become visually overwhelming if every seed is outlined. Suggest the pattern with clusters of marks, placing the strongest contrast near the focal area and simplifying the rest.
How to Draw a Tulip
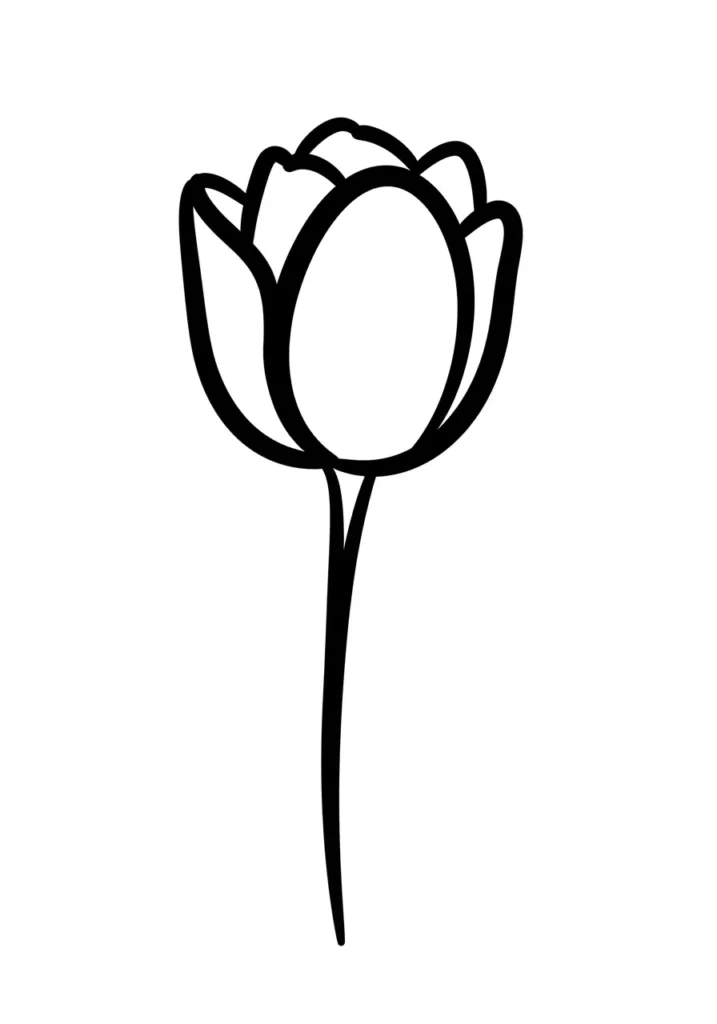
- Sketch a rounded U-shape for the lower portion of the flower.
- Add a curved or gently pointed top edge.
- Divide the bloom into a front petal and partially visible side petals.
- Draw a smooth stem emerging from the center of the flower base.
- Add long, blade-like leaves that curve away from the stem.
- Use soft value changes to show the rounded cup rather than outlining every boundary heavily.
Quick Flower Structure Comparison
| Flower | Starting Shape | Defining Feature | Main Practice Skill |
|---|---|---|---|
| Daisy | Small circle with radial petals | Open, evenly distributed bloom | Spacing and overlap |
| Rose | Compact curled center | Layered, folding petals | Depth and edge control |
| Sunflower | Large circle or oval | Textured center and pointed petals | Pattern simplification |
| Tulip | Rounded cup | Few broad petals | Contour and smooth shading |
How to Make a Flower Drawing Look More Realistic
Draw What You See, Not What You Expect
Beginners often rely on a remembered symbol of a flower: a circle surrounded by identical loops. Observation helps replace that symbol with specific information. Compare the width and length of the petals, look for overlaps, and notice which edges are hidden.
The Smithsonian Learning Lab’s observational flower collection recommends paying attention to size, color, and shape and revising the drawing after closer inspection. Cornell’s botanical illustration course outline likewise emphasizes observation, line, shape, space, perspective, light, and composition.
Use Negative Space
Negative space is the empty shape around or between objects. Instead of looking only at a petal, examine the gap between that petal and its neighbor. If the gap in your drawing differs greatly from the reference, one or both petals need adjustment.
Measure Relative Proportions
Use the pencil as a simple measuring tool. Hold it at arm’s length, align its tip with one end of the flower center, and use your thumb to mark the other end. Compare that measurement with a petal, leaf, or stem section. These relative comparisons are more useful than guessing exact dimensions.
Separate Form Shadows From Cast Shadows
A form shadow appears as a surface turns away from the light. A cast shadow occurs when one part blocks light from reaching another. On a flower, a curved petal may contain a gradual form shadow, while its edge casts a sharper shadow on the petal beneath it.
Use Edge Variety
Not every contour should be equally sharp. Crisp edges attract attention, while soft or partially lost edges can suggest depth and gentle lighting. Keep the clearest edges near the focal point and soften some contours in less important areas.
Common Flower-Drawing Problems and Fixes
| Problem | Likely Cause | Practical Fix |
|---|---|---|
| Petals crowd one side | The main directions were not planned | Place four guide petals first, then divide the remaining spaces. |
| The flower looks flat | All values and edges are similar | Choose a light direction and darken overlaps and recessed areas. |
| The stem looks stiff | It was drawn as two ruled lines | Establish one gentle gesture line, then build the stem around it. |
| Leaves resemble flat symbols | The center vein and direction were ignored | Draw the vein first and construct the leaf around it. |
| The outline is scratchy | Contours were assembled from many tiny marks | Practice each curve above the paper, then draw it in one relaxed motion. |
| Colored pencil looks waxy or uneven | Too much pressure was used in the first layer | Apply several light layers and increase pressure gradually. |
| Details overwhelm the flower | Every area received equal contrast | Keep the strongest details near the focal point and simplify elsewhere. |
A Simple Practice Routine
You do not have to complete a finished illustration every time you draw. Short exercises can isolate the skills that need attention.
- Contour study: Draw one flower using lines only.
- Petal study: Fill a page with petals viewed from different angles.
- Value study: Use one pencil to create a scale from light to dark, then shade a single petal.
- Leaf study: Draw the same leaf facing forward, sideways, and away from you.
- Composition study: Make three small thumbnail sketches before starting a larger drawing.
Date your practice pages. Comparing recent work with older drawings gives you a clearer view of your progress than comparing yourself with another artist.
Understanding Basic Flower Anatomy
You do not need to become a botanist to draw flowers, but a few structural terms can help you identify what you are seeing:
- Petals: The often colorful or visually prominent parts surrounding the reproductive structures.
- Sepals: Leaf-like parts beneath the petals that enclose and protect the developing bud.
- Stamens: Pollen-producing structures that commonly include a filament and anther.
- Pistil or carpel: The central female structure, commonly described through the stigma, style, and ovary.
- Receptacle: The area where the flower parts attach to the stem.
Not every flower displays these parts in the same way, and some familiar “flowers” are collections of many small flowers. You do not have to show every structure. Anatomy is most useful as an observation guide: it helps you understand why a form is present and how it connects to the rest of the plant.
Where to Find Flower Drawing References
Real flowers provide the best opportunity to study depth, texture, and subtle color changes. Place one in a stable container and draw it from several angles. If you use photographs, choose clear images with visible lighting and avoid combining conflicting angles in one drawing.
Historical botanical collections can also provide excellent structural references. The Biodiversity Heritage Library’s botanical illustration collection includes digitized works from natural-history institutions, while the New York Public Library’s botanical illustration search provides access to thousands of digitized items. Check the rights statement for an individual work before reproducing or publishing it.
Frequently Asked Questions
Can I draw a flower with only a regular pencil?
Yes. An HB or No. 2 pencil can produce outlines, midtones, and shadows through changes in pressure and layering. A softer pencil such as 2B or 4B makes deep shadows easier, but it is optional.
Why do my petals look uneven?
Unevenness is not automatically a problem. Natural flowers rarely have perfectly identical petals. If the bloom feels unbalanced, place a few directional guides before drawing individual petals and compare the negative spaces around them.
Should I outline the drawing with a pen?
Only if the style calls for a bold ink finish. Let the pencil drawing guide you, use waterproof ink if you plan to add watercolor, and allow the ink to dry completely before erasing the graphite. For a soft or realistic result, varied pencil edges may work better than a uniform black outline.
How do I draw white petals on white paper?
Draw the shadows around folds, overlaps, and the flower center rather than filling the entire petal. The untouched paper becomes the lightest part of the petal. A lightly shaded background can also reveal selected outer edges.
How can children use this flower tutorial?
Simplify the process to a center, petals, stem, and leaves. Encourage children to observe shapes and choose their own colors without requiring realism. Younger artists may find crayons or broad pencils easier to control than sharp, highly detailed tools.
What should I practice after drawing a daisy?
Try a tulip to practice broad contours, a sunflower to practice repeated forms and texture, or a rose to explore overlapping layers. Draw the same flower from the front and side to strengthen your understanding of three-dimensional form.
Your Next Flower Drawing
Choose one flower, place it where the light falls clearly across its petals, and spend a minute observing before making a mark. Identify the largest shape, the direction of the stem, the darkest overlap, and the most important edge. Then build the drawing from light shapes to deliberate details.
A successful practice drawing does not need perfect petals or polished color. If it helps you notice shape, proportion, overlap, light, or texture more clearly than before, it has already moved your skills forward.