Why Sheet Music Deserves a Proper Home
Picture this. You sit down at the piano, ready to practice. You shuffle through a stack of loose pages. Some are crinkled. One has a coffee ring on the corner. Another is missing entirely because it slipped behind the bookshelf last week. This frustration is familiar to countless musicians, whether they are eight or eighty. Loose leaf sheet music has a talent for scattering, tearing, and generally making practice harder than it needs to be. That is where a well-planned binder changes everything. A thoughtful approach to music binder organization turns chaos into clarity. It keeps every piece accessible, every assignment visible, and every practice session more productive. This tutorial walks through five practical methods to build a binder that works for students, teachers, and hobbyists alike.
Music Binder Organization Starts with the Right Supplies
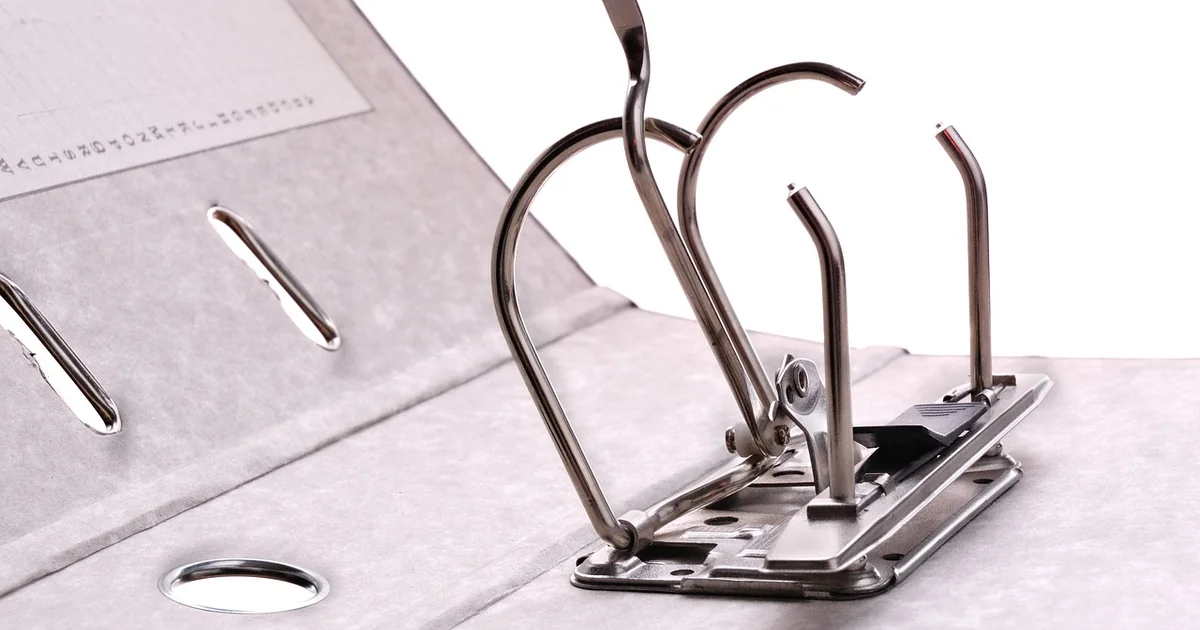
Before diving into the five methods, gathering the correct materials makes the process smoother. A sturdy three-ring binder forms the backbone of this system. Look for one with a reinforced spine and a cover that can withstand being tossed into a backpack or tote bag. Hinged vinyl covers with metal rings are a popular choice because they open flat and hold a significant number of pages without warping.
Additional supplies include a hole punch, a pack of white paper, a marker, and a set of divider tabs. Colored binder tabs work especially well for visual sorting. Sheet protectors are optional but highly recommended for musicians who travel with their binder. A pocket folder that attaches to the inside of the binder or clips onto the rings provides storage for smaller items like assignment notes or reward money. Having these items ready before you begin prevents mid-project interruptions and keeps the focus on building a lasting organizational system.
Method One: Divide by Category Using Colored Tabs
The single most effective step in any music binder organization plan is creating clear categories. Without divisions, a binder becomes just another pile of paper with rings. Dividers transform it into a reference tool. Start by identifying the natural groupings in your repertoire. For a student, the most logical split is between current assignments and pieces that have already been mastered. For a teacher who manages multiple students, dividers might separate each student’s materials. For a performer who plays across genres, sections for classical, jazz, pop, and holiday music make more sense.
Label each divider tab with a marker. Write directly on the tab or on a small sticky note attached to it. Place the current music section at the front of the binder so it is the first thing you see when you open the cover. The mastered music section belongs toward the back. This arrangement reduces decision fatigue. You do not have to flip through pages of old pieces to reach the song you need to practice today. Over time, this small habit saves minutes per session and adds up to hours of saved time across a year of practice.
If you play multiple instruments or sing while playing, create a separate tab for each instrument’s music. A guitarist who also plays ukulele, for example, benefits from keeping those pieces in distinct sections rather than mixing them together. The goal is to eliminate the mental friction of hunting for the right page.
Why Categorization Works Better Than Alphabetical Order
Alphabetical sorting by composer or title has its place, but for daily practice, functional categories outperform alphabetical lists. A student who needs to turn to page three of their lesson book does not benefit from searching alphabetically. They benefit from a section labeled Current Pieces where everything lives until it is mastered. Alphabetical order becomes useful later, when archived music grows large enough to require systematic retrieval. For the active binder, functional categories keep the focus on progress rather than filing.
Method Two: Build a Reward System into the Front Pocket
Motivation matters, especially for young musicians who may not yet feel the intrinsic rewards of daily practice. A pocket folder attached to the inside front cover of the binder creates a visible, tangible incentive system. This pocket can hold small rewards such as stickers, tokens, or even a dollar earned after a week of consistent practice. The key is making the reward visible every time the binder opens.
To set this up, choose a pocket folder that attaches to the binder rings or has adhesive backing for the inside cover. Label it clearly with the marker. Some musicians prefer a pocket with a closure, such as a velcro flap, so that coins or small items do not fall out during transport. A simple zip-top bag taped to the inside cover works as a low-cost alternative if a dedicated pocket folder is not available.
For a child who earns money or points based on teacher feedback, the front pocket becomes a powerful visual cue. They see the reward before they even turn to their sheet music. This small nudge can shift a reluctant practicer into a more engaged frame of mind. The system also teaches a basic lesson in goal setting: consistent effort leads to a tangible outcome. Parents report that this method reduces arguments about practice time because the child owns the process of earning and collecting their reward.
Adapting the Reward System for Adult Musicians
Adults benefit from this method too, though the rewards look different. Instead of money or stickers, the front pocket might hold a list of personal practice goals, a progress tracker, or a note about a upcoming performance. The psychology remains the same: placing something meaningful at the front of the binder creates anticipation and reinforces the habit of opening the binder every day.
Method Three: Use Sheet Protectors for High-Traffic Pages
Sheet music travels. It goes from a music stand to a backpack, from a car to a rehearsal space, from a teacher’s studio to a living room floor. Pages get folded, crumpled, and torn. A single ripped corner can make a page difficult to read during a performance. This is where sheet protectors earn their place in any music binder organization system. They add a layer of durability that extends the life of every piece of music they hold.
Insert only the most frequently used pages into protectors. There is no need to protect every piece of archived music. Focus on the current repertoire, the pieces you play most often, and any original compositions or handwritten arrangements that cannot be easily replaced. Standard clear page protectors fit into most three-ring binders without issue. For binders that see heavy use, consider protectors made from thicker plastic, often labeled as heavy-duty or archival quality. These resist tearing at the punched holes, which is the most common failure point.
An additional benefit of sheet protectors is that they allow you to write notes on the plastic surface using a dry-erase marker. Circle a dynamic marking, add a fingering reminder, or mark a tricky rhythm. When the piece is mastered, wipe the protector clean and reuse it for the next song. This eliminates the need to write directly on the sheet music, preserving its original condition for future use or resale.
How Many Protectors Do You Really Need
A typical student working on four to six pieces at once needs about ten protectors: one per piece, plus a few extras for scales, exercises, and assignment sheets. Buying a pack of twenty-five or fifty protectors is cost-effective because extras can be stored for later use. Over time, you will rotate pieces out of the protectors and into the archived section, freeing up protectors for new music.
Method Four: Create a Mastered Music Archive
A binder full of only current music is easy to manage. But what happens when you have learned twenty, fifty, or a hundred pieces? The mastered music section becomes just as important as the current section. Without a clear archive strategy, older pieces get shoved into the back of the binder in no particular order, making them impossible to find when you want to revisit them.
Designate the final section of your binder for archived music. Use a divider tab labeled Mastered or Archive. Behind this tab, organize the pages alphabetically by composer or by song title. Choose one system and stick with it. If you organize by composer, all Beethoven pieces go together, followed by all Brahms pieces, and so on. If you organize by title, simply file each piece alphabetically regardless of who wrote it.
For musicians who accumulate a large repertoire over years, consider moving archived music to a second binder dedicated solely to finished pieces. Label the spine of this binder clearly so you can grab it when you want to revisit an old favorite. The primary binder remains lean and focused on active repertoire, while the archive binder preserves your complete musical history.
You may also enjoy reading: 7 Suitcase Packing Mistakes You Should Stop Making.
When to Move a Piece from Current to Mastered
A clear threshold prevents the archive section from feeling arbitrary. Move a piece to the mastered section when you can play it from memory at performance tempo without errors on two consecutive attempts. This standard is objective and easy to evaluate. It also gives the musician a clear goal to work toward before filing the piece away. Some teachers use a similar benchmark before allowing a student to move on from a piece, which reinforces the habit of mastery rather than mere familiarity.
Method Five: Incorporate a Weekly Practice Log into the Binder
The fifth method focuses on tracking progress over time. A weekly practice log keeps both the musician and the teacher informed about what was practiced, for how long, and with what result. Slip a printed practice log sheet into the front of the binder, right after the cover page or inside the front pocket. This placement ensures it is seen every time the binder opens.
A good practice log includes the date, the piece or exercise worked on, the duration of practice, and a brief note about what was accomplished. For younger students, a simpler format works: a list of days with checkboxes for each piece practiced. The teacher can initial the log each week, creating a communication loop between home and the lesson studio. This loop reduces misunderstandings about assignments and gives the teacher insight into how the student practices between lessons.
Print several copies of the log at once and keep them in a stack inside the binder’s back pocket. When one week is complete, simply replace it with the next blank sheet. Over the course of a semester, these logs create a detailed record of progress that can be reviewed during parent-teacher conferences or used to set goals for the next term.
Digital Alternatives for Practice Tracking
Some musicians prefer to track practice using a smartphone app or spreadsheet. In that case, print a QR code on a card and tape it to the inside cover of the binder. Scanning the code opens the digital log. This hybrid approach combines the physical benefits of a binder with the analytical capabilities of digital tracking. It works especially well for older students and adults who already use their phone for scheduling and note-taking.
Putting It All Together: A Step-by-Step Assembly Guide
Now that each method is clear, here is how to combine them into one cohesive binder. Start with the binder open in front of you. Insert the pocket folder into the inside front cover if it has adhesive backing, or clip it onto the first ring if it has pre-punched holes. Place the weekly practice log directly behind the pocket folder. Next, insert the first divider tab labeled Current Music. Behind this tab, place sheet protectors containing your active repertoire. After the last current piece, insert the second divider tab labeled Mastered Music. Behind this tab, file archived pieces in alphabetical order. Finally, add any extra tabs as needed for scales, exercises, or reference sheets.
Once the binder is assembled, test it by flipping through every section. Make sure the rings close smoothly and the pages turn without catching. If the binder bulges, remove any unnecessary pages or move archived music to a secondary binder. A binder that is too full defeats the purpose of easy access.
Maintenance Habits That Keep Your Binder Working
An organized binder does not stay organized on its own. Set a recurring reminder to review the binder every month. During this review, move any newly mastered pieces from the current section to the archive section. Remove any pages that are no longer needed. Check that the practice log is stocked with blank sheets. Tighten or replace any loose rings. This monthly check takes about ten minutes and prevents the binder from sliding back into disorder.
Many musicians schedule this review for the last Sunday of each month. Pairing it with an existing habit, like tuning an instrument or reviewing lesson notes, makes it easier to remember. Over time, the monthly review becomes automatic, and the binder remains a reliable tool rather than a neglected project.
A System That Grows with the Musician
A well-designed music binder organization system adapts as the musician progresses. A beginner might use only two sections and a simple practice log. An advanced student might need five or six sections, multiple archive binders, and a detailed digital tracker. The core principles remain the same: divide by function, protect frequently used pages, reward consistency, archive systematically, and track progress visibly. These five methods provide a foundation that works for any musician at any stage.
Building the binder takes an afternoon. Using it takes a lifetime of better practice sessions. The next time you sit down to play, everything you need will be right where you left it, ready for you to begin.