A bixie haircut combines the cropped shape and layers of a pixie with some of the length and softness of a bob. It can leave enough hair around your ears and face to tuck, sweep, or style into waves while keeping the back shorter. The most useful question is whether the cut will work with your natural texture, styling habits, and preferred maintenance schedule.
Short hair does not automatically mean less upkeep. A bixie may dry quickly, but its fringe, crown, and neckline can need regular attention. Before booking, decide how much length you want to keep and whether you expect to air-dry, blow-dry, or alternate between the two.
What Makes a Haircut a Bixie?
There is no single fixed bixie shape. The name usually describes a layered cut that falls between a pixie and a short bob, often with a tapered nape, longer crown, and face-framing sections around the ears or jaw. Some versions look rounded and polished; others have a piecey fringe and a looser outline.
- Compared with a pixie: a bixie generally keeps more length through the sides or front.
- Compared with a bob: it usually has more layering and a shorter, more shaped back.
- Compared with a short shag: it may have a more compact outline, although the styles can overlap.
Because salons may use these labels differently, a reference photo tells your stylist more than the word “bixie” alone.
Choose the Shape Around Your Preferences
Use Face Shape as a Starting Point, Not a Rule
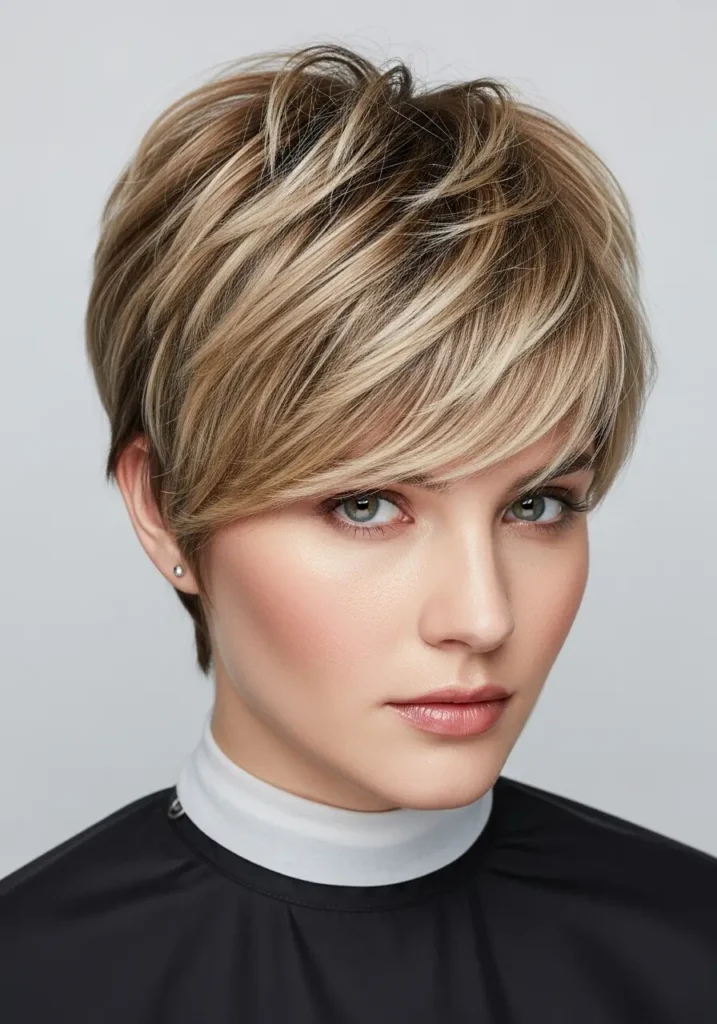
You do not need to balance or disguise any feature to wear short hair. Instead, tell your stylist what you would like the haircut to emphasize.
- For a taller-looking silhouette: consider gentle crown lift with less width at the sides.
- For more width around a long or narrow face: explore fuller sides and a fringe rather than extra height.
- To frame your cheekbones: discuss where the fringe and side pieces should end when dry.
- For a softer outline around the jaw: consider curved sections or a side-swept fringe.
- To show your jawline or ears: choose a closer shape around those areas.
Try the proposed parting and tuck your current hair behind your ears during the consultation. This will not reproduce the finished cut, but it can help you explain which proportions feel comfortable.
Account for Texture, Density, and Growth Direction
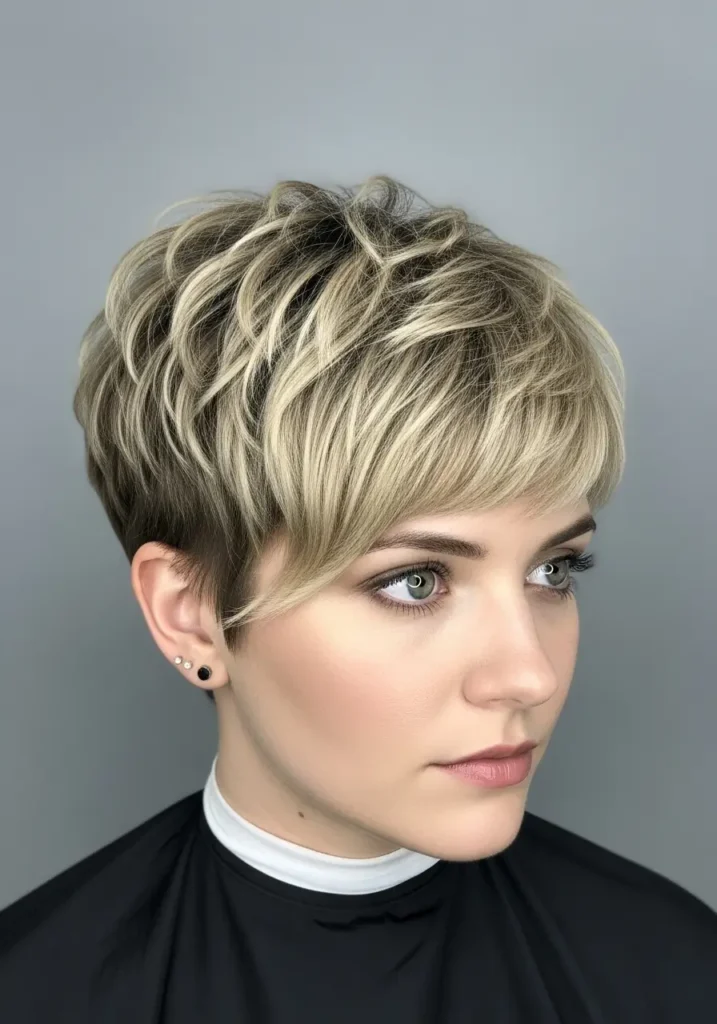
Fine hair describes the thickness of individual strands; density describes how closely hair grows across the scalp. You can have fine strands and plenty of hair, so “fine” and “thin” should not guide the consultation interchangeably.
- Fine or lower-density hair: discuss keeping enough weight around the outline. Too much texturizing can leave ends looking sparse.
- Dense hair: ask where weight needs to be removed so the cut sits comfortably around the ears and back. More layers are not automatically the answer.
- Wavy hair: consider where waves bend when dry. A section that sits neatly when damp may kick outward once it dries.
- Curly or coily hair: agree on the finished dry length, allowing for shrinkage. Choose references with a similar curl pattern and intended finish.
- Cowlicks or strong growth patterns: ask your stylist to assess them before deciding on a short fringe or crown.
If you regularly wear your hair both natural and straightened, mention that before cutting. The outline needs to accommodate both finishes, or you may need to prioritize one.
Four Bixie Variations to Discuss
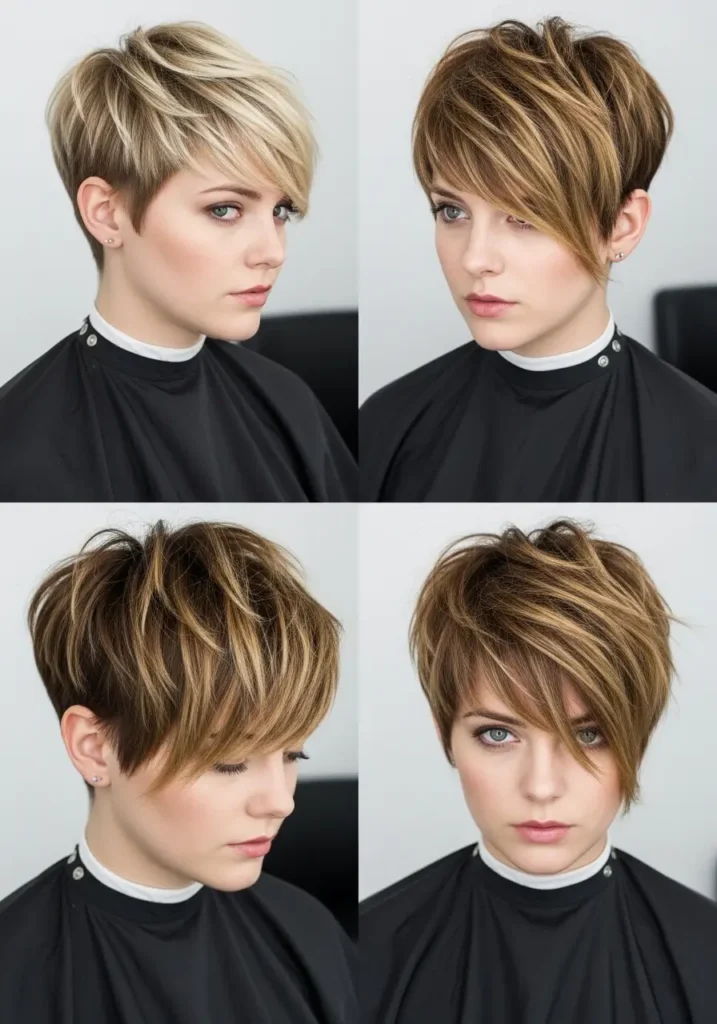
Soft, Rounded Bixie
Blended layers and a fuller outline create a gentle shape. This is an option if you prefer a smooth finish or want your first short haircut to retain some bob-like fullness.
Piecey, Textured Bixie
More visible separation through the crown and fringe creates an undone finish. Ask how the cut will look without styling paste: a highly separated reference photo may depend as much on product as on layering.
Close-Cropped Bixie
A shorter nape or sides gives more contrast with the longer top. Discuss how much scalp or ear you want exposed and how often you are willing to maintain that outline.
Longer-Front Bixie
Extra length around the face leaves room for sweeping or tucking. If tucking behind your ears matters, ask your stylist to demonstrate the minimum length required on your own hair before cutting.
What to Ask for at the Salon
Bring two or three photos with similar hair texture to yours, ideally showing the front, side, and back. Point out the details you like and any features you want to avoid, such as an exposed nape, very short bangs, or a heavily thinned outline.
“I want a bixie with a softly shaped back and enough side length to tuck behind my ears. I usually wear my natural texture and prefer minimal styling. Please show me where the fringe and shortest layers will sit when dry, and keep enough fullness around the edges.”
Adapt that request to your priorities. Before the appointment moves from consultation to cutting, confirm:
- The shortest acceptable length at the fringe, crown, and nape.
- Whether the ears will be covered, partly exposed, or fully exposed.
- Your usual parting and whether changing it will require styling.
- How the cut should look air-dried.
- The expected maintenance interval and full haircut price.
At the end, ask to see the back and have the stylist demonstrate a routine you can repeat with the tools you already own.
Understand Techniques Without Prescribing Them
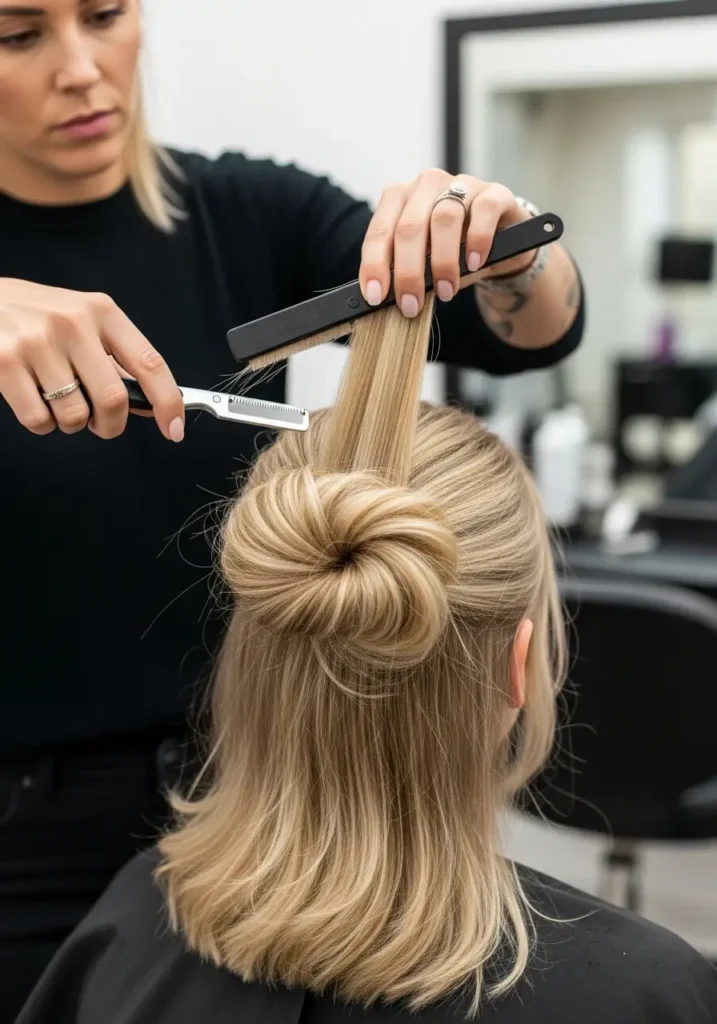
Point cutting softens an edge with the tips of the scissors. Razor work and slide cutting can create separation or remove weight. These are techniques, not requirements for a successful bixie; the amount and placement matter more than the tool’s name.
Dry cutting or dry refinement lets the stylist assess how the hair settles. Wet cutting can also be part of a suitable approach, including for curls. Ask how the stylist will account for your natural texture and check the finished shape rather than insisting that one method is always best.
How to Style a Bixie at Home
Start with one main styling product, then add another only if something is missing. Layering mousse, salt spray, paste, and hairspray can make a short cut feel coated without improving its shape.
For heat styling, use a heat protectant according to its directions and keep tools on a low or medium setting. Use a flat iron only on fully dry hair and limit repeated passes. The American Academy of Dermatology’s styling guidance explains how to reduce heat-related damage. :contentReference[oaicite:0]{index=0}
Fine, Straight Hair: Lift Without Heavy Product
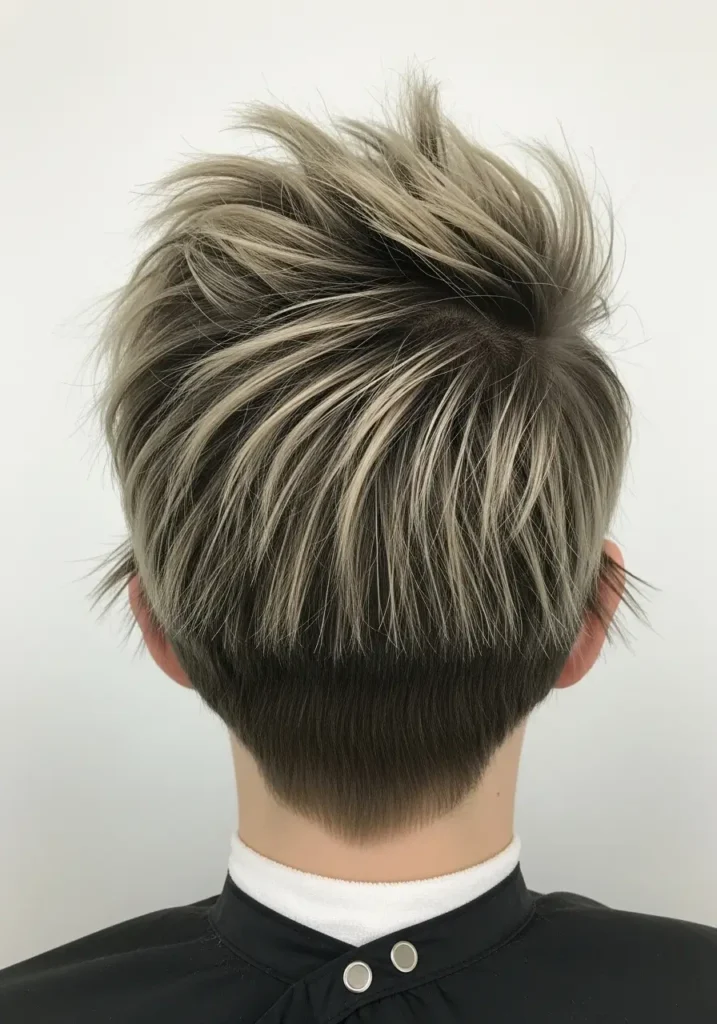
- Gently blot damp hair rather than rubbing it roughly.
- Apply a small amount of lightweight mousse or root-lift product, following the label.
- Set the fringe in its intended direction before it dries.
- If blow-drying, lift the crown with your fingers or a small brush while keeping the dryer moving.
- Once dry, use a tiny amount of paste on selected ends only if you want more separation.
For an air-dried finish, expect a softer, flatter result than a round-brush blowout. Choose a reference photo that reflects the amount of styling you want to do.
Wavy Hair: Encourage the Existing Pattern
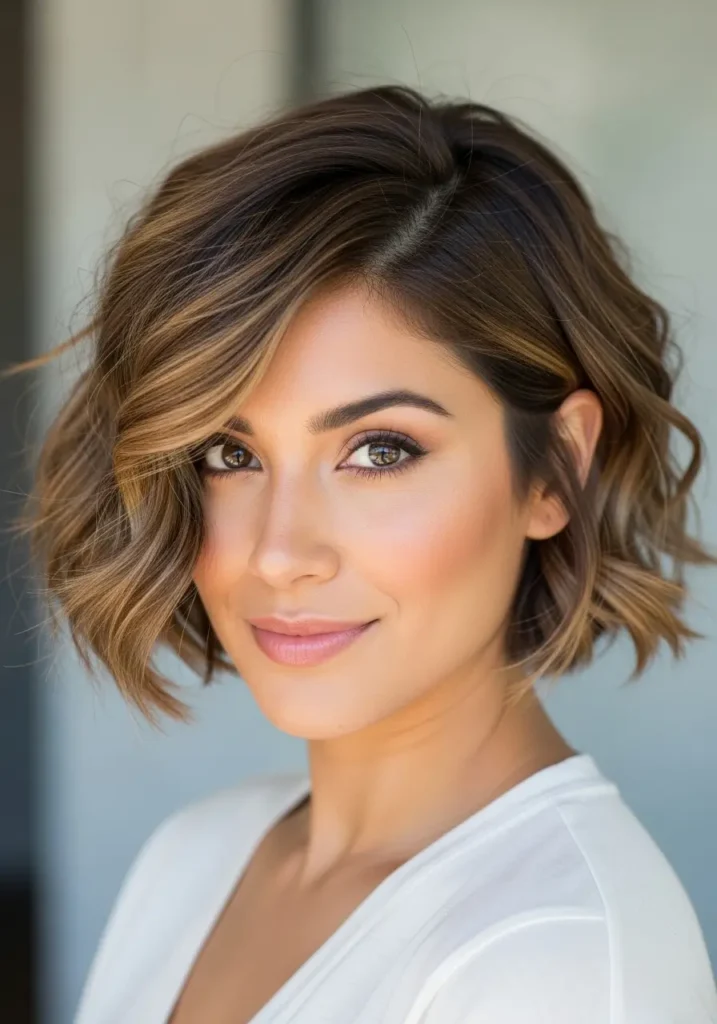
- Distribute a light mousse or gel through damp hair.
- Arrange the fringe and scrunch the longer sections gently.
- Air-dry or use a diffuser with low airflow and low heat.
- Leave the waves mostly undisturbed while drying.
- When fully dry, gently soften any stiff product cast with your hands.
Salt spray is optional. If it leaves your hair rough or stiff, skip it rather than adding more products to compensate.
Curly and Coily Hair: Shape the Curls Before Drying
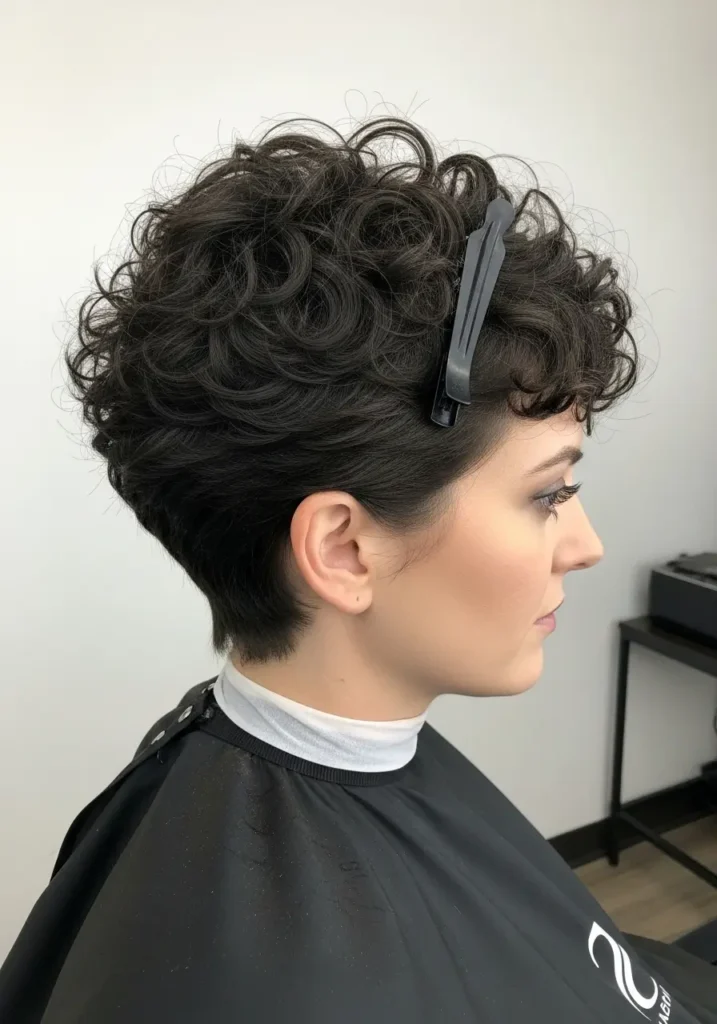
- Detangle gently while the hair is wet and conditioned.
- Apply your usual leave-in if needed, then a suitable gel, mousse, or cream.
- Use your fingers to arrange the face-framing curls without pulling them into a stretched length.
- Air-dry or diffuse gently, leaving space for the curls to settle.
- Between washes, lightly dampen only the sections that need reshaping and add a little product if necessary.
You do not need a curling wand to make natural curls look finished. If the shape only works after extensive manipulation, discuss adjustments at your next appointment.
A Small, Useful Styling Kit
Choose tools for your routine rather than buying everything used in the salon.
- For air-drying: your preferred styling product, a gentle drying towel or T-shirt, and a comb suitable for your texture.
- For smooth blow-drying: a dryer with a concentrator and a brush that can grip your shorter sections.
- For waves or curls: a diffuser if you prefer assisted drying.
- For separation: a small amount of lightweight paste or another finishing product that suits your desired hold.
A flat iron is optional. Texturizing scissors are not part of a routine home styling kit.
Common Bixie Problems and Practical Fixes
The Crown Looks Flat
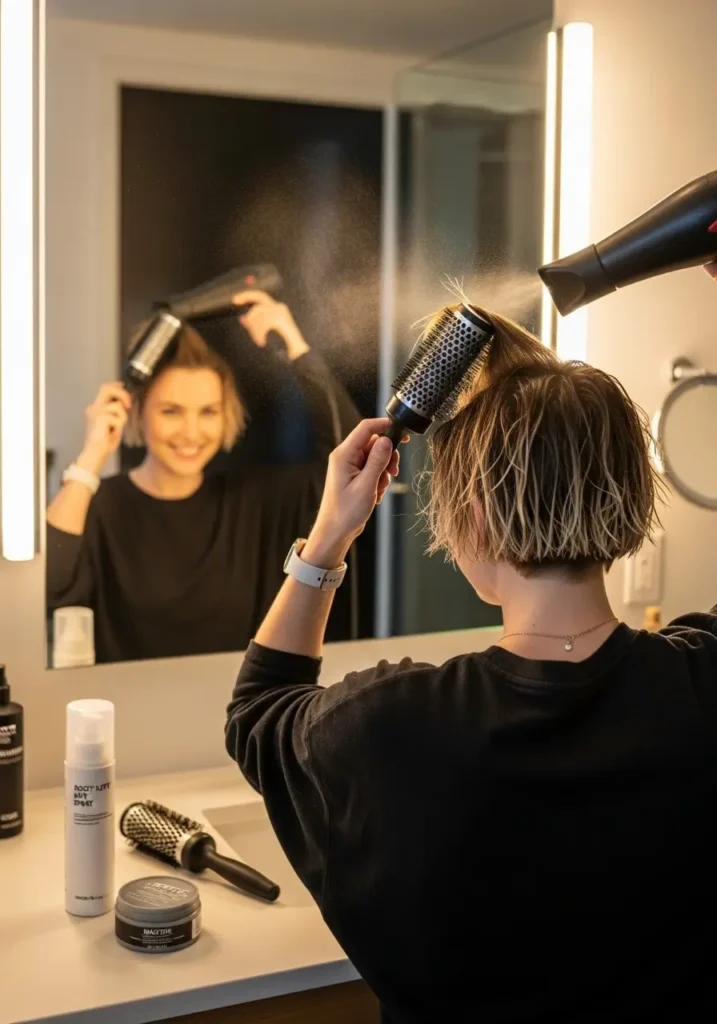
First try less finishing product near the roots. Re-dampen a flattened section and reset it with gentle lift while drying. If the issue persists, ask whether the crown length, parting, or weight distribution needs adjusting; simply cutting the crown shorter can expose a cowlick.
The Front Keeps Falling Into Your Face
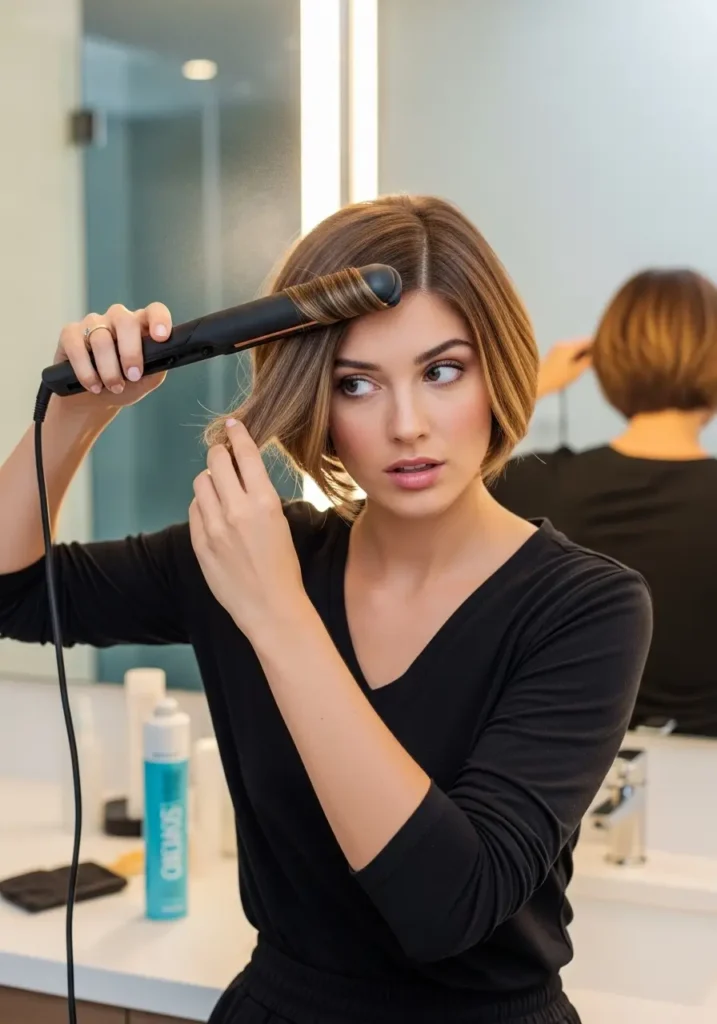
Set the direction while the roots are damp and try an ear tuck or small clip. At your next cut, discuss the fringe length and parting. Shortening a section is not always the fix: it may then be too short to tuck away.
The Sides Feel Bulky
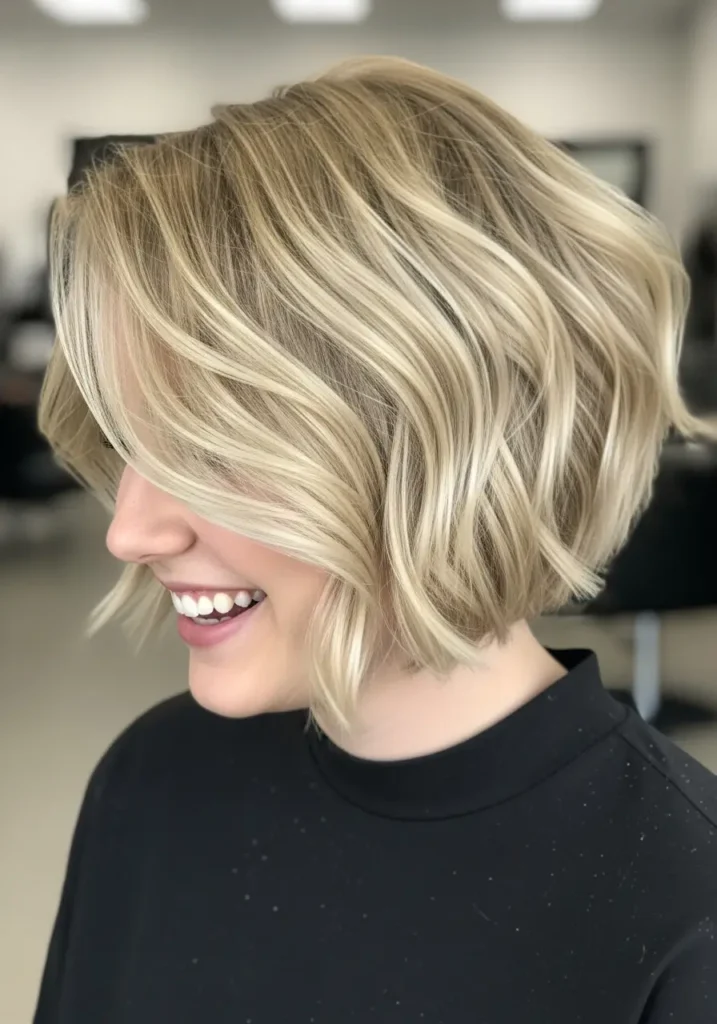
Check whether the fullness comes from density, a bend in the hair, or where the layers end. Ask your stylist to adjust the specific area. Avoid thinning it yourself; removing too much hair can leave short pieces that stick out or an outline that looks uneven.
Two Ways to Plan the Cut Around Your Texture
Fine Hair With a Fuller-Looking Outline
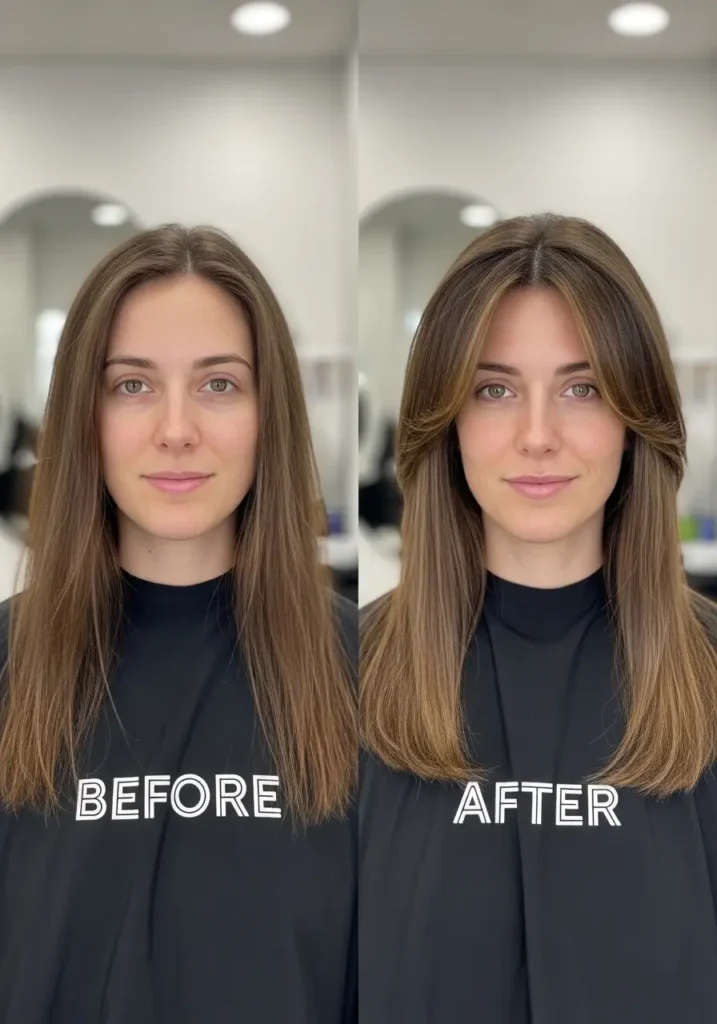
For a fuller-looking result, discuss restrained layering, preserved weight at the edges, and gentle lift at the roots. The aim is a shape that looks intentional without needing a thick coat of styling product. A haircut can change the appearance of fullness; it does not increase hair density.
Curly Hair With a Defined Silhouette
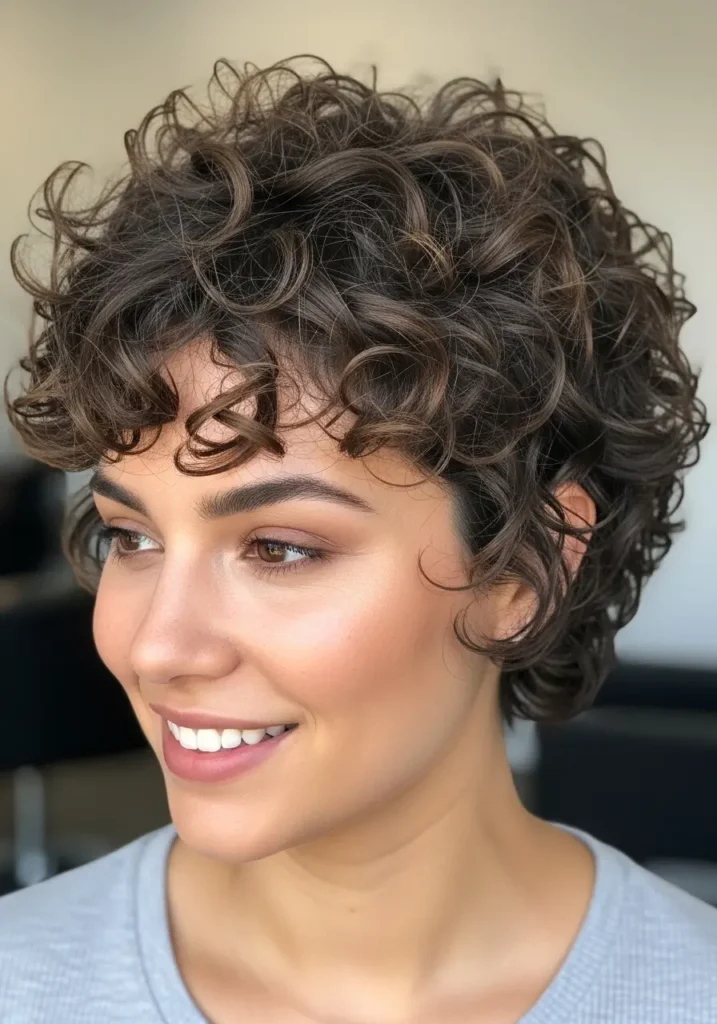
For a curly version, discuss where you want fullness to sit and how much the fringe shortens as it dries. Ask the stylist to assess the finished outline in the texture you usually wear, especially around the ears and nape.
Maintenance, Cost, and Growing It Out
As a planning guide, discuss a trim around six to eight weeks after the initial cut. A close neckline or short fringe may need attention sooner, while a softer, longer version may remain comfortable for longer. Agree on the timing based on your shape rather than treating a fixed interval as a rule.
Ask the salon what is included in the price: consultation, wash, cut, drying, and any later fringe or neckline tidy-up. Compare the total cost of maintaining the cut with your current routine, not just the initial appointment.
If You Want to Grow It Into a Bob
Tell your stylist that length is the priority. The nape may need occasional reshaping while the top and sides catch up, but repeatedly shortening every layer will delay progress. Clips, a different parting, and ear tucks can help during the transition.
If you are still deciding how much length to lose, compare the bixie with these long hairstyle ideas and styling techniques. A longer bob can also be an intermediate step if you want to explore a shorter outline gradually.
Should You Cut a Bixie Yourself?
A full bixie requires connecting several lengths across areas you cannot easily see, especially the crown and back. Leave major shape changes, thinning, and layer blending to a stylist. Between appointments, focus on resetting the parting, refreshing the fringe, and changing how you style the cut.
Before committing, identify your three non-negotiables: the shortest length you can accept, the styling effort you can sustain, and how often you can return for upkeep. Bring those answers and realistic reference photos to the consultation. They are a stronger starting point than asking for a trendy haircut by name alone.