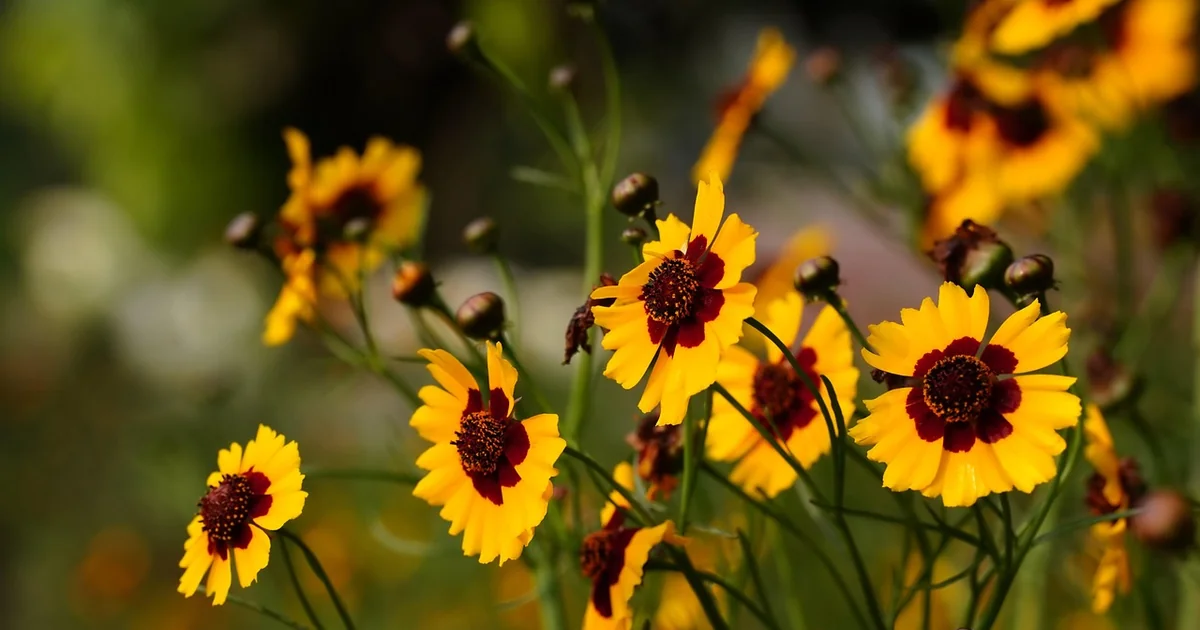
There is a quiet confidence that comes with planting coreopsis. You know, almost instantly, that this bright little flower is going to make it. Whether you face scorching summers, poor soil, or forgetful watering habits, coreopsis stands ready to deliver months of cheerful color. Originating from the grasslands of North America, this plant has evolved to thrive on toughness. The good news is that mastering the essentials of growing coreopsis does not require a green thumb. It just requires following a few simple, plant-tested rules that set you up for success from day one.
The Foundation of Growing Coreopsis: Sun and Soil
Before you even dig a hole, audit your garden space. Coreopsis can survive in many conditions, but it flourishes best when given abundant sunlight and unspoiled soil. Getting these two factors right solves most problems before they start.
The Six-Hour Sunlight Rule
Coreopsis is genetically programmed to reach for the sky. It needs a minimum of six to eight hours of direct sun each day. Without this, the bloom cycle stutters. When a coreopsis is planted in shade, it does not bloom as well. The plant spends its energy stretching for light, resulting in weak, leggy stems that flop over. The biggest payoff for choosing the right spot is a plant covered in buds from early summer well into fall.
Why Lean Soil Produces More Flowers
This is where many gardeners trip up. We are conditioned to enrich our garden beds with rich compost and fertilizer. With coreopsis, doing too much to your soil is a problem. Applying fertilizer reduces flower production drastically. The excess nitrogen forces the plant to prioritize stem and leaf growth over flowers. The stems become hollow and weak, causing the plant to require staking. Coreopsis prefers average, well-draining soil. If your dirt is heavy clay, mix in some sand or organic matter to improve drainage. The ideal texture allows water to pass through quickly without pooling.
Understanding USDA Zones 3-9
One of the reasons coreopsis is so popular is its incredible range. It is suitable for USDA zones 3 through 9. This means it can handle winter temperatures dipping as low as -40°F in Zone 3 and will still bounce back in the spring. In warmer zones, it provides color during the hot, humid months when other plants wilt. The name coreopsis comes from the Greek words “koris” (meaning bug) and “opsis” (meaning view), a reference to the seed’s striking resemblance to a tick. This is a fitting name for a plant that clings to life with such tenacity.
How to Start Growing Coreopsis from Seed or Transplants
There are two primary ways to introduce coreopsis to your garden. Both are straightforward, but they require different timing and techniques. Choosing the best method for your schedule makes the process seamless.
Sowing Seeds Directly in the Garden
After the last frost in spring, prepare a bed with bare soil. Sprinkle the seeds on the surface. Do not cover them with soil. Coreopsis seeds need light to germinate. Keep the area consistently moist with a gentle spray. Within ten to twenty days, you will see tiny seedlings appear. As they grow, thin them to twelve or eighteen inches apart. This spacing is crucial for air circulation and prevents foliar diseases later in the season.
Indoor Seed Starting for an Early Bloom
Want a head start on the season? Sow seeds indoors eight weeks before your last expected frost date. Use a sterile seed-starting mix. Press the seeds into the surface. Light is critical for this stage. Place the tray under a grow light or in a bright window. Keep the soil warm and moist. Transplant them outdoors after hardening them off for a week. This method gives you a longer blooming window and bigger plants by midsummer.
Transplanting Nursery Plants Successfully
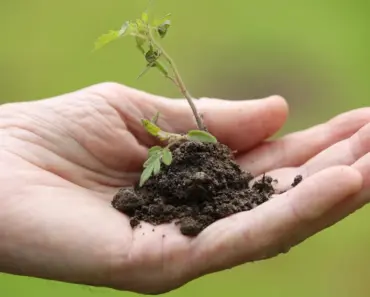
If you buy a potted coreopsis, plant it in spring or early summer. Dig a hole that is the same depth as the nursery container. Do not plant it deeper than it was growing. Set the plant in the hole at the same level it was in the pot. Backfill with native soil and water deeply. Water regularly until the plant is established and puts out new growth. Handle the root ball with care during this process, as the fibrous roots can dry out quickly if exposed to the sun.
Essential Care for Thriving Coreopsis Plants
Once they are in the ground, coreopsis rewards neglect more than pampering. A few specific actions will dramatically extend their blooming season and keep the plants looking tidy.
The Art of Watering: Dry Is Better
After they are established in the garden, coreopsis plants prefer to be left a little on the dry side. Overwatering is a common misstep. Their roots are adapted to survive drought conditions. Let the soil dry out completely between watering sessions. This deep, infrequent watering encourages the roots to grow deeper, making the plant even more resilient. They tolerate summer humidity well as long as the soil drains freely. Good drainage is non-negotiable for long-term health.
Deadheading Perennials vs. Annuals
Less-hardy varieties tend to be longer-blooming, especially when deadheaded regularly. For perennial coreopsis, meticulous deadheading is a form of communication. When you snip off the spent bloom just above a leaf node, you redirect the plant’s energy from seed production back into flower production. Cut the flower stalk back to the ground for the cleanest look. Annual coreopsis does not require deadheading. It will self-clean and keep blooming without your intervention. As the bloom season progresses, leave some flowers on the plant so birds can eat the seeds in the fall.
The No-Fertilizer Rule
This rule is non-negotiable. Do not fertilize coreopsis plants at any stage of their growth. Fertilizer, especially nitrogen-heavy types, produces lush leaves at the expense of flowers. It creates spindly, floppy plants that need staking. If you truly must amend something, add a thin layer of compost in the fall. This will break down slowly over the winter and provide trace minerals without forcing lush growth.
You may also enjoy reading: 5 Ways One Family Rebuilt a 1920s Bungalow for Grandma.
Identifying and Solving Coreopsis Health Issues
Coreopsis is relatively pest-free, but it is not completely immune. Knowing what to look for helps you catch problems early. A common fear in growing coreopsis is the sudden appearance of leaf spots or chewed foliage.
Spotting and Managing Coreopsis Beetles
The most specific pest is the coreopsis beetle. These small, reddish-brown beetles chew holes in the leaves. While they look alarming, they usually do not cause serious damage. A strong blast of water from a garden hose knocks them off. For severe infestations, neem oil applied in the evening works well. Avoid broad-spectrum pesticides that kill beneficial insects like bees and ladybugs.
Preventing Downy Mildew and Leaf Spot
Foliar diseases like downy mildew are almost always caused by environmental conditions. When a coreopsis is planted in shade, the leaves stay damp for too long. This creates a breeding ground for fungal spores. The best prevention is full sun and proper spacing. Good airflow dries the leaves quickly. If you spot powdery or fuzzy growth on the leaves, remove the affected stems immediately. Water at the base of the plant rather than overhead to keep the foliage dry.
Fixing Leggy Growth
A plant that is falling open and looking messy needs more sun or less water. You can give it a mid-season haircut to fix the problem. Cut the entire plant back by one-third in early July. This encourages new, compact growth and often triggers a second bloom cycle in the fall. It is a simple fix that refreshes the entire clump.
Designing Stunning Displays with Coreopsis
Coreopsis height varies from compact one-foot mounds to towering four-foot stands. This diversity opens up many design possibilities. One of the most rewarding aspects of growing coreopsis is its ability to attract songbirds and butterflies while adding texture to the garden.
Companion Planting with Ornamental Grasses
Coreopsis is a great companion plant for ornamental grasses and other tough annuals and perennials. The bright, daisy-like flowers create a stunning contrast against the vertical texture of grasses. Try pairing a yellow coreopsis with purple fountain grass or blue fescue. This combination is not only beautiful but also highly attractive to pollinators. The different flower shapes provide landing platforms for a variety of insects.
Growing Coreopsis in Containers
Coreopsis is an excellent container plant. Dwarf varieties like ‘Jethro Tull’ or ‘Sienna Sunset’ are perfect for this purpose. They spill over the edges of the pot, creating a fountain of color. Use a pot at least twelve inches deep. Ensure it has drainage holes to prevent soggy soil. Container plants need more frequent watering than ground plants, but they still dislike wet feet. Adding a layer of gravel at the bottom helps prevent water from pooling.
Attracting Birds and Pollinators
This plant is a powerhouse for wildlife. The bright blooms attract butterflies and bees all summer long. In the late summer and fall, the seeds become a critical food source for finches and sparrows. Leaving the seed heads standing over the winter provides natural bird feed and winter interest in the garden. The plants are also deer resistant, making them a smart choice for rural properties or woodland edges.
Coreopsis is more than just a flower. It is a lesson in resilience. By giving it the right start, you unlock months of effortless color. The birds will visit, the bees will buzz, and your garden will glow with the warm energy of this remarkable North American native. Plant it once, and it will reward you for years to come.