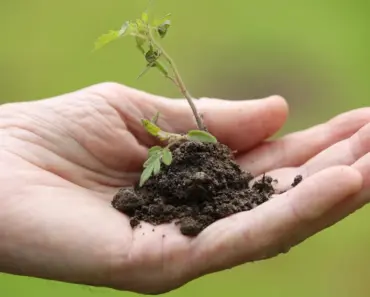
You can multiply your basil supply with just a stem and water or soil. If you want to propagate basil at home without spending extra money at the garden center, this simple trick is all you need. Home cooks spend a small fortune on fresh basil every year. A plastic clamshell of leaves costs several dollars and wilts within days. A rooted cutting costs nothing and produces leaves for months. Once you see how easy it is to turn one stem into a full plant, you will never look at a grocery store herb pack the same way again.
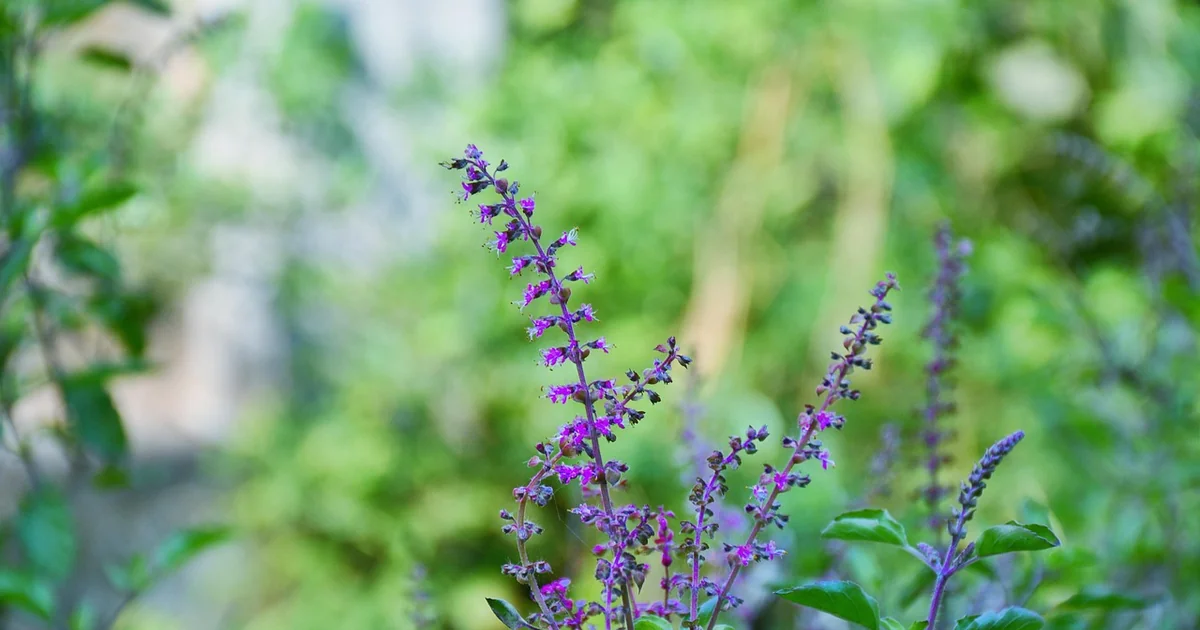
How do you propagate basil in water?
Water propagation is the most visual and beginner-friendly method. You place a bare stem into a clear vessel and, over the course of a week or two, watch white tendrils snake downward. It is a visible lesson in plant biology that feels almost magical.
Take the cutting at the right spot. Look for a mature, healthy basil plant. Using clean scissors or pruning shears, snip a stem that is four to six inches long. Make your cut directly below a leaf node. Leaf nodes look like tiny bumps or joints where leaves emerge. These nodes are packed with growth cells that are ready to turn into roots. A cut made between nodes will struggle to root because the growth cells are not concentrated there.
Remove the lower leaves. Gently strip the leaves from the bottom two inches of the stem. If these leaves sit below the waterline, they will rot and create bacteria that can kill your future roots before they start. Leave only the top two or three sets of leaves on the cutting.
Place the stem in water. Fill a clear glass or jar with room-temperature water. Tap water that has sat out overnight works perfectly because the chlorine dissipates. Submerge the bare nodes fully. Keep the remaining leaves well above the waterline. A glass jar works better than an opaque cup because light reaching the water discourages algae growth and lets you monitor root progress.
Provide bright indirect light. Place the jar on a windowsill that gets plenty of natural light but no direct afternoon sun. Direct sunlight can heat the water like a soup pot, stressing the delicate cutting and promoting bacterial growth.
Change the water every two to three days. Stale water promotes bacterial growth, which turns the stem slimy and blocks root development. Fresh water delivers oxygen directly to the emerging roots. If you notice the water turning cloudy before the two-day mark, change it immediately.
Wait for roots to reach two inches. Within seven to fourteen days, you will see small white nubs appear on the submerged nodes. Do not transplant too early. Wait until those roots reach at least two inches long. Once they hit that length, plant the cutting in a small pot filled with moist, well-draining potting mix. Water it thoroughly and keep it in indirect light for a few days so it can adjust to soil life.
How do you propagate basil in soil?
Soil propagation skips the transplant step entirely. The roots grow directly into the medium they will live in, which reduces shock and often produces sturdier plants. The trade-off is that you cannot see the roots forming, so patience is essential.
Take the cutting and prepare it. Use the same technique as water propagation. Cut a four- to six-inch stem right below a leaf node. Remove the lower leaves so that the bottom two inches of the stem are bare. Multiple cuttings in the same pot will grow into a bushier plant faster than a single cutting.
Dip in rooting hormone powder. This step is optional, but it makes a noticeable difference in speed and success rate. Rooting hormone typically contains indole-3-butyric acid, a synthetic auxin that mimics the plant’s natural rooting hormones. Dip the freshly cut end into the powder and tap off the excess. The hormones stimulate root cell division and protect the cut from fungal infections.
Plant the cutting two inches deep. Fill a small pot with a light, well-draining potting mix. A standard seed-starting mix works well. Use your finger or a pencil to create a hole about two inches deep. Insert the cutting and gently press the soil around the stem so that it stands upright. Do not compact the soil too tightly or the roots will struggle to push through.
Water lightly and cover for humidity. Moisten the soil using a spray bottle or a gentle stream of water. You want the soil damp, not saturated. Basil cuttings rot quickly in soggy conditions. Cover the pot with a clear plastic bag or a clear plastic dome. Make sure the plastic does not touch the leaves. You can use a chopstick or a bent wire to hold the bag away from the foliage. This dome traps humidity, which is critical because the cutting has no roots yet to absorb water from the soil. It pulls moisture from the air instead.
Check for resistance after two to three weeks. Gently tug on the base of the stem. If you feel firm resistance, the cutting has developed roots. If the stem slides out of the soil easily, it has not rooted yet. Give it another week and check again. Once roots have formed, remove the plastic cover gradually over a few days so the plant can acclimate to lower humidity.
When is the best time to propagate basil?
Timing matters in propagation. Basil is a warm-weather annual that thrives in heat and light. The best window to propagate basil outdoors is between late spring and the end of summer. During these months, temperatures naturally stay between 70°F and 85°F, which is the sweet spot for root development. The plant itself is in an active growth phase, full of energy and ready to repair and regenerate.
If you live in a cooler climate or want to grow indoors, you can propagate year-round. The key is to replicate the summer conditions. Place your cuttings under a grow light or on a bright windowsill for twelve to fourteen hours a day. Keep your home temperature above 70°F. Cold drafts from windows or air conditioning vents will stall root growth quickly.
A heat mat designed for seedlings costs about twenty dollars and can raise soil temperature by ten to twenty degrees. This is often the difference between a cutting that languishes and one that roots explosively. Avoid attempting to propagate in the middle of winter without supplemental heat and light. The cuttings may survive, but they will take much longer to develop, and stressed cuttings are more vulnerable to damping off and fungal diseases.
What conditions help basil cuttings root successfully?
You can follow every step perfectly and still fail if the environment is wrong. Basil cuttings need three specific conditions to root reliably: bright indirect light, high humidity, and stable warmth.
You may also enjoy reading: 13 Patio Décor Ideas Interior Designers Swear By.
Light matters, but not too much. Place cuttings in a spot that receives plenty of natural light but no direct sun. Direct sunlight causes the water in a glass to heat up, which can cook the stem. In soil, direct sun can desiccate the leaves before the roots have a chance to form. If the leaves are pale and drooping, the light is too weak. If they are scorched and browning at the edges, the light is too strong.
Humidity is non-negotiable. Cuttings lose water through their leaves much faster than established plants because they have no root system to replenish it. Keeping the air around the cutting humid slows down water loss. A humidity dome, a plastic bag, or even a clear plastic bottle cut in half can create this microclimate. For water propagation, the glass itself provides some local humidity if you keep it in a still room.
Cleanliness prevents disease. Change water every two to three days. Use clean pots and fresh potting mix. Bacteria and fungi love stagnant water and old soil. A slimy stem is almost always a sign that the water was not changed frequently enough. If you spot slime, wash the stem gently under running water, clean the jar thoroughly, and refill with fresh water.
Warmth drives growth. Basil is native to tropical regions. It simply does not grow well below 60°F. If your home is cool, place the propagation vessel on top of the refrigerator or near a heat vent, but not in a direct draft. The slight warmth from appliances can create the perfect microclimate for rooting.
The Pro Gardener Trick: A DIY Propagation Mix
Most home gardeners grab a bag of all-purpose potting soil and call it a day. Professional growers know that standard potting soil is too heavy for tender new roots. It compacts easily, holds too much water, and often contains large pieces of bark that create air pockets. Annette Hird, a horticulturalist with decades of experience, recommends a simple DIY mix: equal parts coco coir and vermiculite.
Coco coir is a byproduct of coconut husks. It retains moisture like a sponge but stays fluffy and aerated. Vermiculite is a lightweight mineral that improves aeration and holds water and nutrients while improving drainage. Together, these two ingredients create the perfect environment for tender new roots. The mix stays moist without becoming waterlogged, and it provides just enough structure to hold the cutting upright.
To make this mix, combine one gallon of coco coir with one gallon of vermiculite in a large container. Add water and mix with your hands until the coir is evenly moist. Fill your pots with this blend and insert your cuttings. You will notice faster rooting and healthier roots compared to standard potting soil. This mix is also excellent for seed starting. Once you have it on hand, you can use it for tomatoes, peppers, and any other warm-season crop you want to propagate.
If you do not have coco coir and vermiculite, a high-quality seed-starting mix is a fine substitute. Avoid heavy garden soil or dense potting mixes that contain large chunks of bark or compost. These materials can harbor fungal spores and create air pockets that dry out the cutting.
Frequently Asked Questions
Can you propagate basil from a store-bought bunch right out of the fridge?
Yes, but the success rate is lower than using a fresh garden cutting. Store-bought basil is often harvested weeks before it reaches the shelf. The stems have already started to dry out, and the leaves may be stressed from cold storage. Look for the freshest bunch you can find, recut the stem at a sharp angle, and remove all lower leaves. Place it in water immediately. Some stems will root, but taking multiple cuttings gives you a better chance of success.
Which method is better, water or soil propagation for basil?
Water propagation is easier to monitor because you can see the roots forming. It is ideal for beginners or for anyone who enjoys the visual process of watching roots grow. Soil propagation produces sturdier roots that do not need to transition from water to dirt, which eliminates transplant shock. If you want a plant that establishes quickly in a pot, soil propagation is the better choice. Both methods work well, and many gardeners use both depending on their mood and available materials.
Why are my basil cuttings turning yellow or drooping instead of rooting?
Yellowing leaves usually indicate stress from overwatering, insufficient light, or a temperature that is too cold. Basil is a tropical plant that needs warmth. Drooping often means the cutting is losing water faster than it can absorb it. Increase humidity by covering the cutting with a clear bag. Move it to a warmer spot with stable indirect light. Check the water or soil to make sure it is fresh and not waterlogged. Remove any yellow leaves so the plant can focus its energy on root production.
Learning to propagate basil turns one plant into a steady supply of fresh leaves for pesto, salads, and garnishes. It is a skill that pays for itself over and over again. Whether you choose a glass of water on the windowsill or a pot of coco coir on a heat mat, the process is the same simple act of cutting, placing, and waiting. Once you see those first white roots appear, you will wonder why you ever bought basil at the store.