
DIY Floating Shelves for Small Homes: A Safe, Space-Saving Guide
Floating shelves turn unused wall space into practical storage without taking up valuable floor area. In a small apartment, bedroom, kitchen, bathroom, or home office, they can hold everyday essentials while keeping the room visually open.
The project is approachable for many DIYers, but secure installation matters more than appearance. Before drilling, identify the wall material, locate studs and hidden utilities, choose compatible hardware, and follow the bracket manufacturer’s stated load limits.
Why Floating Shelves Work Well in Small Spaces
Traditional bookcases occupy floor space and can make a narrow room feel crowded. Floating shelves use the wall instead, creating storage above desks, sofas, counters, toilets, nightstands, and other areas that might otherwise remain empty.
They are especially useful when you want to:
- Store books without adding a freestanding bookcase.
- Keep kitchen ingredients and frequently used dishes within reach.
- Create bedside storage where a nightstand will not fit.
- Organize toiletries in a small bathroom.
- Display plants, photographs, or a curated collection.
- Build an efficient work zone above a compact desk.
If you prefer a coordinated system instead of cutting individual boards, the Amada 35.4-inch floating shelves, set of three provide ready-matched shelves for wall storage and displays. Confirm that the supplied hardware is appropriate for your wall before installation.
The clean appearance comes from concealed supports, but those supports still need a reliable connection to the wall. A shelf should never be treated as secure simply because it feels firm immediately after installation.
Plan the Shelf Before Buying Materials
Start by deciding what the shelf will hold. Lightweight décor requires a different shelf and mounting system than records, cookware, or several rows of books. Estimate the expected load, then select a complete system rated for more than that load under the conditions in your home.
Identify the Wall Construction
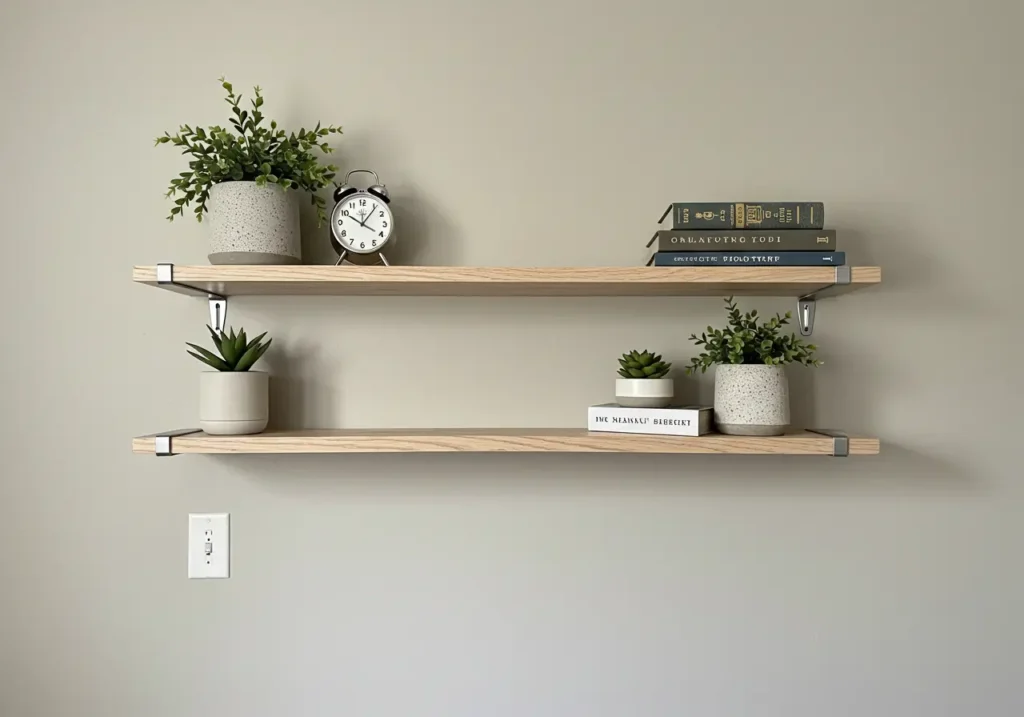
The correct fastening method depends on what is behind the finished wall:
- Wood-framed drywall: Mounting into wood studs usually provides the strongest and most predictable connection. A stud finder can help identify their locations.
- Metal-stud drywall: Do not assume wood screws will provide adequate support. Use hardware specifically approved for metal framing and the intended load.
- Plaster and lath: Older plaster can crack or crumble when drilled incorrectly. Locate the framing and use an appropriate bit without forcing the drill.
- Brick or concrete: Use masonry-rated bits, screws, plugs, or anchors that match the substrate. Avoid placing fixings in weak or deteriorating mortar unless the fastener manufacturer permits it.
- Hollow masonry: Choose anchors designed for the particular block or brick rather than treating it like solid concrete.
For framed walls, the Franklin Sensors ProSensor M150/X990 nine-sensor stud finder with AC wire warning can help you locate concealed studs and identify areas that may contain live wiring. A stud finder is an aid rather than a guarantee, so take additional precautions before drilling.
If you cannot confidently identify the wall or find a safe fastening point, ask an experienced installer for help. This is particularly important for long shelves, heavy objects, valuable collections, and installations above beds, seating, or children’s play areas.
Check for Cables and Pipes
Scan the proposed drilling area for electrical cables, plumbing, metal, and framing. Pay particular attention near outlets, switches, sinks, bathrooms, and kitchens. A detector reduces risk but has limitations, so follow its instructions rather than treating a clear reading as an absolute guarantee.
For more detailed wall inspection, the Bosch Professional D-tect 120 wall scanner is designed to detect several concealed materials, including wooden supports, plastic pipes, live cables, and metal. Detection performance depends on the wall material, object, depth, moisture, and correct operation of the scanner.
Bosch’s wall-drilling safety guidance recommends checking for concealed services and switching off the relevant electrical supply before drilling. If a detector gives inconsistent readings or you suspect hidden utilities, stop and investigate before making a hole.
Choose the Right Shelf Material
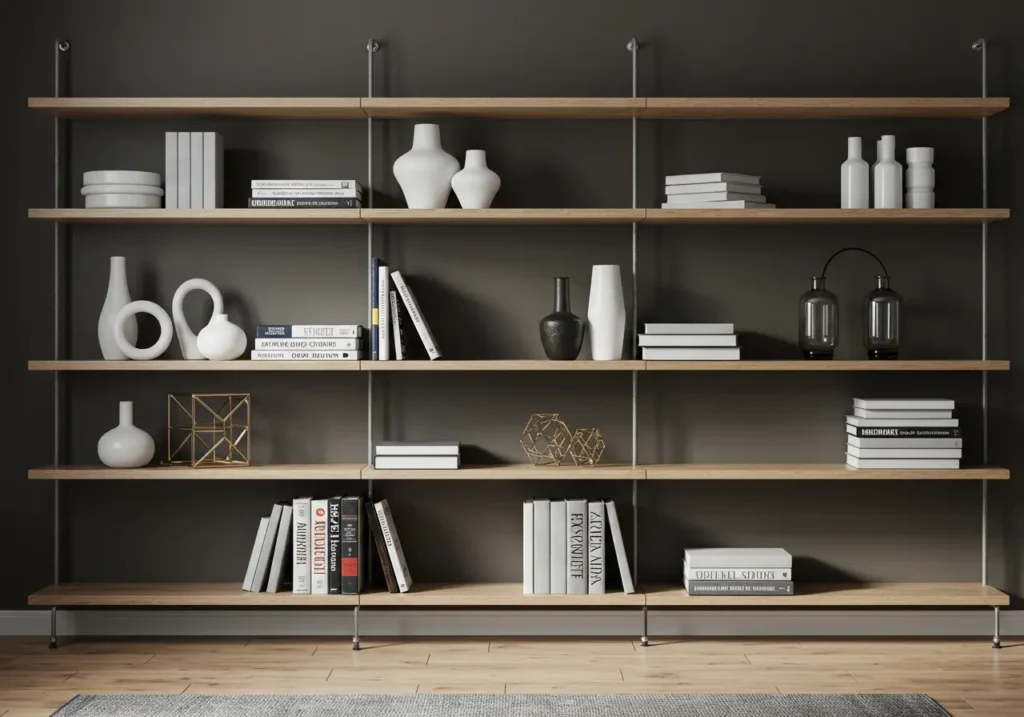
| Material | Advantages | Points to Consider |
|---|---|---|
| Solid wood | Durable, repairable, and suitable for paint or stain | Can move slightly with humidity and may require careful predrilling |
| Furniture-grade plywood | Stable, strong, and available in attractive veneers | Visible edges generally need banding or a solid-wood trim |
| MDF | Smooth surface for painted shelves | Heavy for its size, vulnerable to moisture, and less forgiving around fasteners |
| Melamine or laminate | Easy to wipe clean and available in many finishes | Edges can chip during cutting and exposed cores require finishing |
| Reclaimed wood | Distinctive appearance and potential material reuse | Must be checked for rot, insects, warping, nails, and unknown coatings |
The shelf must be thick and deep enough for the chosen concealed supports. Check the bracket instructions before purchasing or cutting the board; some systems require precisely positioned holes or internal cavities.
Select a Compatible Hidden Support
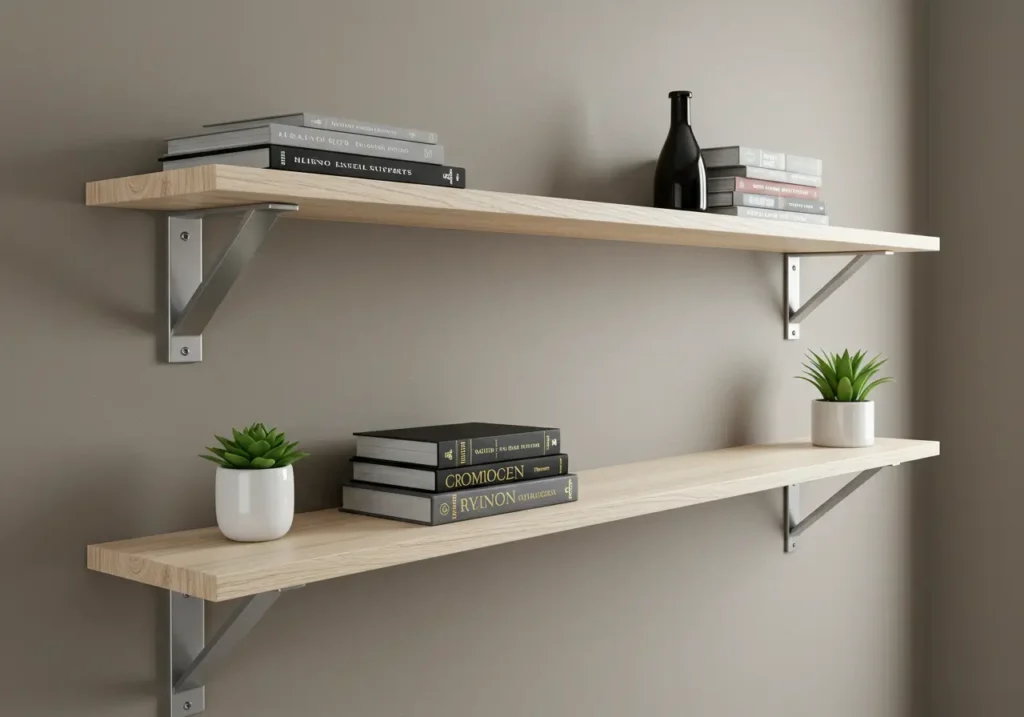
Common floating-shelf systems include:
- Rod-style supports: Metal rods extend from a wall plate or mount and fit into holes drilled in the shelf.
- Concealed wall plates: A metal frame attaches to the wall, and a hollow shelf slides over it.
- Recessed brackets: Supports fit into routed channels or recesses in the shelf.
- Cleat systems: Interlocking components secure the shelf while remaining mostly hidden.
For a long custom shelf or mantel-style project, consider a continuous support such as this 43-inch invisible floating-shelf bracket with eight-inch support rods. Check its required shelf thickness, depth, stud alignment, included hardware, and installation instructions before ordering.
For several smaller shelves, these six-inch hidden steel floating-shelf brackets, pack of four may provide greater layout flexibility. The final capacity still depends on the wall, fasteners, shelf material, support spacing, and installation quality.
Use the screws and anchors specified for the bracket, wall type, and intended load. A drywall anchor’s package rating does not automatically become the shelf’s safe capacity. Shelf depth, bracket spacing, wall condition, leverage, installation quality, and load distribution all affect performance.
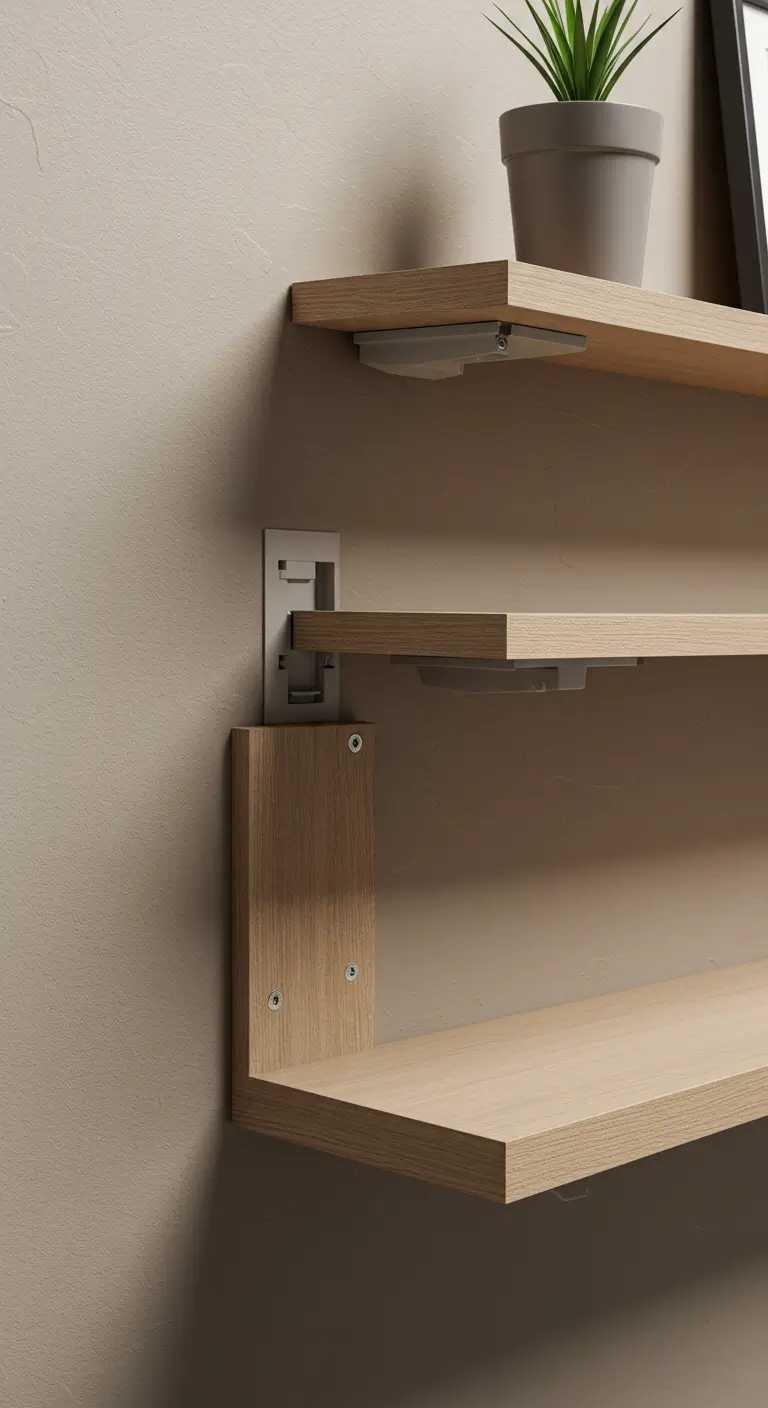
Determine Height and Spacing
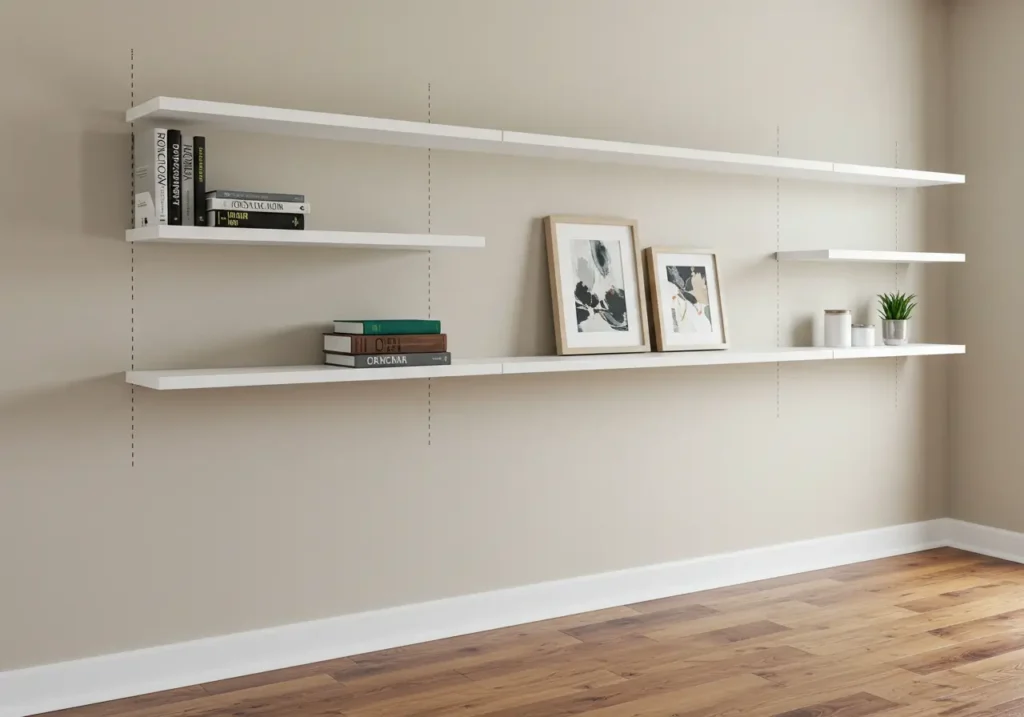
Arrange the shelf around how the room is used, not around an arbitrary standard height. Confirm that doors, cabinet fronts, windows, appliances, and seated occupants will have enough clearance. In a kitchen, avoid locations exposed to excessive heat, steam, or cooking grease. In a bathroom, choose moisture-resistant materials and finishes.
Before drilling, make a temporary outline with low-tack painter’s tape. Place the objects you expect to store nearby and check their height, depth, and visual balance. This simple mockup often reveals spacing problems before they become permanent.
Tools and Materials
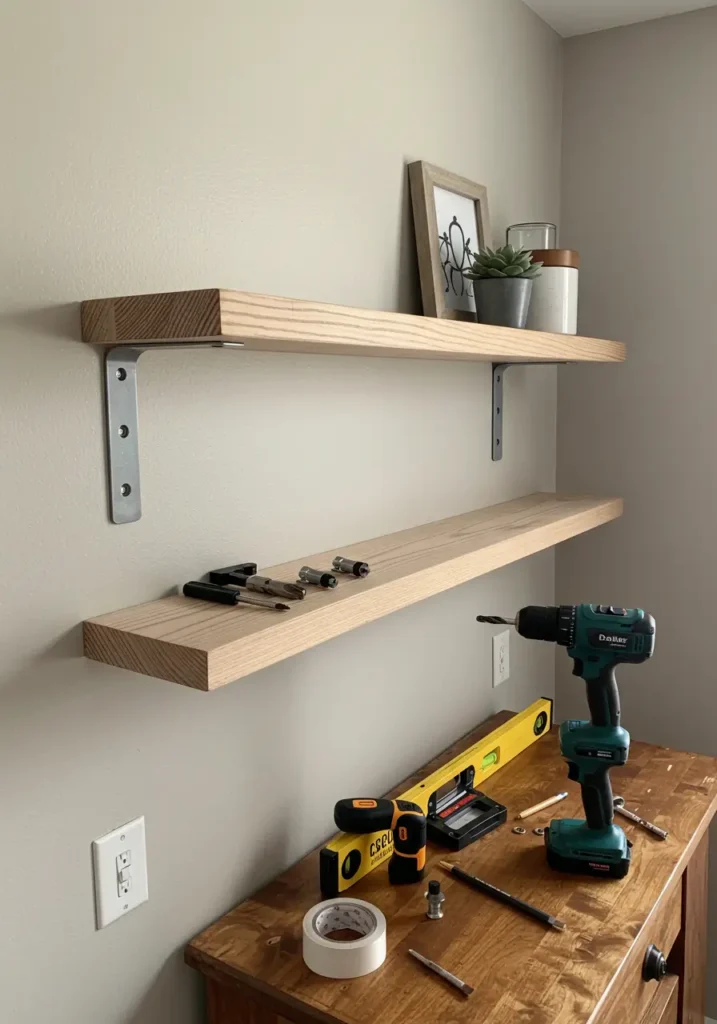
Your exact list will depend on the wall and bracket system, but a typical project requires:
- Shelf board or hollow floating-shelf shell
- Compatible concealed brackets and fasteners
- Stud and utility detector
- Tape measure and pencil
- Long spirit level or laser level
- Drill or driver
- Drill bits matched to wood, metal, or masonry
- Driver bits or screwdriver
- Safety glasses and suitable hearing protection
- Clamps and a stable work surface if preparing the shelf
- Sandpaper, edge banding, paint, stain, or protective finish as needed
The DEWALT Titanium Nitride Coated 10-piece Impact Ready drill-bit set can be useful for drilling appropriate materials when the bit sizes match your shelf and hardware instructions. Titanium-coated general-purpose bits should not be treated as a substitute for dedicated masonry bits when drilling brick or concrete.
A dust mask or suitable respirator may also be appropriate when cutting or sanding wood products. Review the material manufacturer’s safety information, especially when working with engineered boards or old painted wood.
How to Install DIY Floating Shelves
1. Mark the Layout
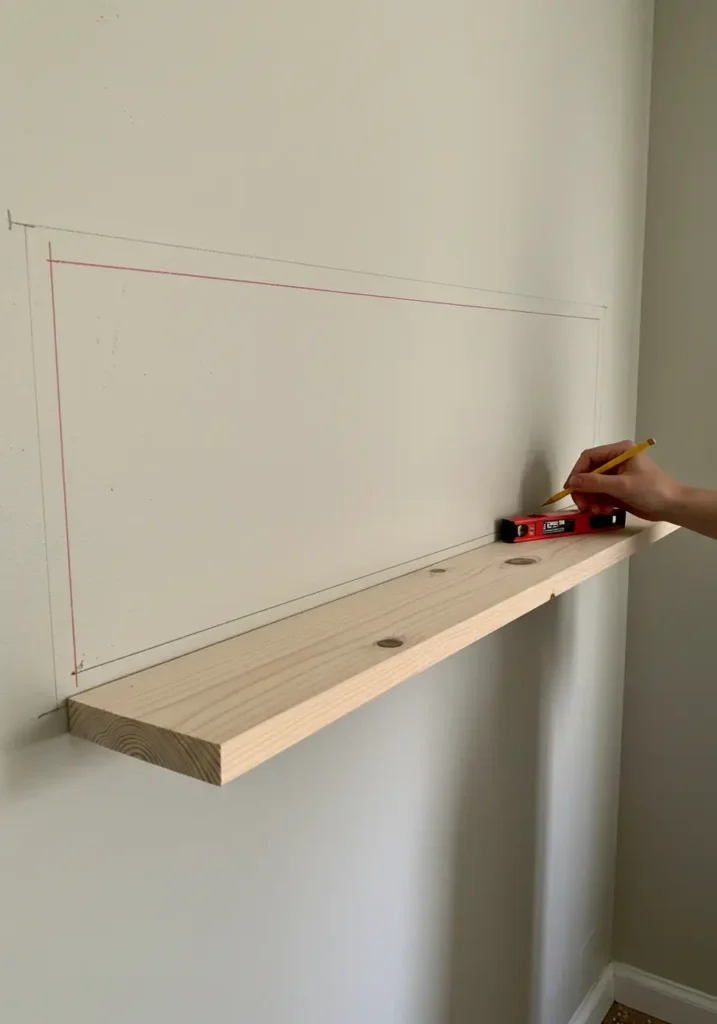
Mark the planned shelf height lightly with a pencil. Locate the framing and scan for concealed services. Hold the mounting plate or bracket against the wall, level it, and mark the actual fixing holes rather than estimating their positions.
Confirm the complete layout before drilling. For multiple shelves, measure from one consistent reference point so small errors do not accumulate from shelf to shelf.
2. Drill Appropriate Pilot Holes
Choose the bit diameter and drilling depth specified by the fastener manufacturer. A hole that is too wide can prevent an anchor from gripping; a hole that is too shallow can stop the fastener from seating correctly.
Keep the drill perpendicular to the wall unless the hardware instructions state otherwise. Stop immediately if the drill meets unexpected resistance, produces unusual material, or appears to enter an empty space where solid framing was expected.
3. Secure the Wall Bracket
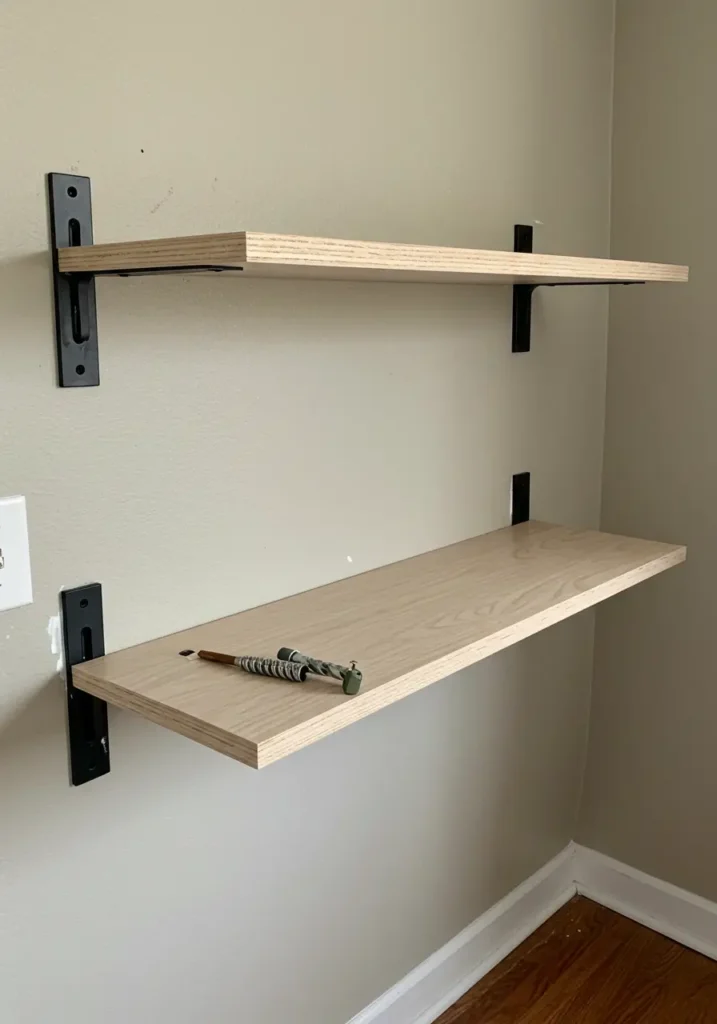
Install the anchors, screws, or masonry fixings according to their instructions. Tighten the bracket evenly so it sits flat without distorting. Over-tightening can strip wood, damage drywall, crush a hollow wall, or reduce the effectiveness of some anchors.
Place the level on the support after the initial fasteners are snug. Correct the position before fully tightening everything, then check again. If the bracket moves, the screws spin without tightening, or the wall surface begins to break, remove the load and correct the attachment before continuing.
4. Prepare the Shelf for Rod Supports
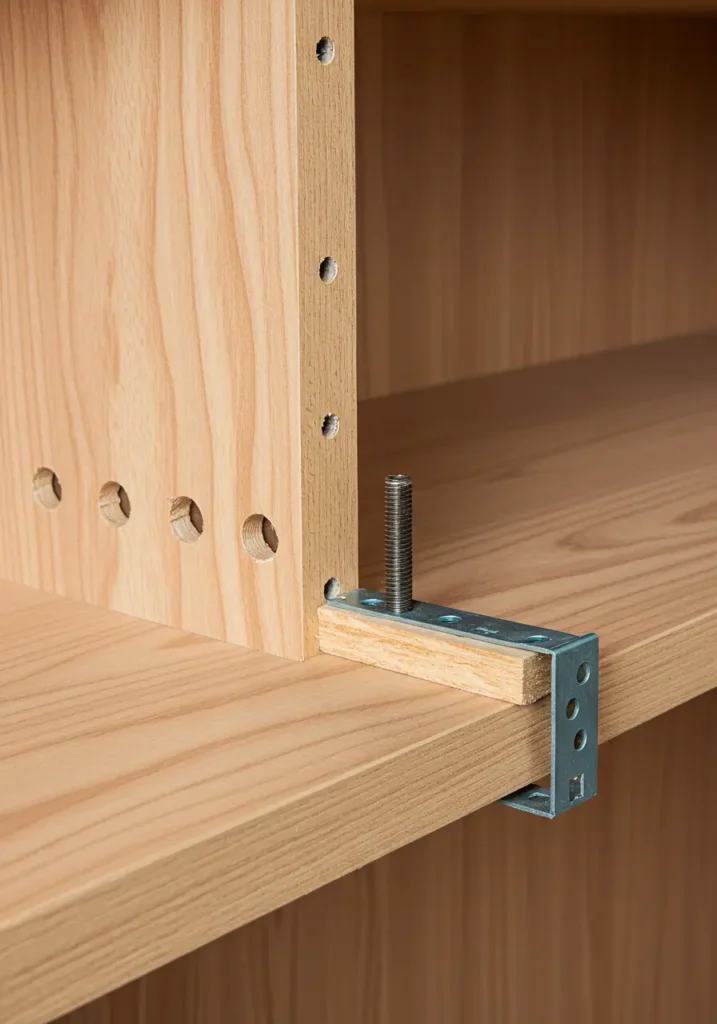
If the support rods fit inside a solid board, transfer their positions carefully to the back edge of the shelf. The holes must match the rod diameter, spacing, angle, and required depth.
Clamp the board securely before drilling. A drill guide or drill press can improve alignment. Do not hold a narrow board in one hand while drilling into its edge. Test the fit without forcing the shelf; misaligned holes should be corrected rather than hammered onto the rods.
5. Fit and Secure the Shelf
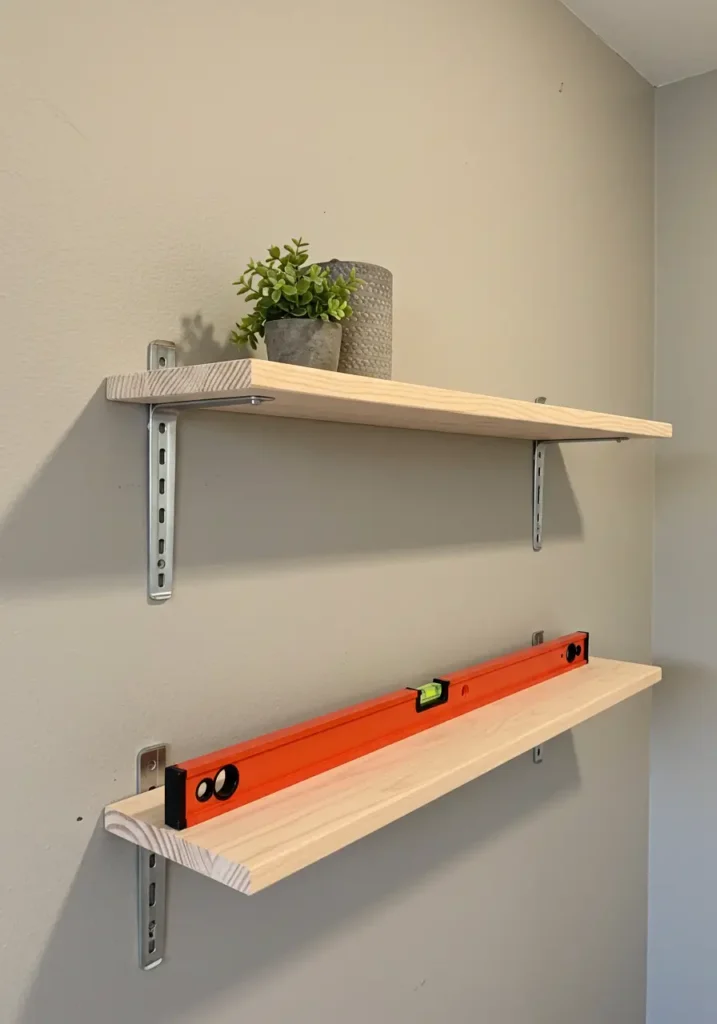
Slide the shelf onto the support while keeping it parallel to the wall. Follow the system’s instructions for locking screws, adhesive, retaining clips, or underside fasteners. Do not add adhesive as a substitute for required mechanical fixings.
Check the shelf from the front and side. A slight upward angle may be intentional on some bracket systems to compensate for loading, but visible movement, a widening gap, or a pronounced downward tilt indicates a problem.
6. Finish and Load It Gradually
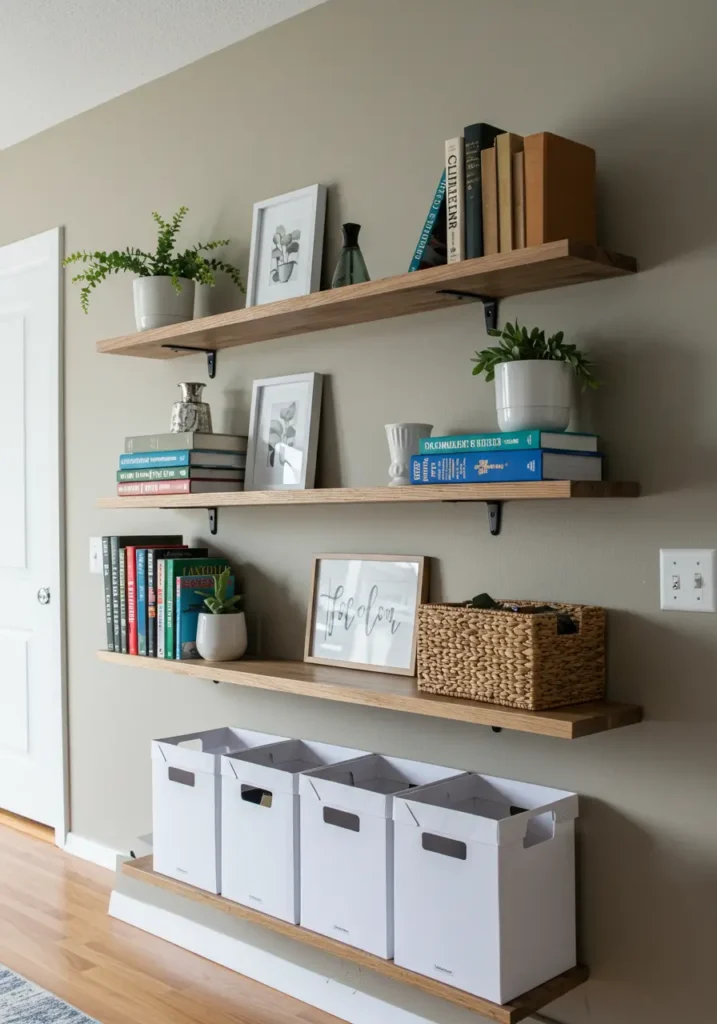
Apply paint, stain, or protective finish in accordance with the product directions and allow it to cure before placing objects on the shelf. It is usually easier and cleaner to complete most finishing before installation.
For wood shelves that need a clear, glossy protective coating, Varathane Water-Based Ultimate Gloss Polyurethane is one finishing option. Follow the label’s preparation, ventilation, application, drying, recoating, and curing directions. Test it on an offcut or inconspicuous area first because the final appearance varies with the wood and existing finish.
Add items gradually while watching for movement or sagging. Distribute the load rather than clustering everything at the outer edge. Keep particularly heavy objects close to bracket locations and close to the wall, provided the complete installation is rated for them.
How to Budget Without Compromising Safety
The price of a floating shelf varies considerably by shelf size, wood species, finish, mounting hardware, location, and tools already owned. Instead of relying on a fixed cost-per-shelf estimate, prepare a project-specific list that includes the board, brackets, correct fasteners, finish, consumables, and any tool rental.
Budget-Friendly Approach
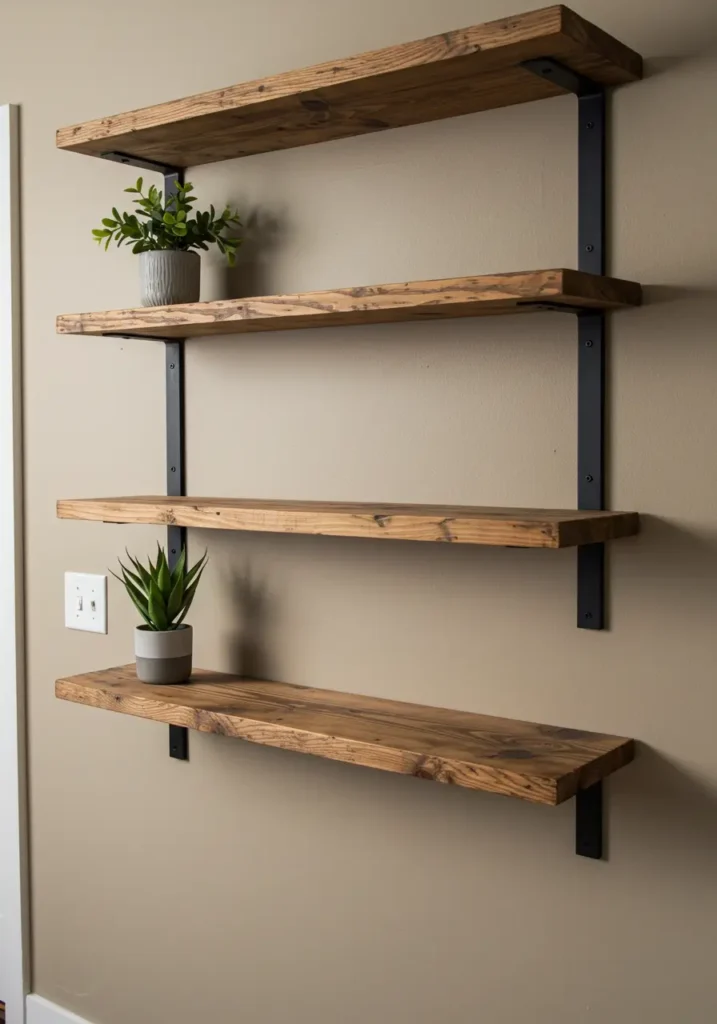
For decorative or lightweight storage, paint-grade lumber, furniture-grade plywood offcuts, or a basic prefabricated shelf can control costs. Save money through a simpler finish and standard dimensions, but do not substitute unverified anchors or undersized brackets.
Mid-Range Approach
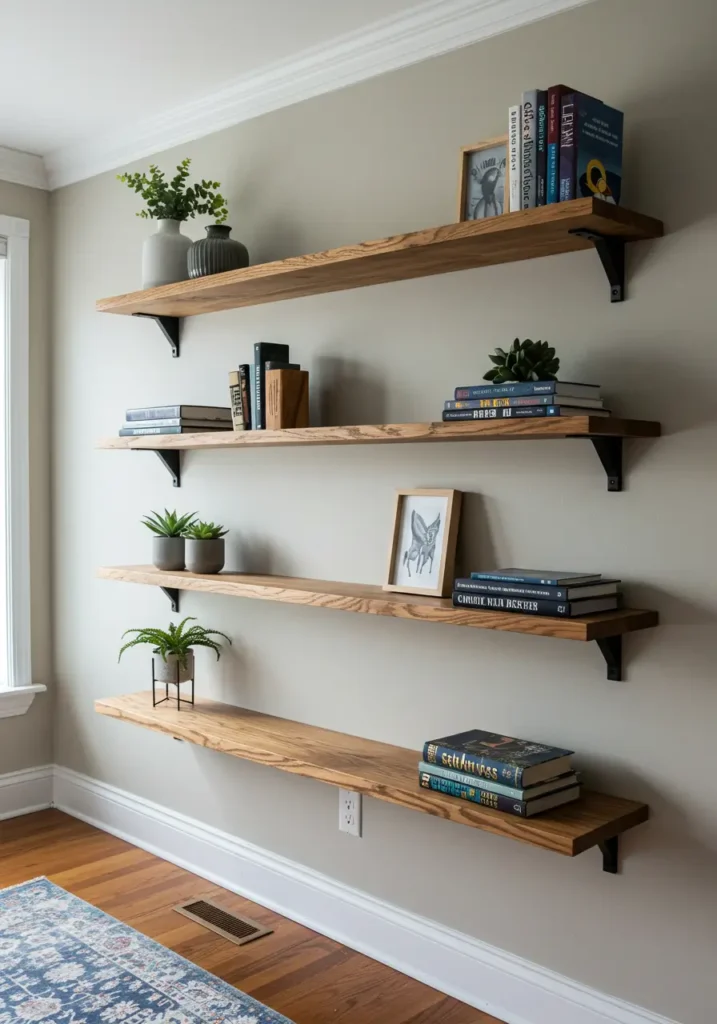
A moderate budget can accommodate a hardwood veneer, thicker board, more adjustable bracket system, or professionally cut components. Precise cutting can be worth paying for when the design requires deep, straight holes for support rods.
Custom or Premium Approach
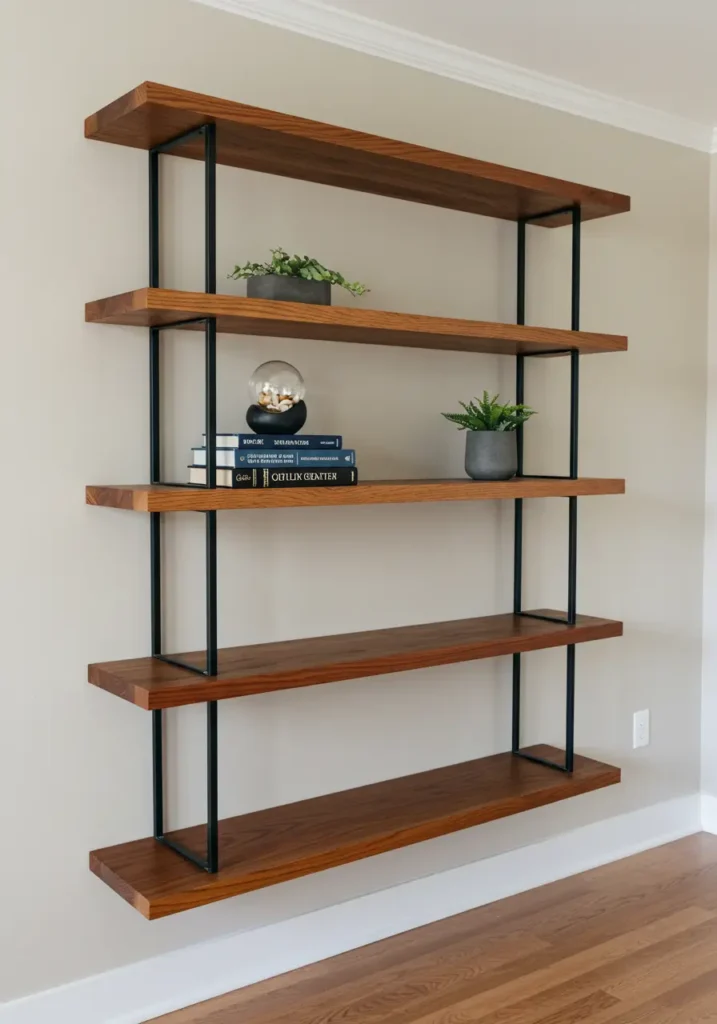
Custom hardwood, long spans, integrated lighting, unusual wall construction, or shelves intended for substantial loads may justify professional fabrication or installation. A qualified installer can also help when hidden utilities, brittle plaster, tile, stone, or uncertain framing makes the project risky.
Also read: 15 Smart Small Apartment Organization Ideas
Room-by-Room Floating Shelf Ideas
Living Room
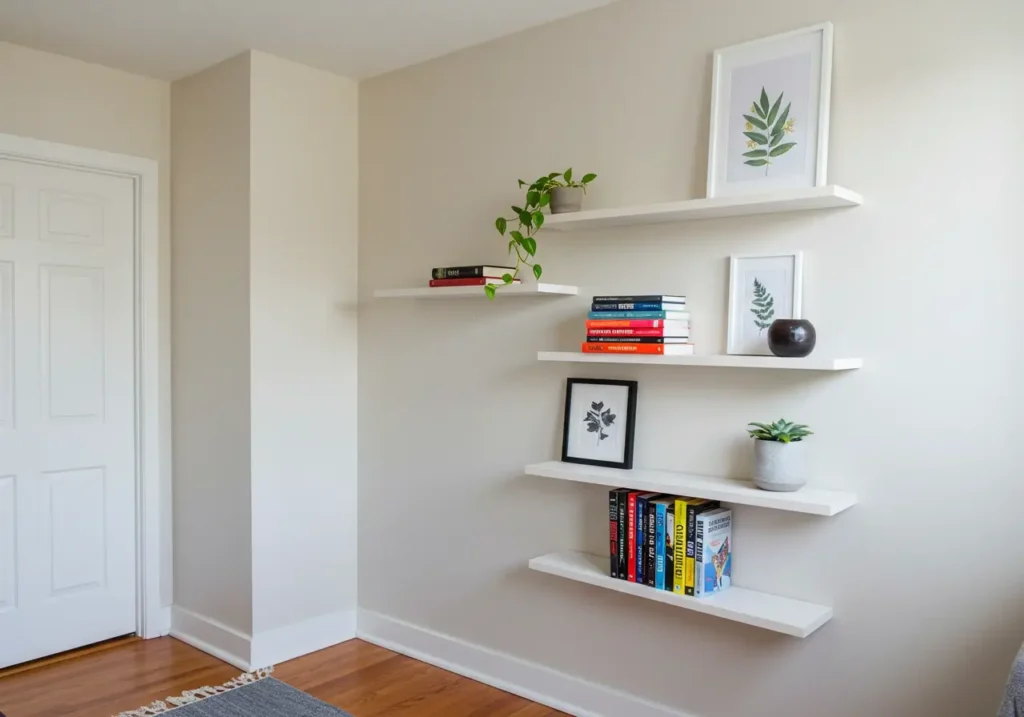
Use a short series of shelves for books, framed art, and small plants. Leave some open space so the display does not become visually heavy. Avoid mounting a heavily loaded shelf directly above a sofa unless its installation and load capacity have been professionally assessed.

Amazon US Verified
Ceramic Fluted Decorative Vase Set
Modern minimalist ceramic vases perfect for shelves, consoles, and dried florals.
Kitchen
Open shelves can keep mugs, spices, and frequently used dishes accessible. Choose a washable finish and avoid storing heavy appliances unless the shelf system is explicitly designed for the load. Keep shelves away from burner heat and locations where steam or grease accumulates rapidly.
Bedroom
A shallow floating shelf can replace a bedside table in a tight room. Use one with a raised edge if it will hold a phone or glasses. Shelves above beds demand extra caution because loosened objects or failed fixings can fall onto occupants.
Bathroom
Install narrow shelves for folded towels and light toiletries. Seal exposed wood on all sides and edges, including holes and end grain. Ventilation remains important because even moisture-resistant finishes cannot compensate for continuously damp conditions.
Home Office
Place supplies above the desk while keeping frequently used objects within comfortable reach. If you add lighting or charging equipment, use listed electrical products and keep cords properly supported rather than pinched behind the shelf.
Styling Shelves Without Creating Clutter
A floating shelf contributes to the room even when it is not full. Start with the practical items that need a home, then add only a few decorative pieces. Vary object heights, repeat one or two colors from the room, and leave open space between groups.
Useful styling combinations include:
- A small stack of books, one framed photograph, and a trailing plant.
- Matching storage boxes with labels and one decorative object.
- Everyday dishes grouped by color or shape.
- A narrow art ledge with overlapping frames instead of many wall holes.
- A rotating display that changes with the season while the shelf stays in place.
In homes with children or pets, avoid unstable, breakable, sharp, toxic, or tempting objects within reach. Secure nearby cords and choose shelf locations that cannot be used as climbing steps.

Amazon US Verified
Hang-O-Matic All-in-One Picture Hanging Tool
Tape measure, sliding level, and markers in one tool for flawless gallery walls.
Maintenance and Warning Signs
Clean for the Material and Finish
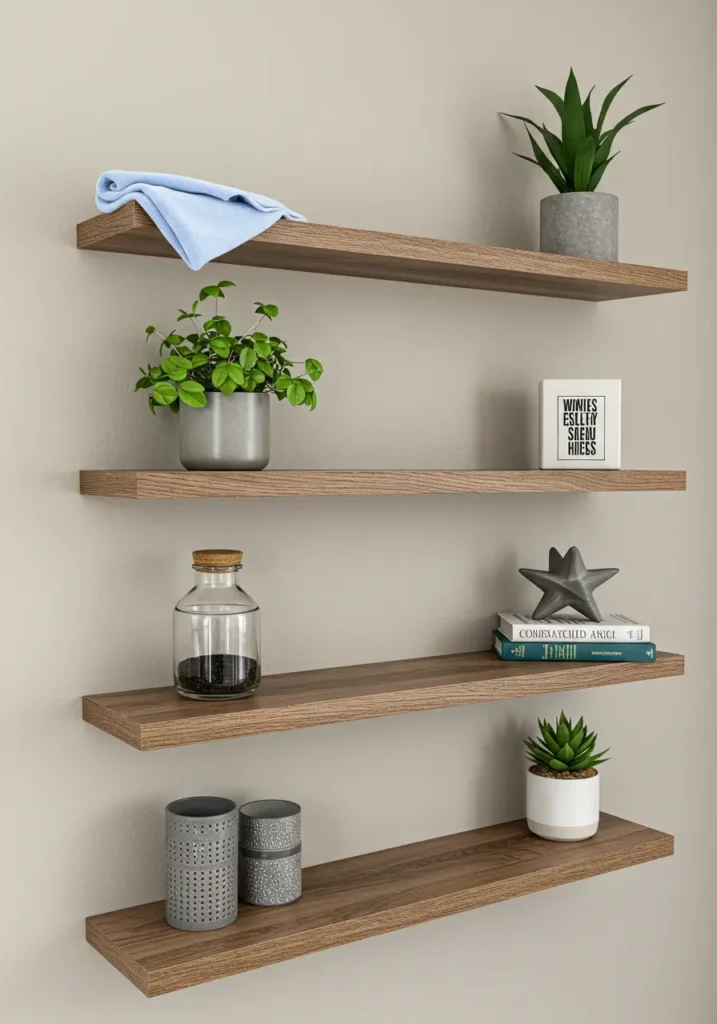
Dust shelves with a soft cloth. Use only cleaning products compatible with the finish, and avoid soaking unfinished wood or MDF. Wipe spills promptly, especially around shelf joints and wall edges where moisture can penetrate unnoticed.
Respect the Complete System’s Load Limit
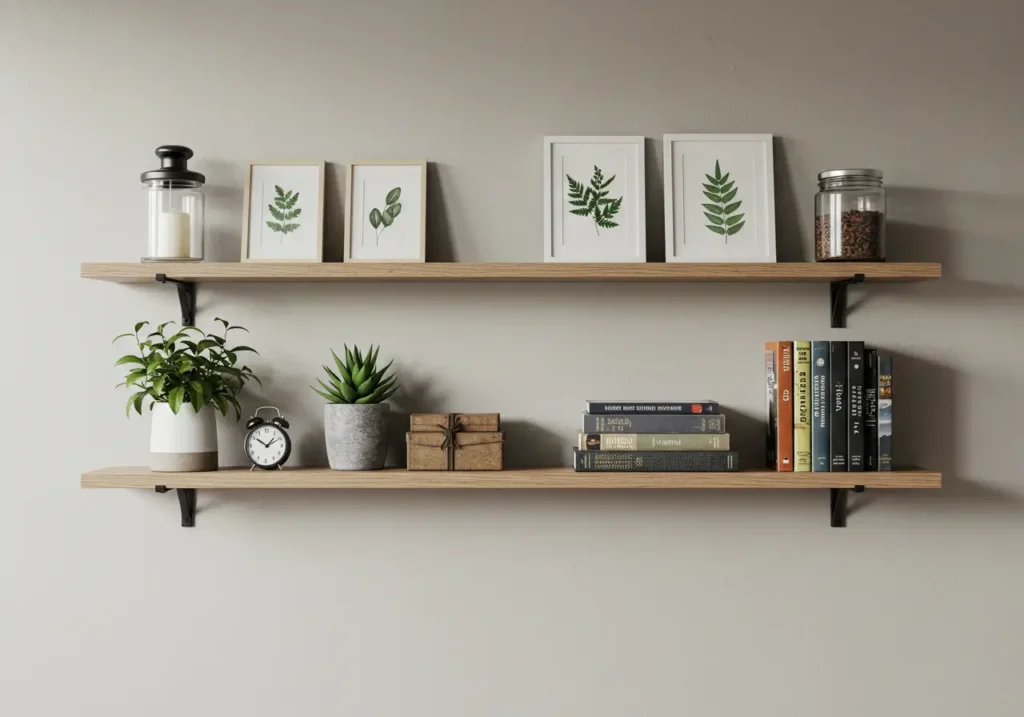
Keep the bracket instructions for future reference and do not exceed the lowest applicable rating among the shelf, bracket, screws, anchors, and wall connection. Remember that pulling, leaning, climbing, or dropping an object onto a shelf creates forces different from a stationary display.
Inspect the Installation Periodically
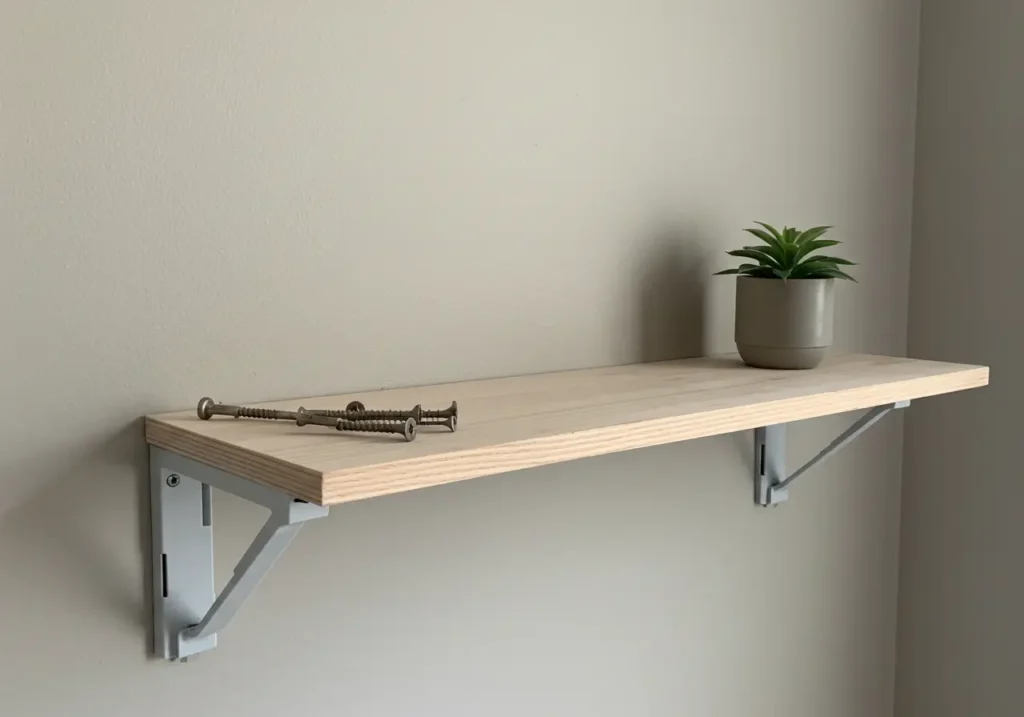
Remove the contents and investigate if you notice:
- A growing gap between the shelf or bracket and the wall.
- Downward tilting or visible sagging.
- Cracked drywall, plaster, masonry, or grout around a fastener.
- Loose locking screws or a shelf that slides on its supports.
- Spinning fasteners that no longer tighten.
- Water damage, swelling, splitting, or delamination.
Do not simply tighten a failed anchor repeatedly. The wall material or fixing may already be damaged and may need a different repair or mounting location.
Flexible Features Worth Considering
Modular Shelving
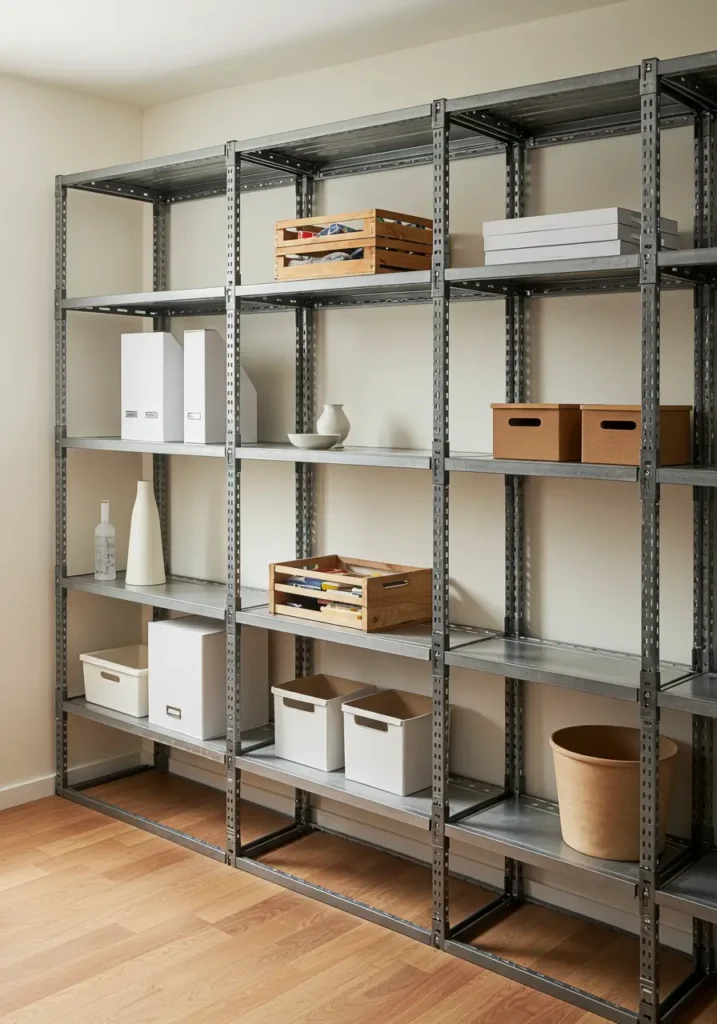
Modular systems are helpful when storage needs change. Adjustable rails or interchangeable shelves may expose more hardware than a true floating design, but they make it easier to alter shelf spacing without drilling an entirely new set of holes.
Integrated Lighting
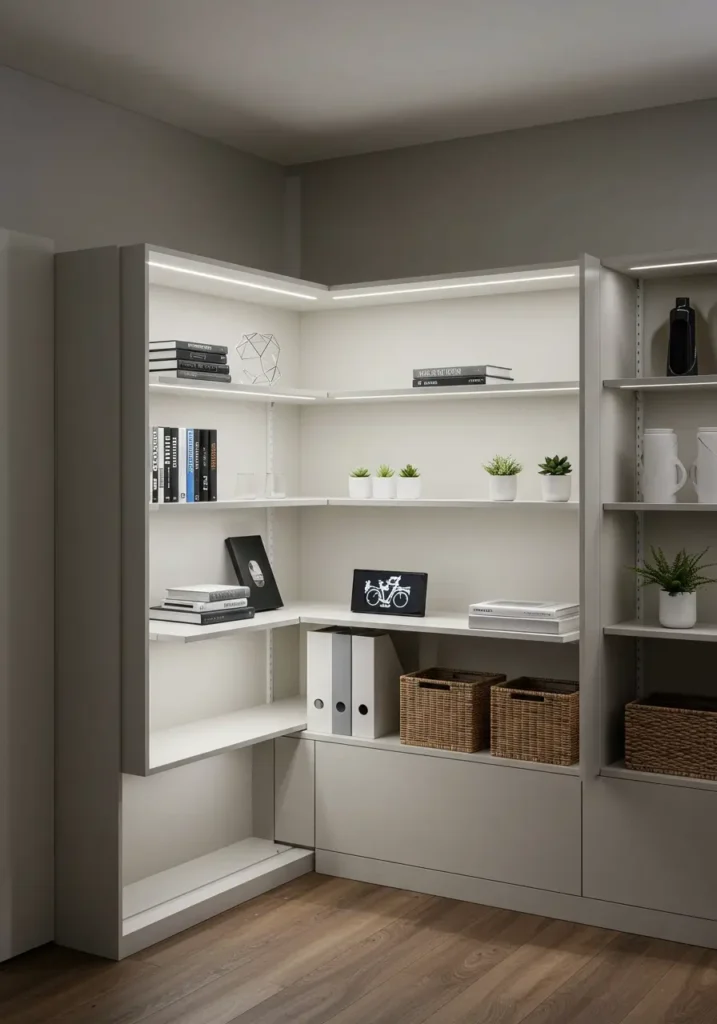
LED strips or purpose-built illuminated shelves can brighten a desk, display, or kitchen work area. Plan cable routing before installation and avoid trapping power cords inside improvised cavities. Any permanent electrical work should comply with local requirements and be completed by a qualified professional where required.
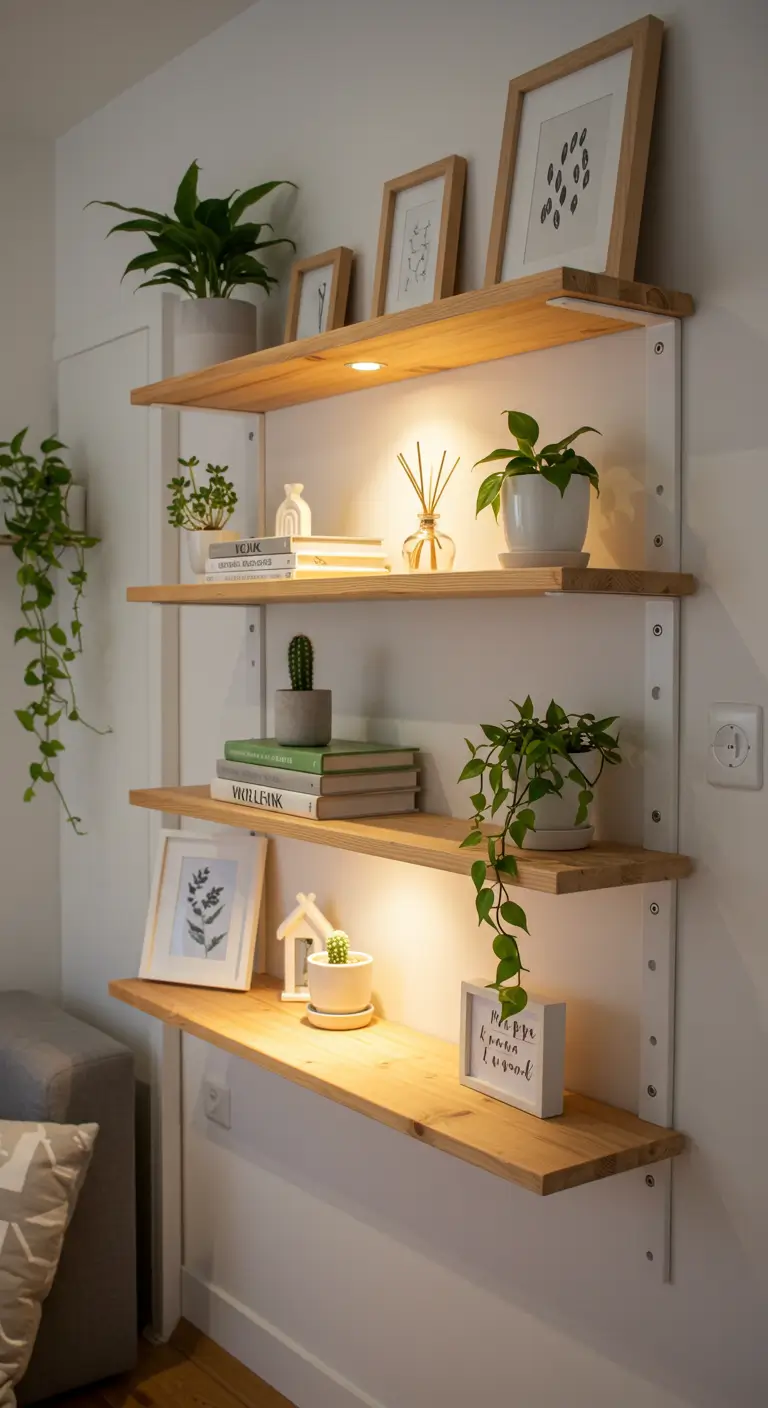
Lower-Impact Materials

Reclaimed timber, responsibly sourced wood, durable plywood, and reused shelf boards can reduce waste when they are structurally sound. The most sustainable shelf is often one that is correctly installed, repairable, and durable enough to remain useful through future room changes.
Common Floating-Shelf Mistakes to Avoid
- Buying the shelf before checking the wall: The chosen bracket may not align with usable framing or suit the substrate.
- Trusting a stud finder without further checks: Detectors can react to pipes, metal, wiring, or changes in wall density.
- Using generic anchors for every wall: Fasteners must match the actual wall material and load.
- Ignoring shelf depth: A deeper shelf creates more leverage on the wall connection.
- Drilling support holes freehand without a guide: Small alignment errors can prevent a solid shelf from seating correctly.
- Loading the shelf immediately: Paint, adhesive, and some anchoring products may require curing time.
- Placing excessive weight at the front edge: This increases leverage and can encourage tilting or failure.
- Installing over a bed or seat without considering consequences: The location raises the risk if an object or shelf comes loose.
Is a DIY Floating Shelf Right for Your Home?
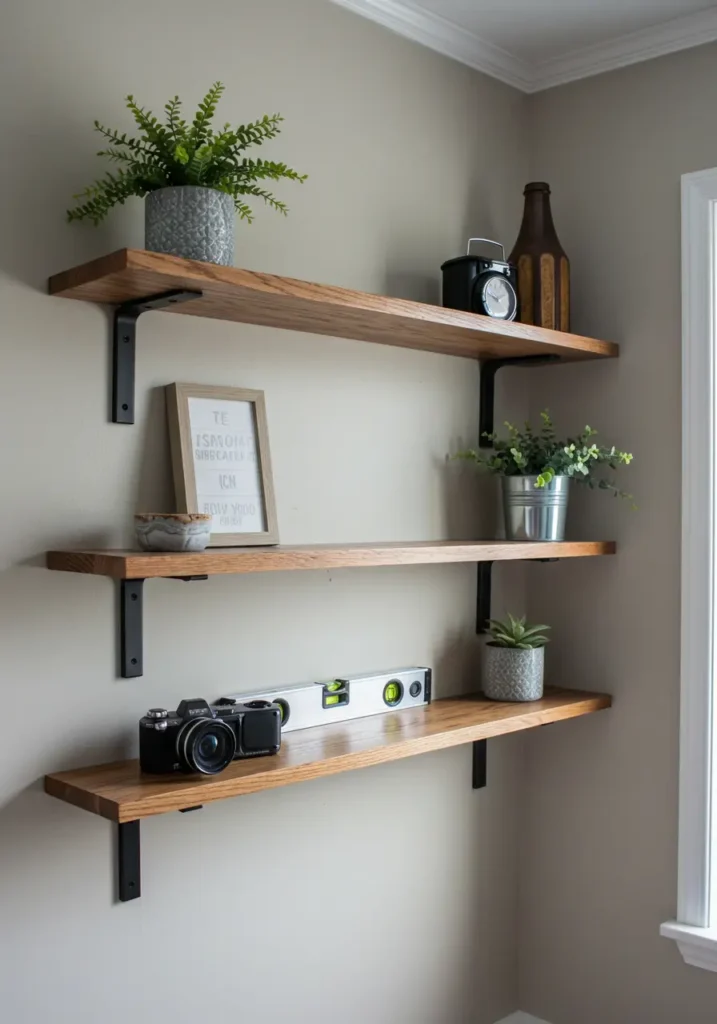
A DIY installation is most suitable when the wall construction is known, the supports can be securely attached, the intended objects are within the system’s rating, and you have the tools to drill accurately. A prefabricated kit can simplify the process because the shelf and bracket are designed to work together.
Amazon US Verified
Peel and Stick Textured Linen Wallpaper
Removable neutral wall covering providing architectural warmth and tactile depth.
Consider professional help when the wall contains tile or stone, the framing is difficult to locate, the shelf will carry substantial weight, the installation is above a bed or seating area, or concealed electrical and plumbing services cannot be confidently avoided.
When planned around real storage needs and installed with compatible hardware, floating shelves can make a small home feel calmer and more functional. Measure carefully, prioritize the wall connection, load the shelf conservatively, and leave enough open space for the room to breathe.
Frequently Asked Questions
How much weight can a floating shelf hold?
There is no universal capacity. It depends on the wall, fasteners, bracket design, shelf dimensions, bracket spacing, installation quality, and where objects are placed. Use the complete system’s documented rating and never assume an anchor’s individual rating represents the finished shelf capacity.
Do floating shelves have to be attached to studs?
Stud attachment is generally preferable for heavier loads on framed walls, but some systems are engineered for approved hollow-wall or masonry anchors. Follow the bracket and fastener manufacturers’ requirements. If the planned shelf cannot be attached as specified, choose another position or system.
Can floating shelves be installed in a rental home?
Possibly, but drilling and anchoring may require the property owner’s permission. Review the lease first. Removable adhesive shelves are suitable only for very light objects and must be used within the adhesive manufacturer’s surface and load instructions.
How deep should a floating shelf be?
Choose the shallowest depth that comfortably holds the intended items. Deep shelves project farther into the room and place greater leverage on their supports. Confirm the maximum shelf depth allowed by the bracket manufacturer.
Why is my floating shelf leaning forward?
Possible causes include loose fasteners, damaged anchors, flexible brackets, an uneven wall, misaligned support holes, excessive depth, or overloading. Unload the shelf and inspect the complete installation before using it again.
Can I install floating shelves on brick or concrete?
Yes, when the masonry is sound and the drill bit, fixing, embedment depth, and installation method are suitable for that exact material. Brick, concrete, hollow block, and mortar do not all use the same fasteners.
This post contains affiliate links. If you purchase through one of these links, Azuloz may earn a commission at no additional cost to you.
As an Amazon Associate, azuloz.com earns from qualifying purchases.