You take pride in maintaining a tidy exterior around your home, mowing the lawn and trimming the hedges, yet those thin lines running through your concrete driveway seem to mock your efforts. Cracks do not just look unsightly; they can let water seep beneath the slab, leading to bigger problems down the road. The good news is that you can repair concrete driveway cracks yourself with a few basic tools and a weekend afternoon. This guide walks through seven practical tips to get the job done right.
1. Assess Whether the Crack Is a Candidate for Caulk
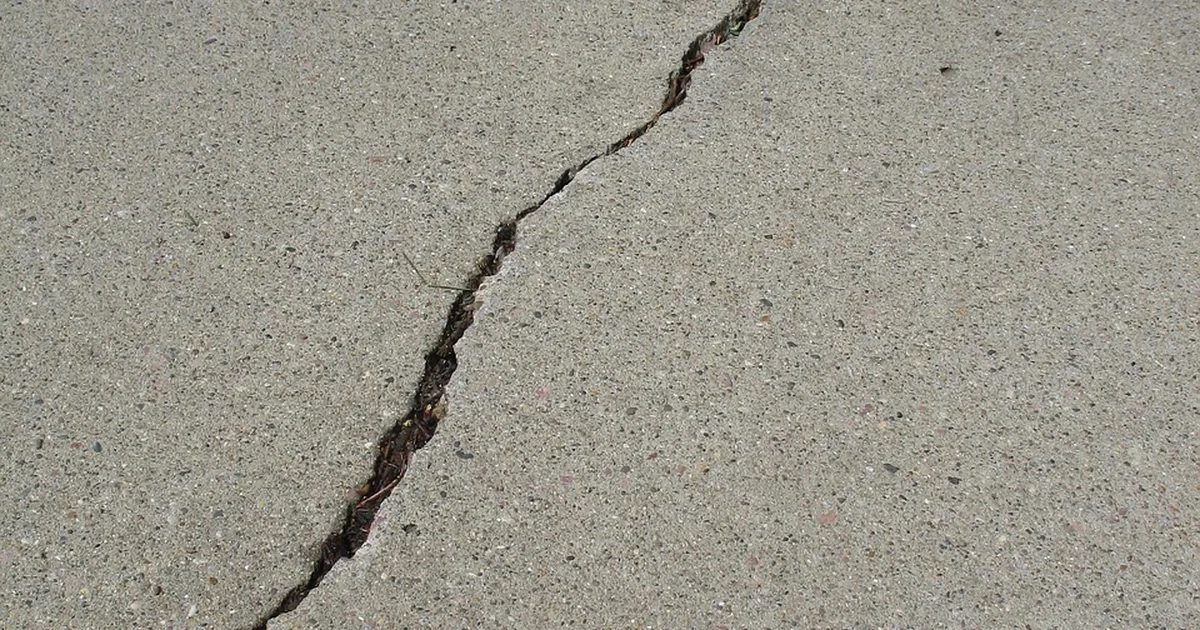
Not every crack in your driveway requires a professional crew or heavy machinery. As a rule of thumb, cracks measuring less than half an inch in width are suitable for a simple caulk repair, provided both edges sit at the same height and the crack is not actively widening. If you notice one side is higher than the other, or if the gap seems to grow over several weeks, you may be dealing with soil movement or drainage issues that need a contractor’s evaluation.
Take a tape measure to the widest point of the crack. If it falls under the half-inch mark and feels stable, you have a good candidate for a DIY fix. Wider gaps, especially those that form a web of interconnected lines, often indicate heaving or poor subgrade conditions. In those cases, calling a professional is the smarter move.
When to Stop and Call a Pro
Deep and wide cracks that run the full length of the driveway or show vertical displacement between the two sides suggest an underlying structural problem. Water pooling near the crack after rain is another red flag. If you see any of these signs, do not attempt to fill them with caulk alone. The repair will fail, and the underlying issue will worsen.
2. Choose the Right Sealant for the Job
Walking down the sealant aisle at your local hardware store can feel overwhelming. You will see tubes labeled for asphalt, for driveways, for general concrete, and for patching. For small cracks, skip the asphalt-specific products and reach for a flexible concrete sealant that contains polyurethane. A popular and reliable option is SIKA Sikaflex Self-Leveling Sealant, though other brands with similar polyurethane formulas work just as well.
Polyurethane caulk is gray, but it usually has a slightly different hue than weathered concrete and appears glossier after curing. This aesthetic trade-off matters. The caulk fixes the function by sealing the crack, but it will not perfectly match the aged surface. If curb appeal is your primary concern, you can always resurface the entire driveway after the cracks are sealed.
Why Not Use Standard Silicone?
Standard silicone caulk is designed for indoor use around windows and tubs. It lacks the flexibility and UV resistance needed for outdoor concrete surfaces. Over time, silicone will crack, peel, or shrink, leaving your driveway vulnerable again. Polyurethane-based products are formulated to expand and contract with temperature changes, making them far more durable for this application.
3. Prepare the Crack Properly Before Application
Preparation is half the battle when you set out to repair concrete driveway cracks. Skipping this step is the most common reason DIY repairs fail within a few months. You need to create a surface that the caulk can grip firmly.
For wider cracks, use a hammer and a chisel to remove any overhanging edges along the top. The goal is to create a V-shape that is wider at the top than at the bottom. This shape gives the caulk a mechanical lock, preventing it from popping out later. Do not chisel too aggressively; just remove the loose bits and the thin lips along the edges.
After chiseling, clear out all loose debris from inside the crack. A stiff wire brush works well for this. Follow up by cleaning the entire driveway with a pressure washer, focusing on the crack area. The water blast removes dust, dirt, and small pebbles that could prevent adhesion.
The Drying Wait
Once the crack is clean, you must let the concrete dry completely. In dry weather with moderate temperatures, this takes about 24 hours. If you apply caulk to a damp surface, the sealant will not bond properly and will peel away within weeks. Patience here pays off.
4. Load the Caulk Gun and Apply with Control
The procedure for caulking a concrete crack is not much different from caulking baseboards or window frames. Cut the tip of the tube at a 45-degree angle, making the opening just wide enough to fit inside the crack. Insert the tube into a standard caulk gun and squeeze the trigger until a small bead of sealant appears.
Place the tip of the tube into the crack at one end. Depress the trigger and begin drawing the tube along the length of the crack, keeping the tip submerged in the sealant. Move at a steady pace so the caulk fills the gap evenly. When you need to stop, remember to release the pressure on the trigger first; otherwise, caulk will continue oozing out and create a mess on the driveway.
For longer cracks, work in three- to four-foot sections. This approach keeps the sealant fresh and manageable, preventing it from skinning over before you have a chance to smooth it.
Self-Leveling vs. Non-Self-Leveling
Some polyurethane sealants are labeled as self-leveling, meaning they flow slightly after application to fill the crack uniformly. Others are more viscous and require manual smoothing. If you choose a self-leveling product, you still need to guide it with a putty knife to ensure it sits flush with the surface. Non-self-leveling products definitely need smoothing.
You may also enjoy reading: Neighbor’s Tree Fell in Your Yard? Here’s Who Cleans.
5. Smooth the Caulk for a Flush Finish
After applying the sealant, take a putty knife or a disposable gloved finger and run it along the filled crack. This step levels the caulk so it sits slightly below or exactly even with the surrounding concrete. Do not press too hard or you will scoop the sealant out of the crack. A gentle, sweeping motion works best.
If you use your finger, dampen it slightly with water to prevent the caulk from sticking to your skin. Smoothing not only improves appearance but also removes air pockets that could weaken the seal. Any excess caulk that spills onto the driveway surface should be wiped away immediately with a damp rag before it cures.
Dealing with the Shiny Look
Polyurethane caulk dries with a glossy finish that stands out against the matte texture of aged concrete. This contrast is normal and unavoidable. If the shiny appearance bothers you, consider sprinkling a small amount of fine sand over the wet caulk. The sand blends in with the concrete texture and reduces the gloss. Just be sure to brush off the excess sand after the caulk cures.
6. Allow Proper Curing Time Before Use
Once the caulk is smoothed and any excess is cleaned up, the waiting game begins. Most polyurethane sealants require 24 to 48 hours to cure fully. During this period, keep foot traffic and vehicle weight off the repaired area. If you drive over the crack too soon, the sealant may deform or tear, ruining your work.
Check the manufacturer’s instructions on the tube for specific drying times. Humidity and temperature affect cure rates. On a cool, damp day, the caulk may take closer to 48 hours. On a warm, dry day, it might be ready in 24 hours. When in doubt, wait an extra day. The sealant will be stronger for it.
What If the Crack Reappears?
If a crack you filled opens again within a few months, it indicates one of two things. Either the preparation was insufficient, meaning the caulk did not bond, or the underlying concrete is moving due to soil shifts or drainage problems. In the first case, you can re-clean and re-caulk the crack. In the second case, it is time to consult a professional who can assess the foundation.
7. Consider the Bigger Picture of Driveway Maintenance
Filling small cracks is a satisfying weekend project, but it is only one piece of driveway care. Water is the enemy of concrete. Once it finds a path under the slab, freeze-thaw cycles can lift and crack the surface over time. Sealing cracks promptly prevents this chain reaction.
After you repair concrete driveway cracks, think about applying a concrete sealer to the entire driveway. A quality sealer creates a protective barrier that reduces water absorption and slows the formation of new cracks. This step is especially important if you live in a region with harsh winters and frequent freeze-thaw cycles.
Seasonal Timing Matters
Temperature and humidity directly affect how well polyurethane caulk adheres and cures. The ideal window for this project is a dry day with temperatures between 50°F and 80°F (10°C to 27°C). If it is too cold, the caulk becomes thick and difficult to apply. If it is too hot, the sealant may skin over too quickly before you can smooth it. Plan your repair for spring or fall when conditions are mild.
Rain is another factor. Do not apply caulk if rain is forecast within 24 hours. Moisture will prevent proper bonding and wash out uncured sealant. Check the weather forecast and pick a stretch of dry days.