That first humid evening of summer arrives, and you notice a small cluster of winged insects hovering near your living room window. Your heart sinks. Are they termites? Are they ants? Either way, they are unwanted guests. The sight of flying ants can feel alarming, especially when they appear in numbers. But here is the reassuring truth: while they are a nuisance, they are rarely a danger to your family or your home’s structure. The real challenge is knowing how to send them packing and keep them from coming back. Effective flying ants removal does not require a hazmat suit or a call to a specialist every single time. It does require a clear plan, a bit of patience, and the right techniques. This guide walks you through seven distinct, actionable methods to reclaim your space.
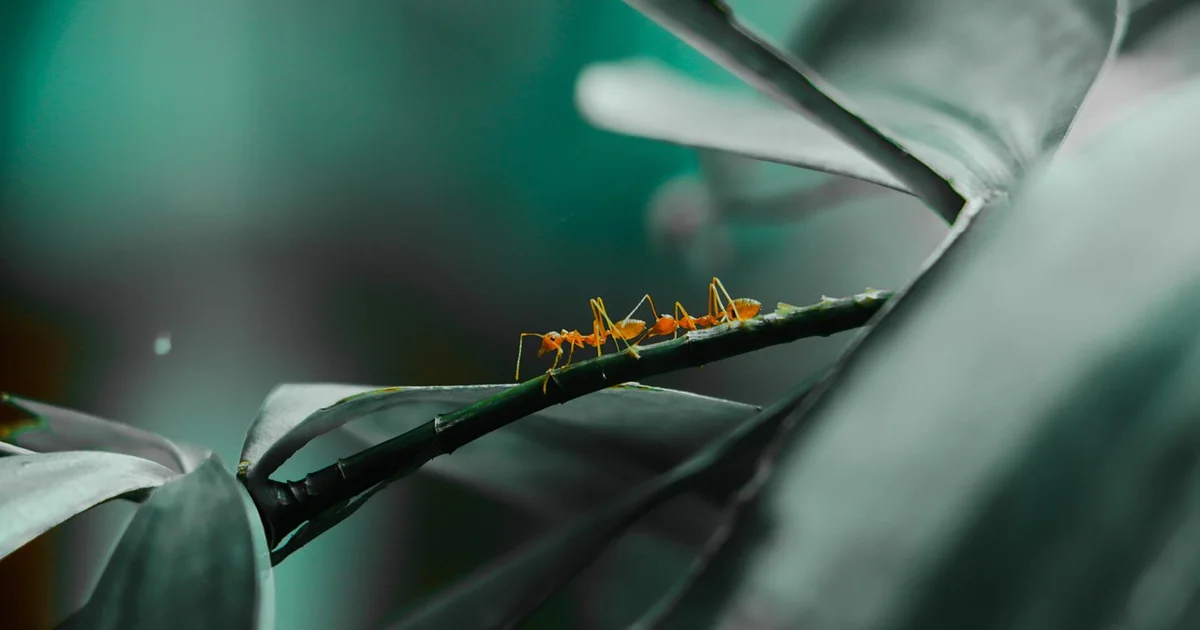
1. Confirm the Invader: Is It Really a Flying Ant?
Before you take any action, you need to be absolutely certain about what you are dealing with. Mistaking a termite for a flying ant — or vice versa — can lead to either unnecessary panic or dangerous complacency. Termites cause billions of dollars in property damage annually in the United States alone, according to industry estimates. Flying ants, on the other hand, are primarily a seasonal annoyance.
Look closely at the insect’s body. A flying ant has a pinched, wasp-like waist, while a termite has a thick, straight waist. Check the antennae. Ants have elbowed antennae that bend at a sharp angle. Termites have straight, bead-like antennae. Finally, examine the wings. A flying ant’s front wings are noticeably longer than its hind wings. Termites have two pairs of wings that are almost identical in length. If you are still unsure after this inspection, it is worth the peace of mind to hire a pest control professional for a quick identification. Knowing your enemy is the first step in any successful flying ants removal strategy.
2. The Immediate Solution: Vacuum and Dispose
When you spot a swarm of winged ants inside your home, your first instinct might be to reach for a can of spray. Resist that urge. The fastest, cleanest, and most effective method for immediate relief is your vacuum cleaner. Attach the hose extension and methodically suck up every flying ant you can see on walls, windowsills, and curtains. This method works because it removes the insects instantly without releasing chemical particles into your indoor air.
There is a critical step you cannot skip. Once you have finished vacuuming, immediately take the canister or bag outside. Empty the contents into a sealed outdoor trash bin. If you leave the flying ants inside the vacuum, they can crawl back out through the hose or the exhaust. A surprising number of them survive the trip through the tube. By removing the bag outdoors, you ensure they do not get a second chance to reinfest your living room. This simple two-step process is the cornerstone of safe, immediate flying ants removal for any household.
3. A Gentle Spray: Dish Soap and Water
For the ants that escape your vacuum or for those you find in hard-to-reach spots, a homemade spray works wonders. Fill a standard spray bottle with water and add about a tablespoon of liquid dish soap. Shake it gently to mix. This solution is surprisingly lethal to flying ants. The soap breaks down the waxy coating on their exoskeleton, causing them to dehydrate and suffocate rapidly.
This method is ideal for families with young children and pets. Unlike commercial insecticides, the soap mixture poses minimal risk if accidentally touched or ingested in tiny amounts. You can spray it directly on ants crawling on baseboards, countertops, or window frames. It is also safe to use on most surfaces, though you might want to test it on a hidden spot first. For someone concerned about using harsh chemicals indoors, this approach offers effective flying ants removal without the worry. Just remember to reapply after cleaning the area, as the residue dries and loses its potency.
4. Seal Every Gateway: Caulk and Weatherstripping
Vacuuming and spraying handle the ants you can see. But what about the thousands more waiting outside? The most important long-term step in flying ants removal is prevention through exclusion. Flying ants enter your home through the tiniest gaps. Walk around the perimeter of your house, both inside and out, and look for cracks in the foundation, gaps around window frames, and spaces where utility pipes enter the walls.
Use a high-quality silicone or acrylic caulk to seal these openings. Pay special attention to areas where wood meets concrete, as these joints often shrink over time. Replace worn-out weatherstripping around doors. Install mesh screens over vents and chimney openings. This work is tedious, but it is the single most effective barrier you can create. Without these entry points, flying ants cannot get inside to begin their search for a nesting site. Sealing your home transforms your strategy from reactive to proactive, stopping the problem before it starts.
5. Remove the Buffet: Eliminate Food and Water Sources
Ants, including the winged reproductive ones, are always on the hunt for food and moisture. If your home offers an easy meal, they will find a way in. The most attractive items are sugary substances. A single spilled drop of soda on the kitchen floor or a sticky residue on a countertop can draw a trail of ants from across the yard. Wipe down surfaces daily with a vinegar-and-water solution to remove sweet smells.
You may also enjoy reading: 5 Reasons This Fragrant Perennial Quietly Replaces Lavender.
Store all pantry items, especially sugar, honey, syrup, and cereal, in airtight glass or plastic containers. Pet food is a major attractant. Do not leave your cat or dog’s bowl out overnight. Store dry kibble in a sealed bin. Fix any leaky faucets or pipes under the sink. Even a small drip creates a water source that can sustain a colony. By removing these basic necessities, you make your home far less appealing. This step is a cornerstone of integrated pest management and a vital part of any long-term flying ants removal plan.
6. Clear the Yard: Manage Moisture and Nesting Sites
Your yard is the staging ground for a flying ant invasion. Winged ants emerge from mature colonies in the soil, under logs, or inside rotting tree stumps. To reduce the population near your home, you must make your property less hospitable. Start by inspecting your yard for decaying wood. Remove fallen branches, old stumps, and piles of firewood. Repair any rotting fence posts or wooden decks.
Moisture is a powerful lure. Ants prefer to nest in damp soil and wood. Ensure your gutters are clean and direct water away from your foundation. Trim back shrubs and tree branches that touch your house, as ants use these as bridges. Keep mulch beds at least six inches away from the siding of your home. Mulch retains moisture and provides an ideal nesting environment. Instead, use gravel or stone near the foundation. By altering the landscape around your home, you create a dry, uninviting buffer zone that makes flying ants removal a much simpler task.
7. Strategic Traps and Barriers: Sticky Tape and Baits
Even after sealing and cleaning, a few persistent ants may still find their way inside. For these stragglers, physical traps are a low-effort, effective solution. Hang sticky fly tape near windows or light sources where flying ants tend to gather. The tape catches them as they land, and they cannot escape. This method is silent, chemical-free, and surprisingly satisfying to check.
For a more targeted approach, use ant baits placed near ant trails or suspected entry points. Baits work differently than sprays. Worker ants carry the poisoned bait back to the colony, where it is shared with the queen and other members. This can eliminate the entire nest over a few days. Place baits in areas that are out of reach of children and pets. Combine these traps with the other methods listed above, and you have a comprehensive system. This final layer of defense ensures that your flying ants removal efforts are thorough and lasting.
Flying ants are a seasonal nuisance, but they do not have to take over your home. By combining immediate action with long-term prevention, you can keep your living space comfortable and pest-free. Start with the vacuum and the soap spray for today’s problem. Then, work through the sealing, cleaning, and landscaping steps to ensure the problem does not return next season. You have the tools and the knowledge to handle this yourself.