The cabin trip aesthetic is not simply a collection of plaid blankets, enamel mugs, and pine trees. Its real appeal comes from contrast: warm shelter against wild surroundings, quiet interiors after an active day, and small rituals that feel more meaningful when you slow down. A strong cabin photo captures one of those experiences instead of merely arranging rustic props.
The 10 cabin photography ideas below work with a phone or a dedicated camera. Each one includes practical direction on light, composition, styling, and safety so you can create atmospheric images without making the trip feel like a staged photo shoot.
1. Capture a Golden-Hour Porch
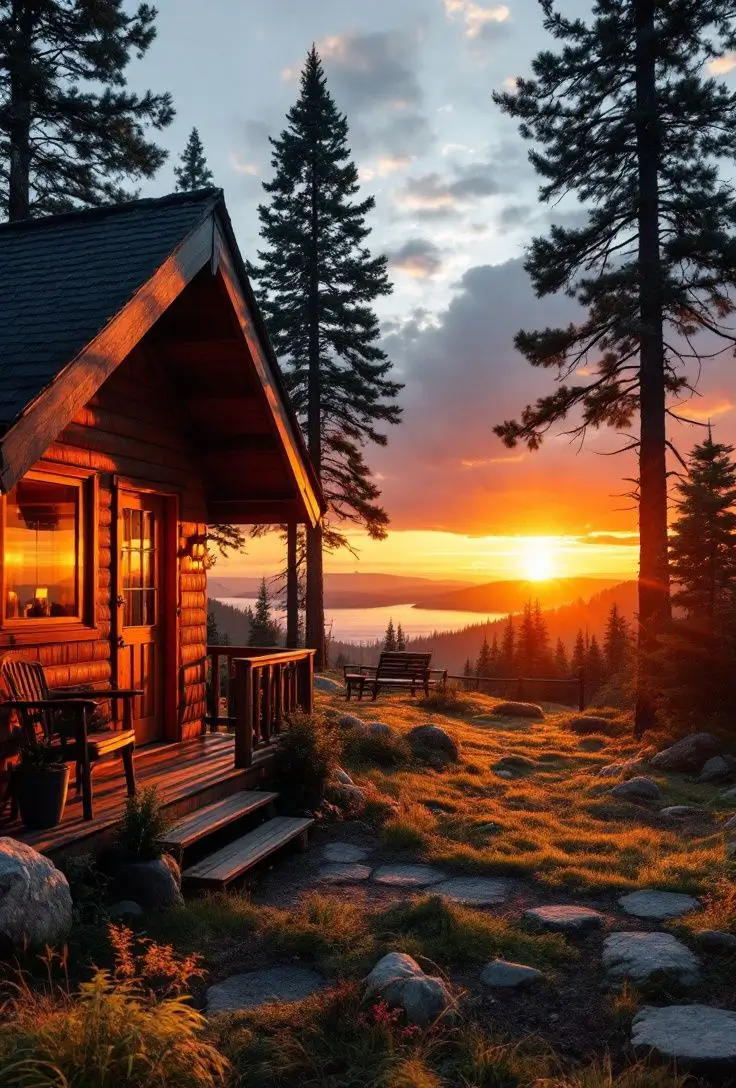
A weathered porch in low, golden light expresses the unhurried side of cabin life. The scene works because it contains both a place to rest and a hint of the landscape beyond it. A chair, warm drink, book, or folded blanket can suggest a story without overwhelming the frame.
How to Get the Shot
- Check the direction of the porch: An east-facing porch is suited to sunrise; a west-facing one is usually better near sunset. Use a sun-position app before your trip if this photograph matters to you.
- Expose for the bright areas: Tap the sunlit part of the image on a phone, then lower the exposure slightly. This helps retain color in the sky and prevents pale blankets or mugs from losing detail.
- Keep styling restrained: One textile and one personal object generally look more believable than a crowded collection of cabin accessories.
- Add depth: Shoot past a porch post, doorway, or nearby branch rather than placing every object on a single flat plane.
If you are still choosing a region, established travel resources such as National Geographic’s travel guides can provide landscape inspiration. Always confirm access, weather, and property details directly with the host or park.
2. Photograph the Fireplace Without Losing Its Glow
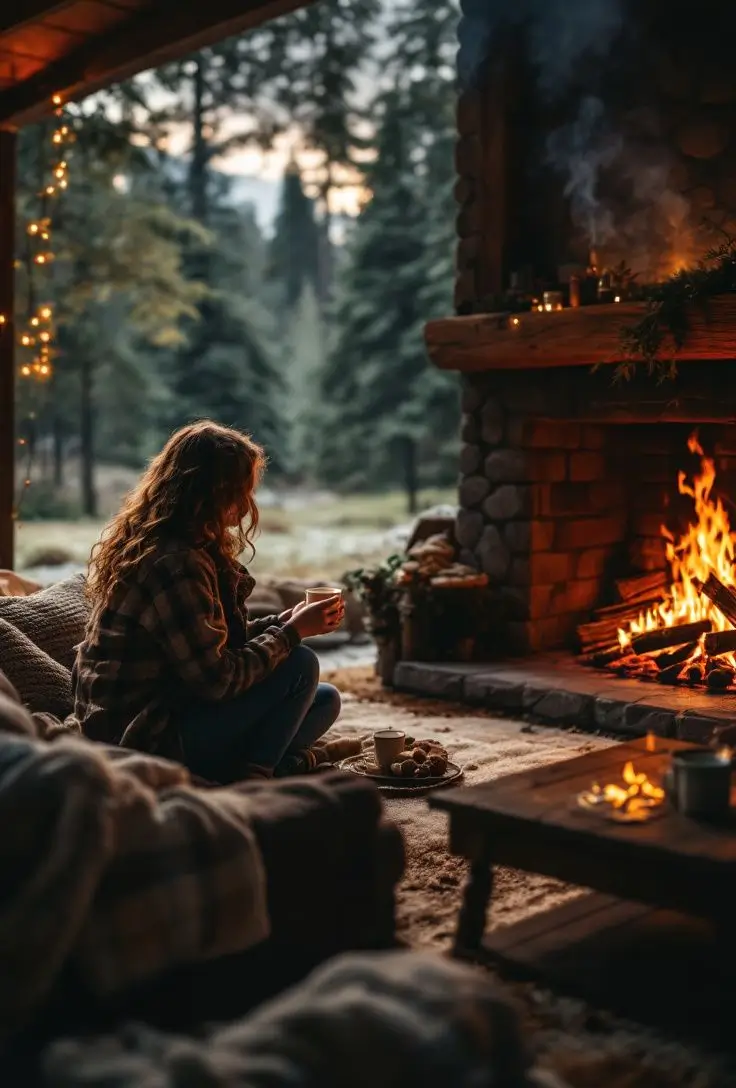
A fireplace image feels intimate when the flames remain visible and the room still has enough detail to feel inviting. Automatic camera settings often brighten a dark room too aggressively, turning the flames into a white patch and removing the evening mood.
How to Get the Shot
- Turn off harsh ceiling lights and use one or two warm lamps elsewhere in the room to soften the contrast.
- On a phone, tap the flames and drag the exposure control down until you can see orange and yellow detail. Night mode can help, but keep the phone steady against a table or tripod.
- Build the composition around genuine signs of use: a chair angled toward the fire, a folded throw, or a basket kept a safe distance from the hearth.
- Photograph people from the side or behind if you want the moment to feel candid. Hands holding a mug can tell the story without requiring a posed portrait.
Never move flammable fabric, books, or baskets close to a working fire for appearance. Follow the cabin owner’s fireplace instructions, use the screen or doors provided, and make sure the fire is fully controlled before leaving the room.
3. Frame a Foggy Morning Through the Window
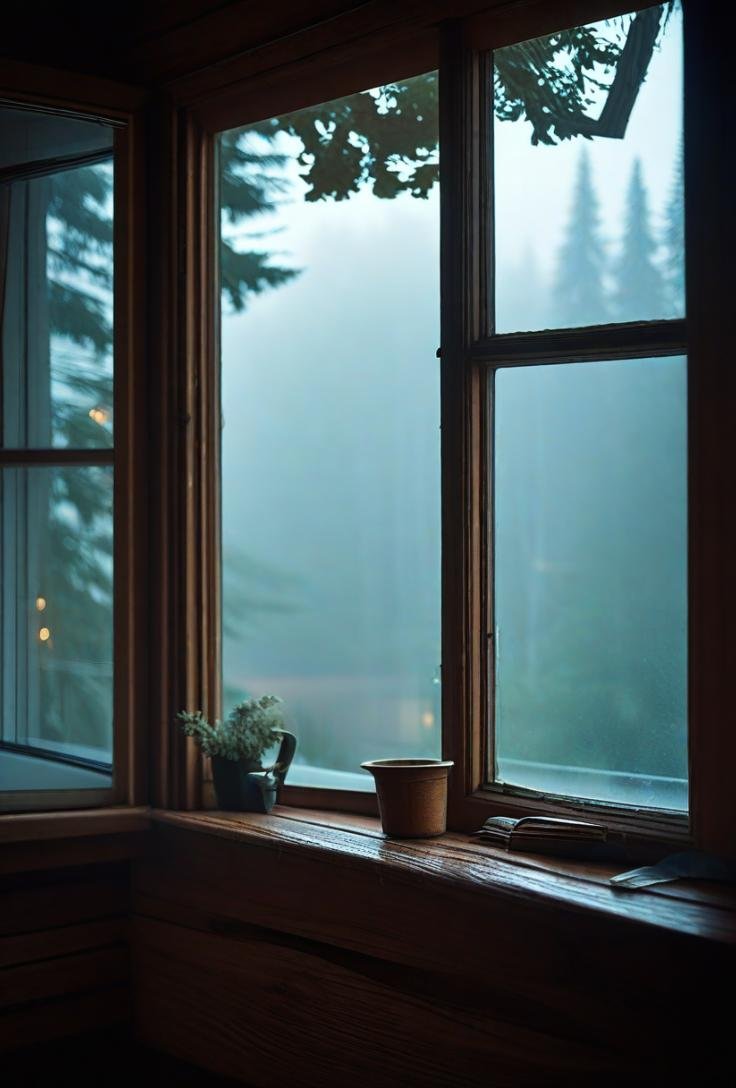
Fog simplifies a busy landscape, softens distant trees, and naturally creates layers. A window frame gives the viewer a sense of being safely inside while the muted scenery establishes the setting.
How to Get the Shot
Place the lens close to the glass to reduce room reflections, but leave part of the frame or sill visible for context. If reflections remain, turn off indoor lights and change your angle slightly. Focus on a distinct tree, roofline, or shoreline rather than the fog itself. A cup, hand, or book in the foreground can add scale, although the view should remain the subject.
In editing, lower highlights and add only modest contrast or dehaze. Heavy clarity can make a quiet misty scene look gritty, while an extreme blue tint can make a warm cabin morning feel artificial.
4. Tell the Day’s Story With Adventure Gear
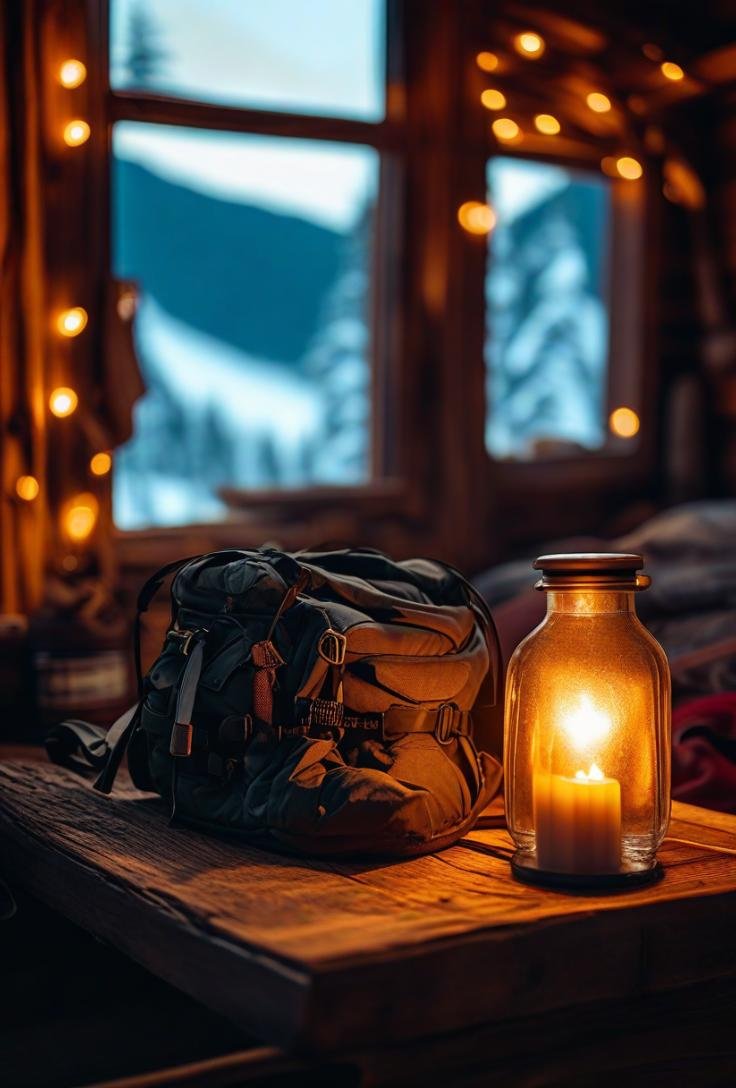
Boots by the door, a folded map, a damp jacket, or a trail notebook can show what happened beyond the cabin walls. The best still life uses objects that were genuinely part of the day, so the arrangement feels specific rather than borrowed from a catalog.
How to Get the Shot
- Choose three to five items with varied shapes and textures. Too many small objects create clutter.
- Use side light from a door or window to reveal leather, canvas, wood, and paper.
- Try an overhead composition for maps and notebooks, or shoot at floor level when boots and a backpack are the main subjects.
- Leave practical items where they belong. Do not place wet gear against a fireplace, heater, or stove simply to improve the frame.
For more ways to shape the mood of the entire getaway, read Cabin Trip Aesthetic: 3 Easy Steps to Create a Dreamy Vibe.
5. Place a Warm Cabin Beneath the Night Sky
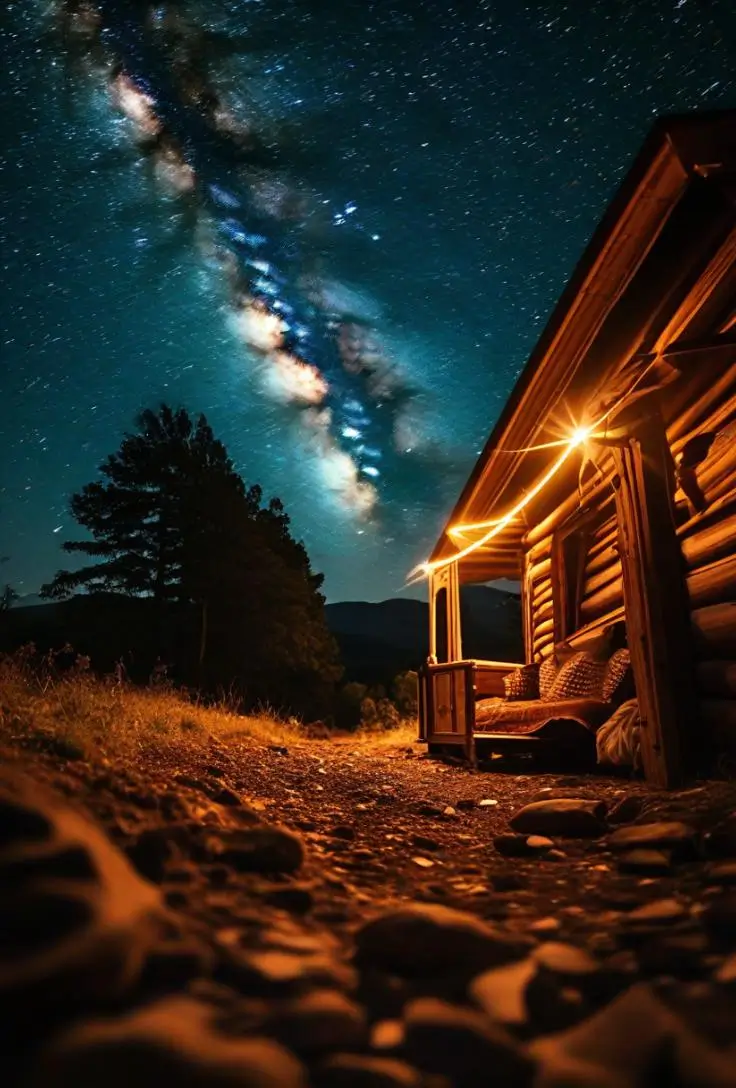
A glowing cabin beneath a dark sky combines two scales: a small human refuge and a vast landscape. The crucial distinction is that a short exposure can record stars as points, while visible star trails normally require a much longer total capture or a sequence of shorter frames combined later.
For Sharp Stars
Mount the camera on a sturdy tripod, use a wide lens, focus manually on a bright star, and begin with an exposure of several seconds. The usable shutter time depends on focal length, sensor, and how large the photo will be displayed, so inspect a magnified test frame for streaking. Use a timer or remote release to avoid shaking the camera.
For Star Trails
Capture many consecutive exposures and combine them in editing software. This approach gives you more control over aircraft trails, accidental light, and noise than relying on one extremely long exposure. Bring spare batteries, avoid shining bright lights toward other photographers, and secure permission before setting up on private land.
For lower light pollution, explore recognized locations through the International Dark-Sky Association. Moon phase, cloud cover, wildfire smoke, and local lighting can all affect visibility, so check conditions close to the trip.
6. Build a Rainy-Day Reading Nook Around Real Comfort
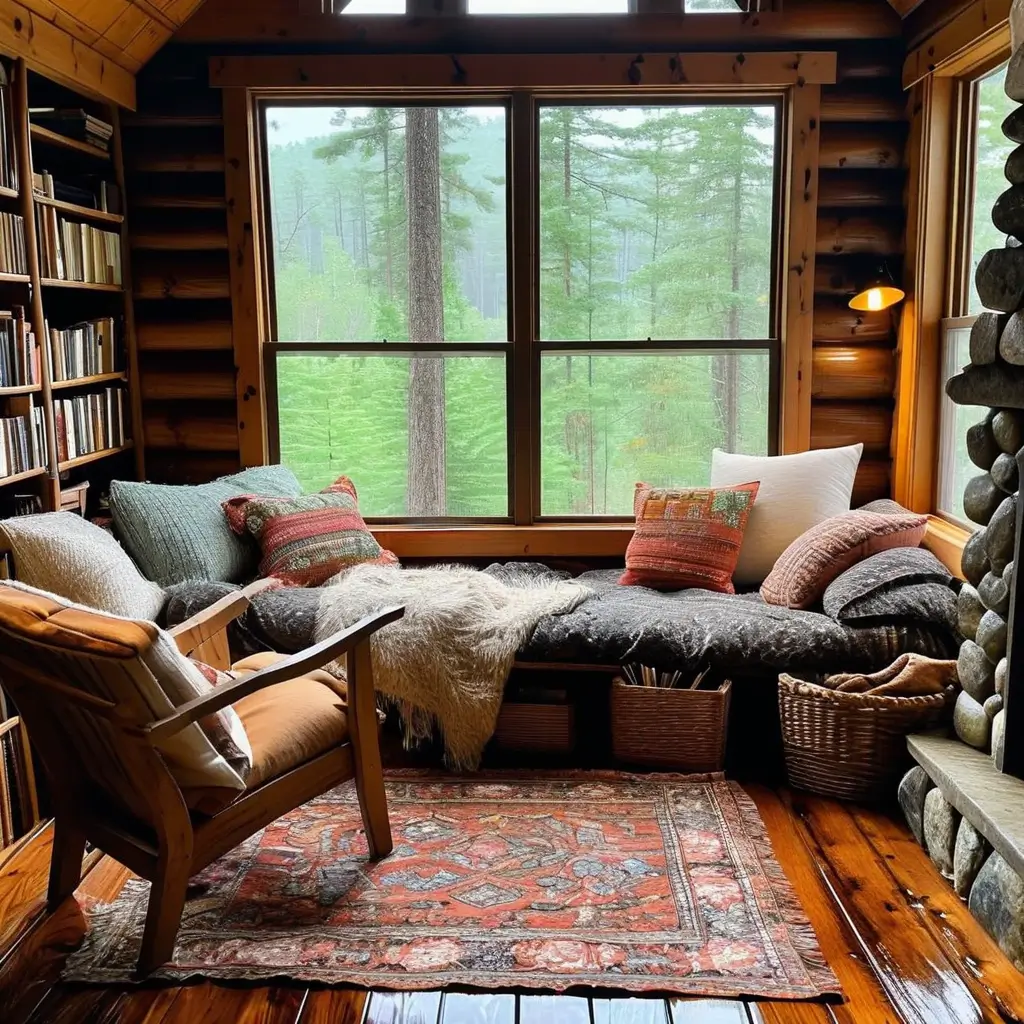
A reading nook works visually because it turns bad weather into part of the experience. Start with the window and chair, then add only what someone would actually use: a lamp, a book, a blanket, and perhaps a drink on a stable surface.
How to Get the Shot
Photograph at a slight angle so both the rain on the glass and the shape of the chair are visible. Focus on the droplets if the storm is the story, or focus on the book and let the wet window soften into the background. A faster shutter freezes individual drops; a slower handheld exposure can turn them into delicate streaks, although stabilizing the camera helps.
Avoid spraying water on a host’s windows without permission, particularly near wood trim, upholstery, electrical outlets, or electronics. Waiting for genuine weather usually produces more convincing light and reflections anyway.
7. Use a Canoe to Lead the Eye Toward the Landscape
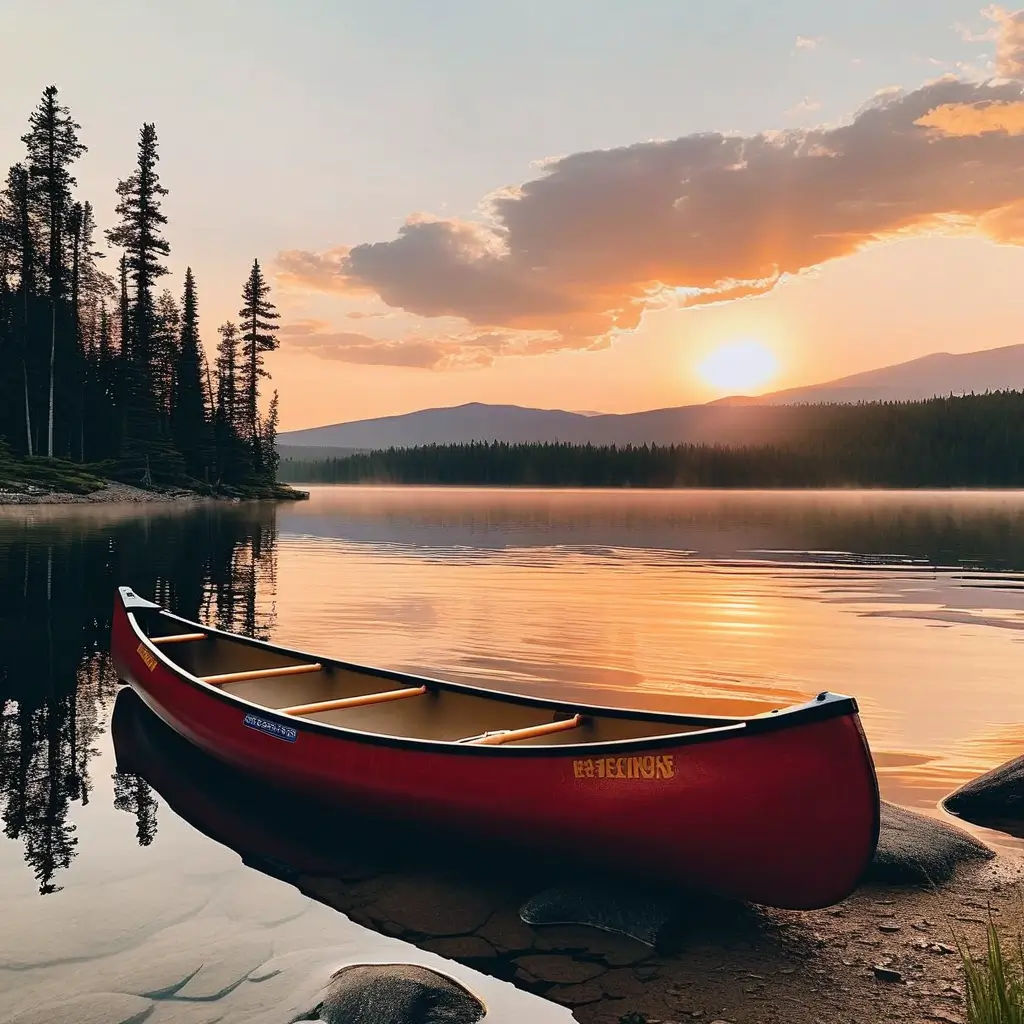
A canoe introduces color, direction, and the promise of movement into a calm lake scene. Its long shape can guide the eye from the foreground toward mist, trees, or a distant cabin.
How to Get the Shot
- Arrive before sunrise so you can compose safely while there is still time to adjust.
- Place the bow diagonally into the frame instead of cutting the canoe horizontally across the bottom.
- Lower the camera near dock level to emphasize reflections, or step back to include more shoreline and establish place.
- Use burst mode for people entering or launching the canoe; choose the frame with a natural gesture and clean silhouette.
Keep docks uncluttered and dry enough to walk on safely. Everyone going onto the water should use appropriate safety equipment and follow local boating rules; a photograph is never worth launching in unsafe visibility, wind, cold, or waves.
8. Balance Warm Windows With a Winter Landscape
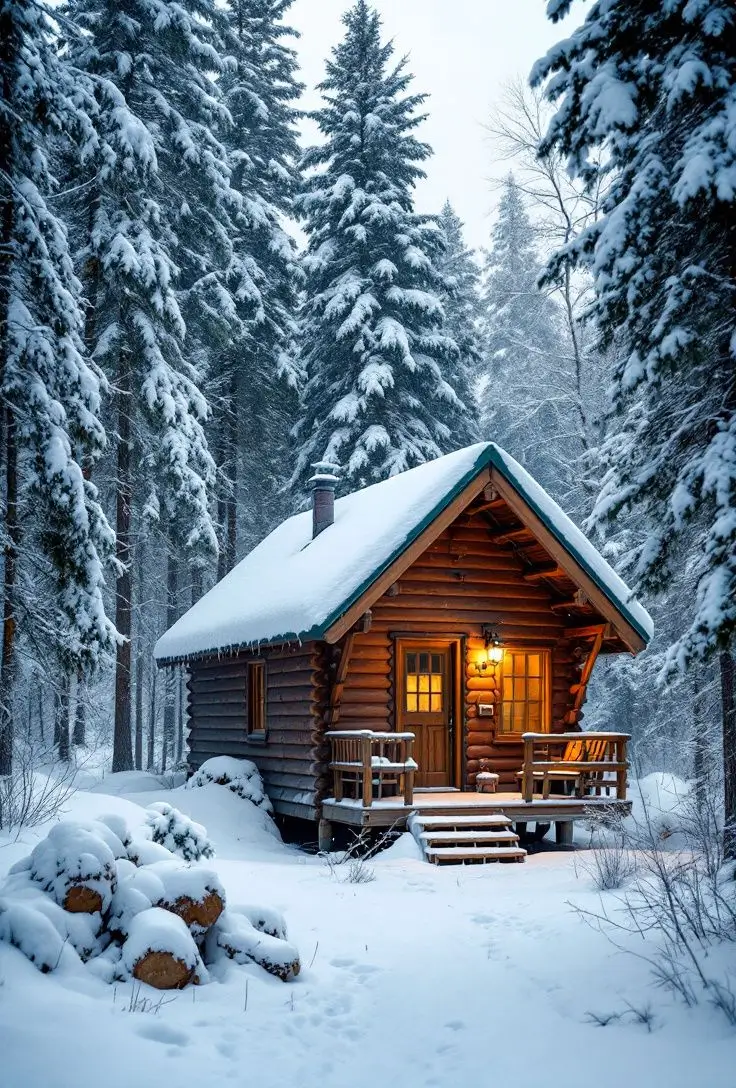
Winter cabin photographs are most effective around twilight, when snow still holds a cool blue tone and interior lights appear warm without floating in a completely black background. Fresh snow adds texture and simplifies the surroundings, but an existing path or a few footprints often make the setting feel lived in.
How to Get the Shot
Snow can fool a camera into producing a gray, underexposed scene. Increase exposure carefully while watching that bright snow does not lose all texture. Wipe moisture from the lens with a clean cloth, keep spare batteries warm, and allow cold equipment to acclimate inside a closed bag to reduce condensation.
Do not step into deep or unassessed snow solely to find a cleaner angle. Photograph from maintained paths, dress for the conditions, and keep track of how quickly daylight and temperature are changing.
9. Make the Rustic Kitchen Table Feel Gathered, Not Staged
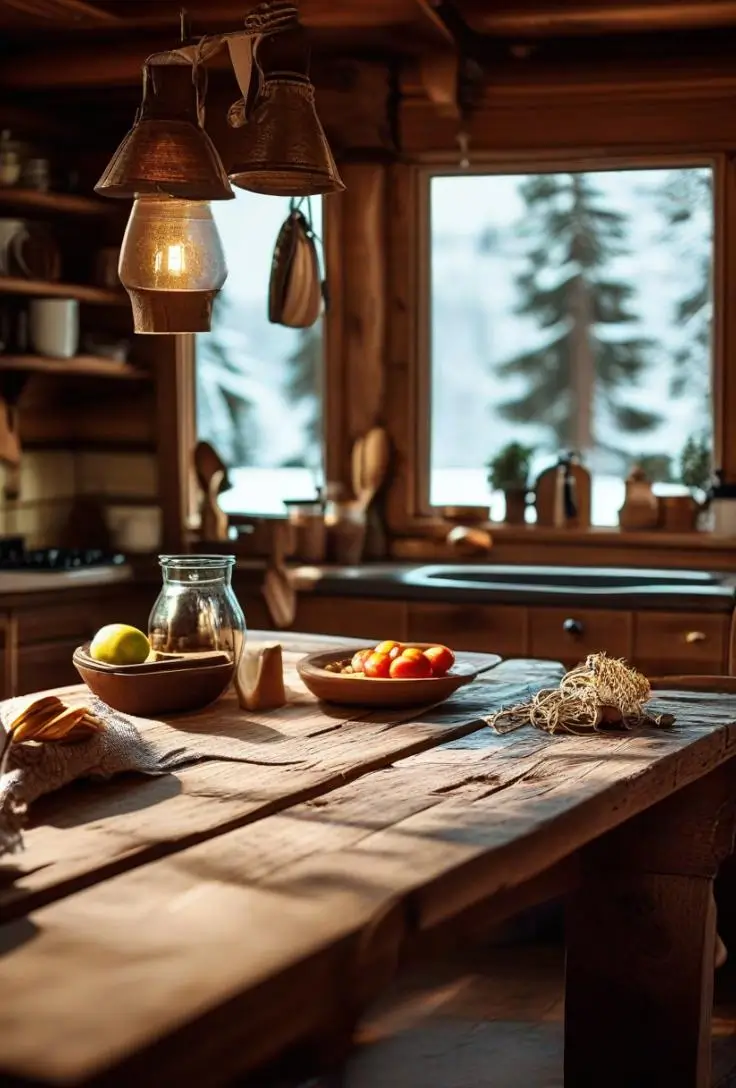
A shared meal adds people to the story even when nobody appears in the photograph. Instead of filling every inch of the table, choose a hero dish and support it with a few ingredients, serving pieces, or place settings.
How to Get the Shot
- Use indirect window light and turn off mixed-color overhead bulbs when possible.
- Photograph at about a 45-degree angle for stacked pancakes, bread, pies, and mugs. Use an overhead angle for flatter dishes and a full-table arrangement.
- Let one napkin sit loosely or leave a serving spoon in the dish. Small imperfections make the scene approachable.
- Photograph the meal promptly, then put the camera away and enjoy it. Cabin atmosphere is easier to remember when documenting does not consume the experience.
10. Preserve the Mood of a Last-Light Bonfire
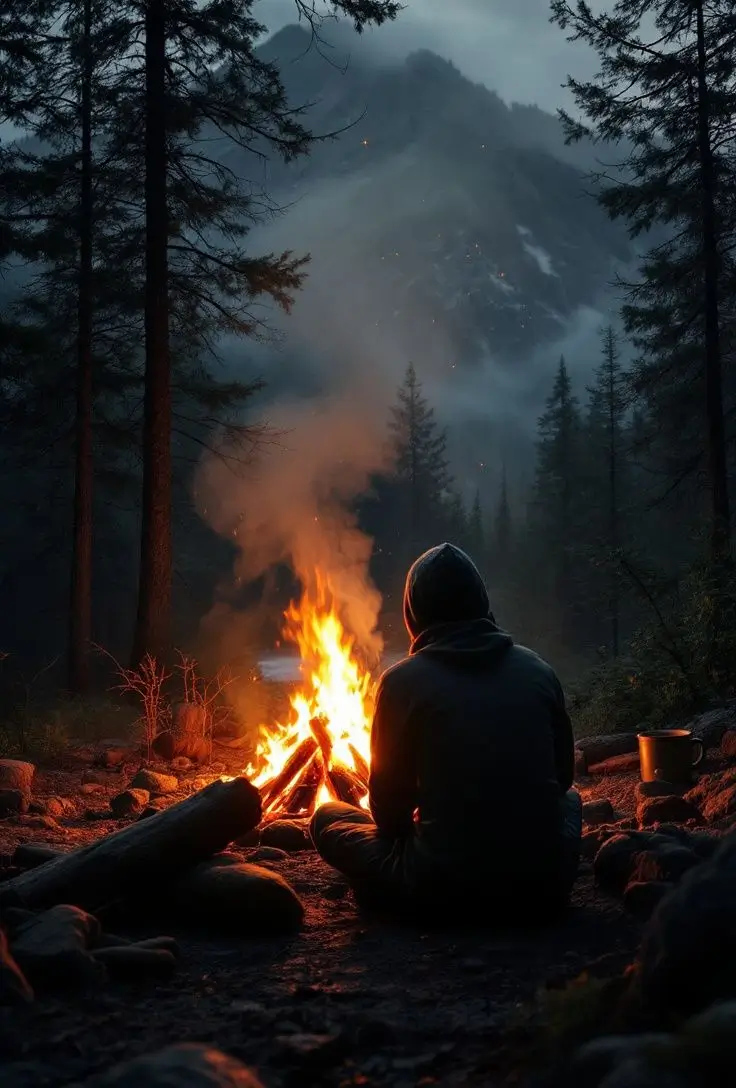
A bonfire at twilight brings together landscape, warmth, and companionship. Shoot during the brief period when the sky retains color but the flames are visibly bright. Position people to the side of the flames or between the camera and fire for readable silhouettes.
How to Get the Shot
Expose for the flames or the bright part of the sky, then capture several frames as people move naturally. A moderate shutter speed may record sparks as short streaks, but the exact result changes with the speed of the sparks, focal length, and camera stability. Avoid directing anyone to throw leaves, paper, accelerants, or other material into the fire for an effect.
Use only an authorized fire area, observe local restrictions and weather warnings, keep water nearby, and maintain close supervision. Extinguish the fire completely according to local guidance before leaving; glowing embers are not a finished fire.
A Simple Cabin Photography Plan
You do not need to recreate all 10 scenes. A more coherent photo set usually follows the rhythm of one real day:
- Establish the place: Photograph the cabin exterior, porch, or view on arrival.
- Record useful details: Capture hiking gear, cooking, books, wet boots, or hands preparing a fire.
- Include one activity: A walk, paddle, meal, or conversation gives the collection a human center.
- Use changing light: Revisit the same location at dawn, golden hour, twilight, or after snow or rain.
- Finish with atmosphere: End the visual story with the fireplace, cabin lights, stars, or a safe outdoor fire.
How to Edit a Cabin Trip Aesthetic Without Overdoing It
Begin with basic corrections rather than a dramatic preset. Straighten vertical cabin walls, adjust exposure, recover bright window or fire detail, and correct any strong color cast. Then make small creative changes that suit the scene.
- Warm interiors selectively: Preserve neutral whites and natural skin tones instead of turning the entire image orange.
- Keep outdoor greens believable: Muted foliage can support a rustic mood, but identical brown-green tones across every season look artificial.
- Use texture with care: Too much clarity exaggerates skin, smoke, fog, and shadows. Apply it only where added detail helps.
- Maintain a consistent sequence: Similar contrast and color balance can unify the set without forcing every photograph into the same preset.
The most memorable cabin trip aesthetic comes from attention, not perfection. Notice how morning mist changes the view, where boots land after a walk, how window light reaches the kitchen, and when conversation settles around the fire. Build each frame around one honest detail, protect the place and the people in it, and your photographs will carry more feeling than any collection of carefully purchased props.