You spend weeks choosing your favorite family vacation portraits, selecting complementary custom frames, and clearing a blank wall in your living room. You hold up a frame, eyeball what feels like a comfortable height, tap a nail into the drywall, and step back to admire your handiwork.
Yet instead of feeling like a polished, intentional design feature, the wall feels subtly off-kilter. The pictures seem to float awkwardly near the ceiling, disconnected from your furniture, or require you to crane your neck upward to view your children’s faces. Even if the frames are level, the room feels disjointed and tense.
You have fallen victim to the most common decorating mistake in residential homes: “floating art syndrome.” Professional art curators, gallery directors, and high-end interior designers almost never eyeball artwork placement. They rely on an exact, mathematically proven curatorial standard rooted in human anatomy and visual ergonomics: the 57-inch eye-level rule.
The Science of Sightlines: Why 57 Inches Is the Golden Number
Why 57 inches? In the museum and gallery world, 57 inches (145 centimeters) represents the standard average human adult standing eye level. Decades of visual ergonomic studies confirm that when a person enters a room, their gaze naturally rests along a horizontal horizon line precisely 57 inches up from the finished floor.
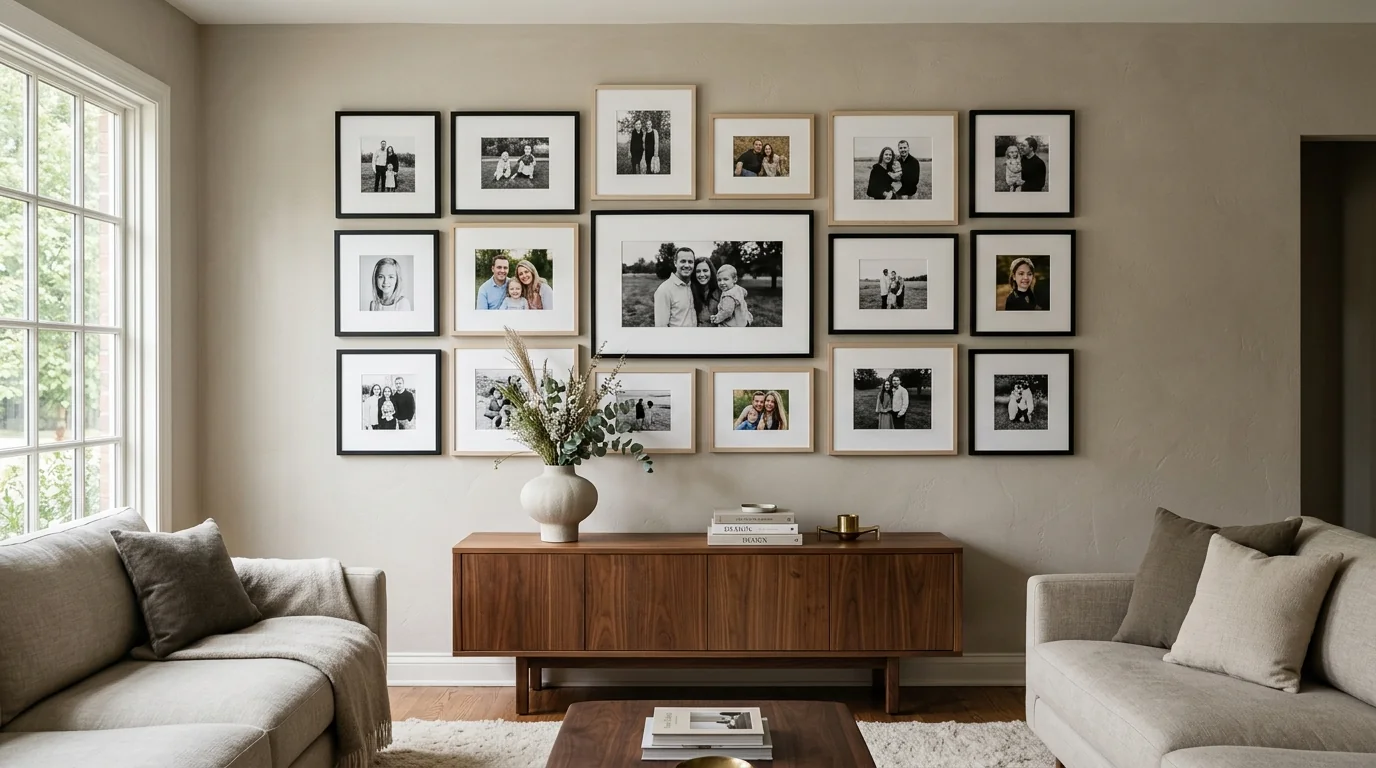
When you hang pictures so that their vertical centers align along this invisible 57-inch plane, several powerful psychological and architectural effects take place:
- Instant Optical Comfort: Viewers can comfortably inspect photos, appreciate facial expressions, and read artwork details without tilting their heads back or hunching forward, eliminating cervical neck strain.
- Horizontal Visual Anchor: Even when frames vary wildly in size, color, matting, or shape, locking their geometric centers to a shared 57-inch horizon creates an instant sensation of symmetry, order, and calm across the entire room.
- Architectural Grounding: Centered art creates a natural visual bridge connecting low furniture pieces (such as credenzas, sideboards, or sofas) to the vertical height of your walls, preventing rooms from feeling bottom-heavy or top-sparse.
Why Most Homeowners Hang Pictures Way Too High
If 57 inches is the natural human standard, why do family photos in almost every home end up hung 65, 70, or even 72 inches from the floor? The mistake stems from three deceptive human instincts:
1. The “Top-Edge” Eyeball Trap
When you hold a frame against a wall without measuring, your eyes naturally focus on the top edge of the frame. Because you are standing upright and holding an object at chest or shoulder level, you instinctively align the top of the picture to your personal eye level. As a result, the actual center of the artwork lands 8 to 12 inches too high, leaving the photo floating marooned near the crown molding.
2. The Tall-Person Bias
In many households, the person tasked with holding the hammer and nail is taller than average. If a six-foot-two individual hangs photos according to their own personal line of sight, the artwork becomes uncomfortably high for shorter family members, visiting guests, and children.
3. Fearing Furniture Crowding
Homeowners often fear that hanging art close to the back of a sofa or a console table will look cluttered. In an attempt to give furniture “breathing room,” they push pictures high up the wall. In reality, breaking the physical connection between furniture and artwork destroys visual cohesion, making the furniture look abandoned beneath a barren wall.
The 2-Step Museum Math Formula: Hang It Right the First Time
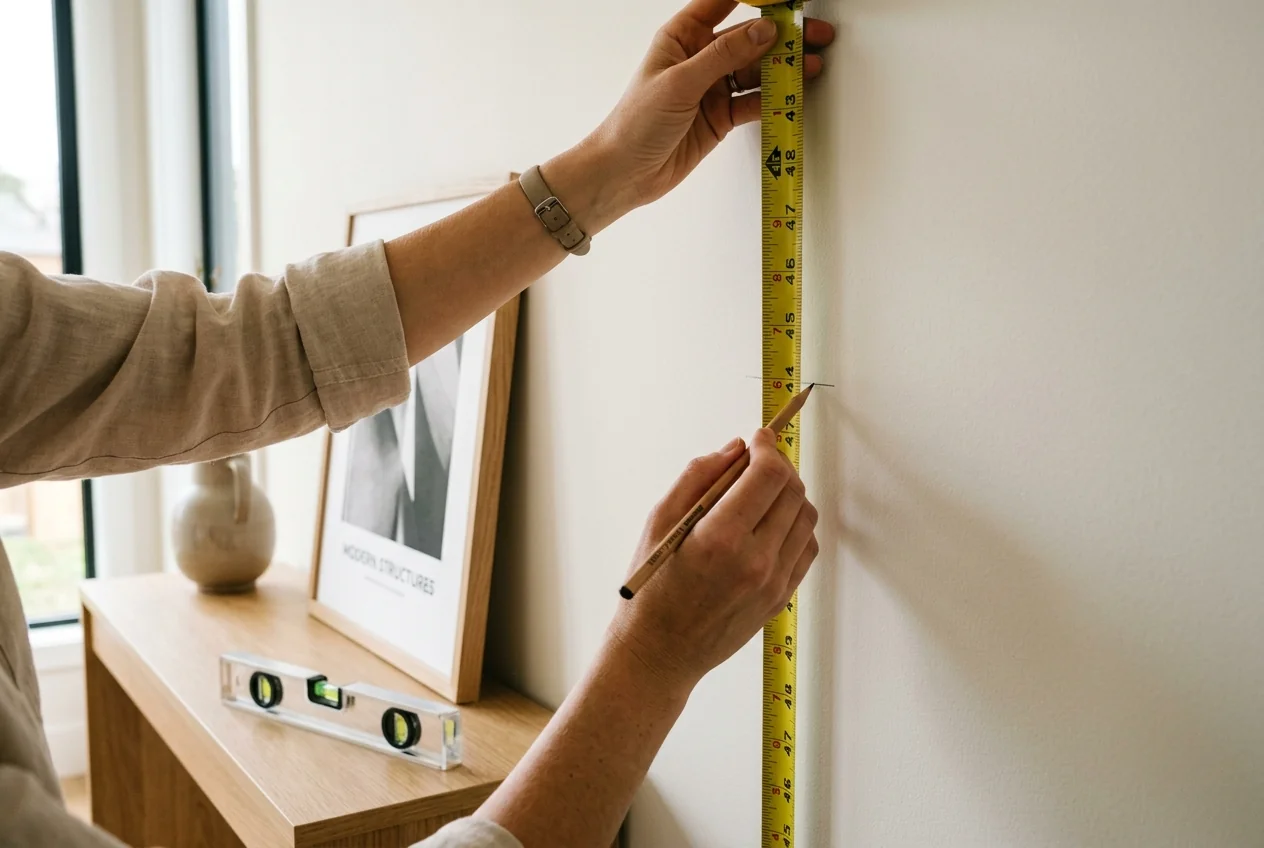
The most common error people make when applying the 57-inch rule is putting the nail or picture hook at 57 inches. The hook almost never goes at 57 inches. The center of the artwork must land at 57 inches.
To ensure your picture’s vertical midpoint rests exactly at 57 inches, use this simple curatorial formula:
Wall Hook Height = 57 inches + (Total Frame Height ÷ 2) − Wire Drop Offset
Here is how to calculate it step-by-step using a standard 24-inch framed family photograph:
- Measure the Total Height of Your Frame: Take a tape measure and determine the exact outer vertical height of the frame from top to bottom (for this example, 24 inches).
- Calculate the Half-Height: Divide that total number by two ($24 \div 2 = 12$ inches). This tells you how far down the center line sits from the top of the frame.
- Measure the Wire Drop: Turn the frame over. Pull the hanging wire upward toward the top of the frame with your finger or tape measure so it is completely taut, exactly as it will hang on a wall hook. Measure the distance from the taut peak of the wire to the very top edge of the frame (let’s say it measures 2.5 inches).
- Run the Formula: Take 57, add your half-height (12), and subtract your wire drop (2.5):
$$57 + 12 – 2.5 = 66.5\text{ inches}$$ - Drive Your Nail: Measure precisely 66.5 inches up from your baseboard/floor with your tape measure, mark a small pencil cross, and hammer your wall anchor directly on that mark. When you hang your frame, its vertical center will rest precisely at 57 inches. Every single time.
The Proximity Rule: When to Override 57 Inches for Furniture
While the 57-inch rule applies to open hallways, stair landings, and bare accent walls, it takes a back seat when you are hanging art directly above substantial furniture pieces—such as a living room sofa, dining credenza, bed headboard, or fireplace mantel.
When artwork hangs over furniture, it must obey the law of visual gravity: it must feel anchored to the piece beneath it. If you have an unusually low sofa and hang a piece at 57 inches, leaving a 16-inch gap between the sofa back and the bottom of the frame, the picture will look disconnected.
Follow the **6-to-8 Inch Anchor Standard**:
- Above a Sofa or Couch: Position the bottom edge of the frame or art cluster 6 to 8 inches above the top of the sofa cushions. This creates a unified visual unit without risking family members hitting their heads when leaning back.
- Above a Fireplace Mantel: Leave 4 to 6 inches of clearance between the top of the mantel shelf and the bottom of the frame.
- Proportion Rule: The total width of the artwork or gallery cluster above a sofa or console table should span approximately 60 to 75 percent of the furniture’s total width. A tiny 12-inch frame above a 90-inch three-cushion couch looks swallowed; a piece that extends past the sofa arms looks top-heavy.
The “Single Mass” Secret for Clustered Gallery Walls
Creating a multi-photo family gallery wall with six, eight, or twelve pictures does not require individual 57-inch calculations for every single frame. That approach produces a chaotic, uneven wall.
Instead, professional designers treat an entire cluster of family photos as **one single, cohesive rectangular shape**:
- Arrange on the Floor First: Lay a bedsheet or roll of brown craft paper across your living room floor. Arrange your framed photos on the floor, adjusting spacing until you achieve a balanced composition. Maintain a consistent gap of 2 to 3 inches between adjacent frames to create breathing room without breaking cohesion.
- Measure the Collective Boundary: Measure the total vertical height of the entire outer cluster from the top edge of the highest frame to the bottom edge of the lowest frame.
- Find the Collective Midpoint: Divide that total cluster height by two. Mark that central horizontal axis across your layout.
- Align the Collective Center to 57 Inches: Align the center line of the entire grouping to the 57-inch wall mark. Hang your central pieces first, working outward toward the perimeters.
📥 Free Download: The 57-Inch Gallery Wall Calculation Worksheet
Step-by-step math formula, taut wire offset calculations, and furniture proximity standards to hang art perfectly every time.
Essential Hardware That Keeps Frames Flat and Straight
Nothing ruins a carefully calculated gallery wall faster than crooked, swinging frames. Swap out basic drywall nails for proper curatorial hardware:
- Two Hooks Are Better Than One: Never hang medium-to-large frames from a single center nail. Always install two picture hooks spaced apart across the hanging wire or utilize D-rings. Two contact points prevent frames from tilting when doors slam or vacuum cleaners brush the wall.
- Clear Rubber Bumper Pads: Stick small self-adhesive silicone bumper pads on the bottom two rear corners of every frame. Bumpers keep frames perfectly parallel to the drywall, prevent frame vibration, and protect paint from unsightly scuffs.
- Use a 24-Inch Torpedo Level: A smartphone level app is helpful in a pinch, but a physical magnetic bubble level spanning across the top edges of adjacent frames guarantees flawless horizontal alignment across the room.
Taking twenty minutes to grab a tape measure, do the simple museum math, and lower your family photos creates an astonishing transformation. Your living spaces will immediately feel calmer, more cohesive, and professionally designed—giving your most cherished family memories the spotlight they truly deserve.