You can picture the finished flower bed: color beside the front walk, bees visiting in summer, and something worth looking at from the kitchen window. Then you look at the patch of lawn where it would go and wonder where to begin. The answer is simpler than the nursery displays suggest: choose a site that suits your plants, clear the existing growth, improve the soil only as needed, and plant with room for everything to grow.
You do not need to redesign the entire yard at once. A modest first bed gives you space to learn what blooms well in your conditions and what you actually enjoy tending. These seven steps take you from an outline on the grass to a planted bed, with options for digging now or preparing the space more gradually.
Before You Start: Decide What the Bed Should Do
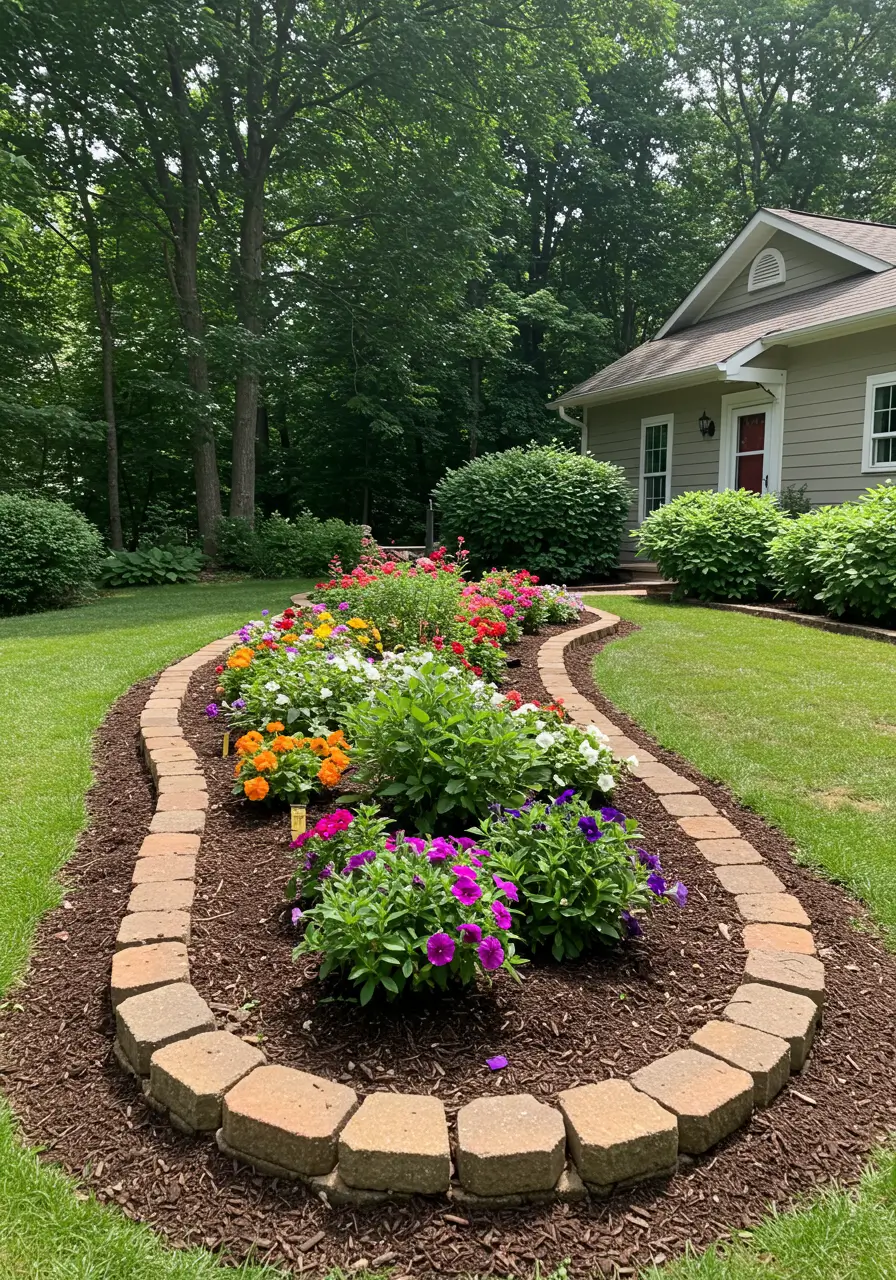
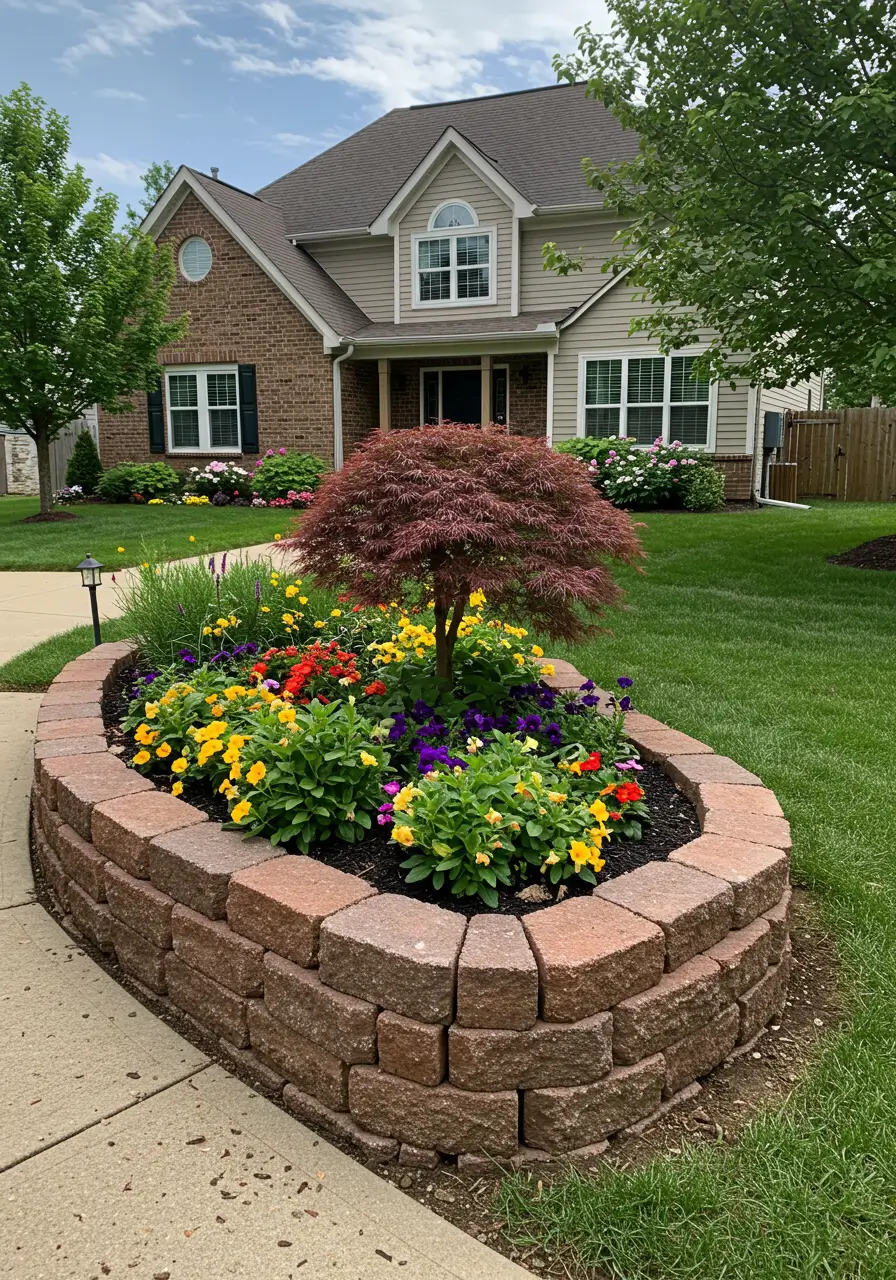
Is this a welcoming border by the entry, a view from the patio, a place to grow cut flowers, or a small patch for local pollinators? Your answer changes the plant choices and how you arrange them. A bed meant to be seen from one side can put tall plants toward the back. An island bed viewed from all directions often looks better with its tallest plants near the center.
Think about upkeep as honestly as you think about color. A bed along a hose connection is easier to water than one at the far edge of the yard. A gentle curve is easier to mow around than a string of tiny scallops. If you like a tidy look, repeat a few plant varieties instead of collecting one of everything; if you want a looser cottage feel, leave enough space for the plants to mingle without crowding.
A flower bed can also give a plain lawn edge purpose, soften a foundation, or add seasonal interest to a path. It cannot fix standing water simply by being filled with flowers, though. Match plants to wet conditions or address the drainage problem before you invest in plants that require dry soil.
Step 1: Choose a Site Based on Sun, Water, and Access
Before buying plants, watch the spot on a clear day. Make a quick note in the morning, around midday, and late afternoon. A location that looks sunny when you leave for work may be shaded by the house for most of the day. Plant labels usually describe light as full sun, part sun or part shade, and shade, but the important question is how much direct light reaches your particular bed during the growing season.
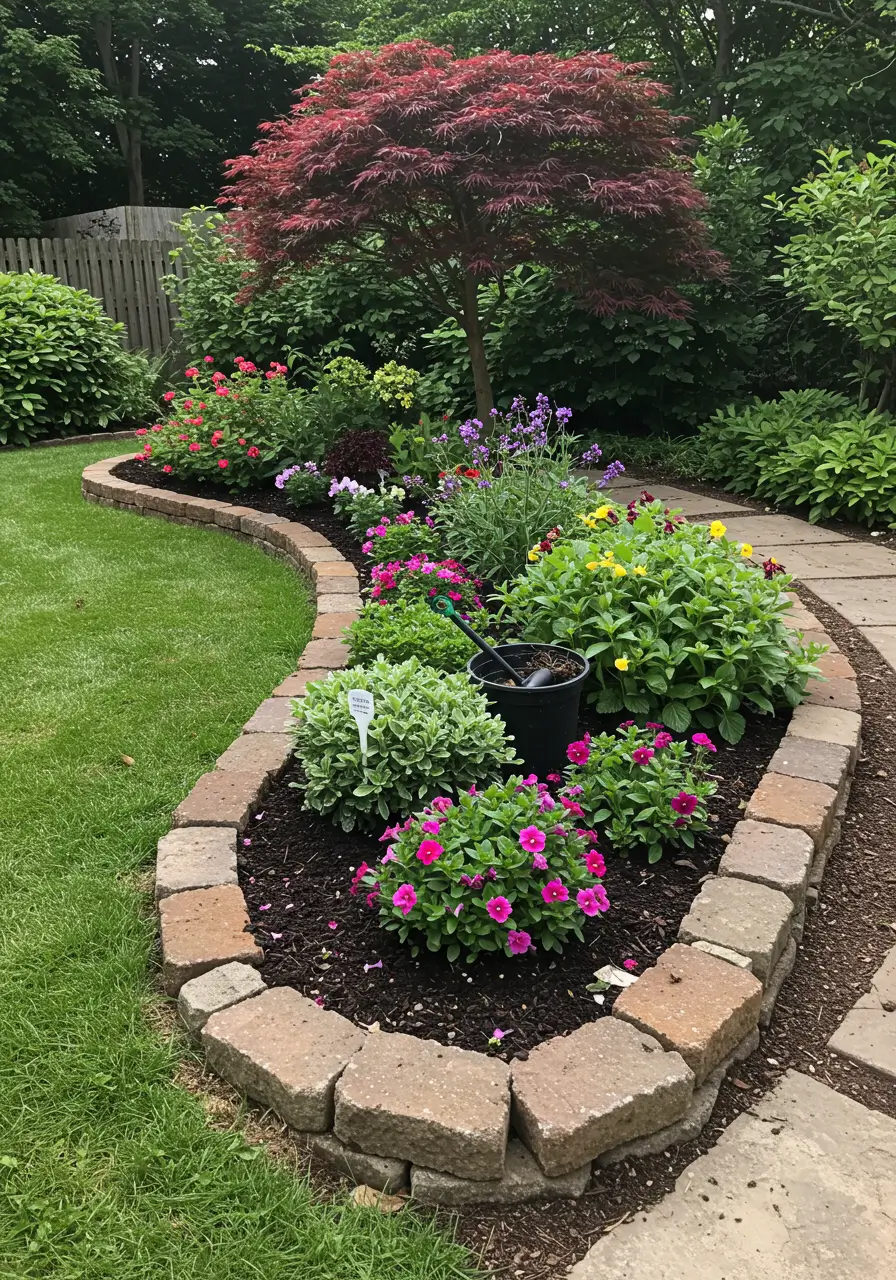
Many sun-loving flowers need roughly six or more hours of direct light to bloom well. Some shade-tolerant plants prefer morning light with protection from harsh afternoon sun. Plant descriptions are your guide, and the same plant may respond differently in a cool northern summer and a hot southern one. If a site has only dappled light, build a shade garden instead of trying to force sun-loving zinnias into it.
Look at the ground after rain. Does water disappear, or does it linger in puddles? Check where roof downspouts send runoff and whether tree roots occupy the area. Established trees compete for water and nutrients, and deep digging beneath them can damage their roots. Leave a practical route for a hose or watering can, and keep the finished bed clear of doors, sidewalks, and vents.
For a first project, consider a size you can plant and maintain without stepping on the soil. A narrow border against a fence has to be reachable from the front; a wider bed may need stepping stones or an access path. If you are unsure how much bed you want, outline a smaller section now and leave room to extend it later.
Check before putting a shovel in the ground
In the United States, contact 811 before digging, even for a small garden, and wait for utility responses according to your local instructions. Marked lines tell you where to work carefully; private lines such as some irrigation or lighting installations may require a separate check. This is worth doing before you cut sod, install edging, or dig planting holes.
Step 2: Draw the Shape at Full Size
A shape on paper can be deceptive. Lay a garden hose on the lawn for a curved border or use string and stakes for straight edges. Then step back and look from the places where you will actually see the bed: the front door, driveway, porch, or favorite chair. Give a curve a broad, deliberate sweep; very tight bends make both edging and mowing harder.
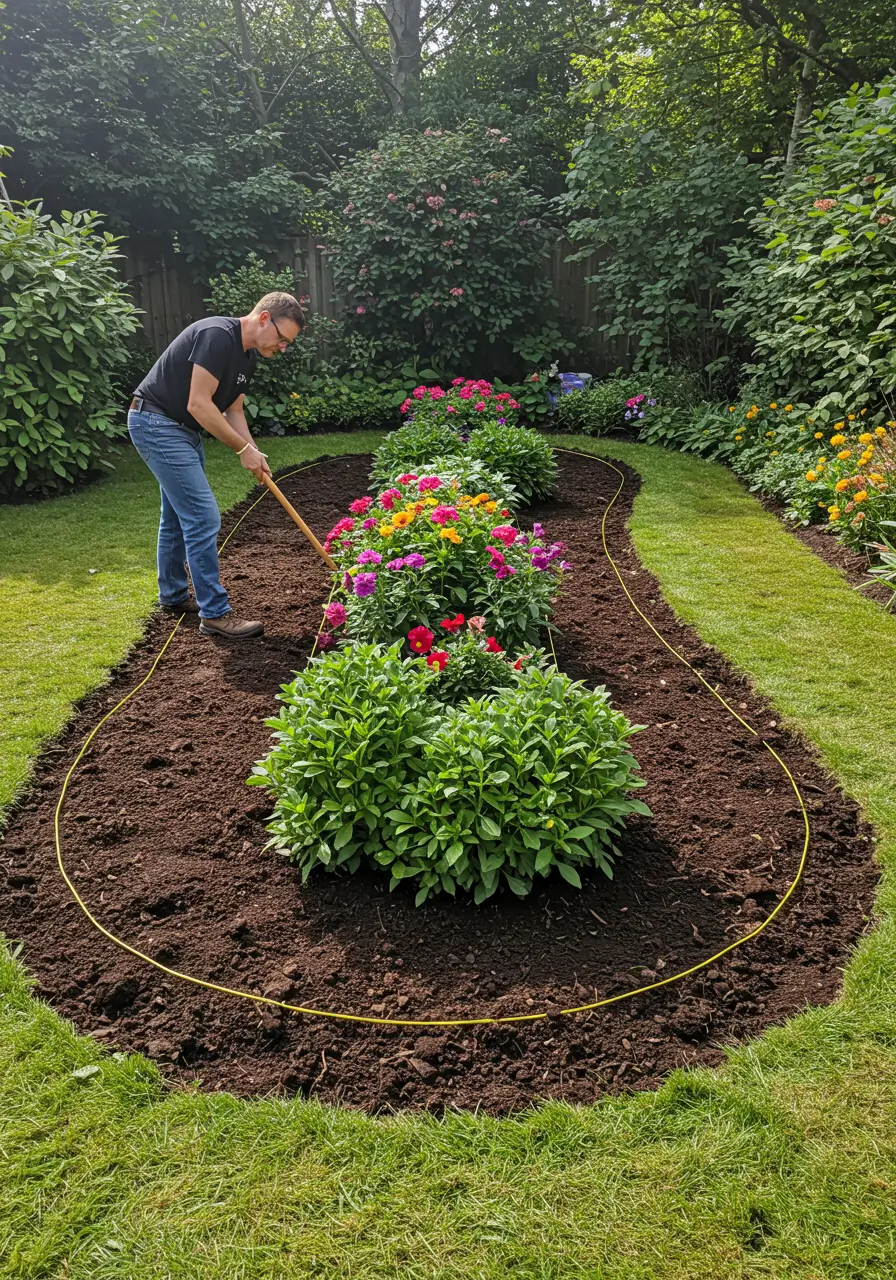
Check the width against the plants you hope to grow. A row of shrubs that will eventually spread several feet needs more than a slim strip of exposed soil. At the same time, do not make a bed so wide that you must stand among its plants to pull weeds. Place pots or cardboard cutouts along the outline to picture mature sizes rather than judging by the small plants on sale.
Once you like the shape, trace it with a lawn-safe marking product or another temporary marker you can see while working. A hose can be moved accidentally, but a clear line helps you cut a consistent edge. Take one more look before removing any grass: moving a line now is much easier than rebuilding a bed after planting.
Step 3: Clear the Lawn and Persistent Weeds
This is the step that determines whether new flowers get a fair start. Planting directly into living turf leaves grass roots in competition with young plants. Choose a removal method based on your timeline and how much physical work you want to do.
If you want to plant soon: lift the sod
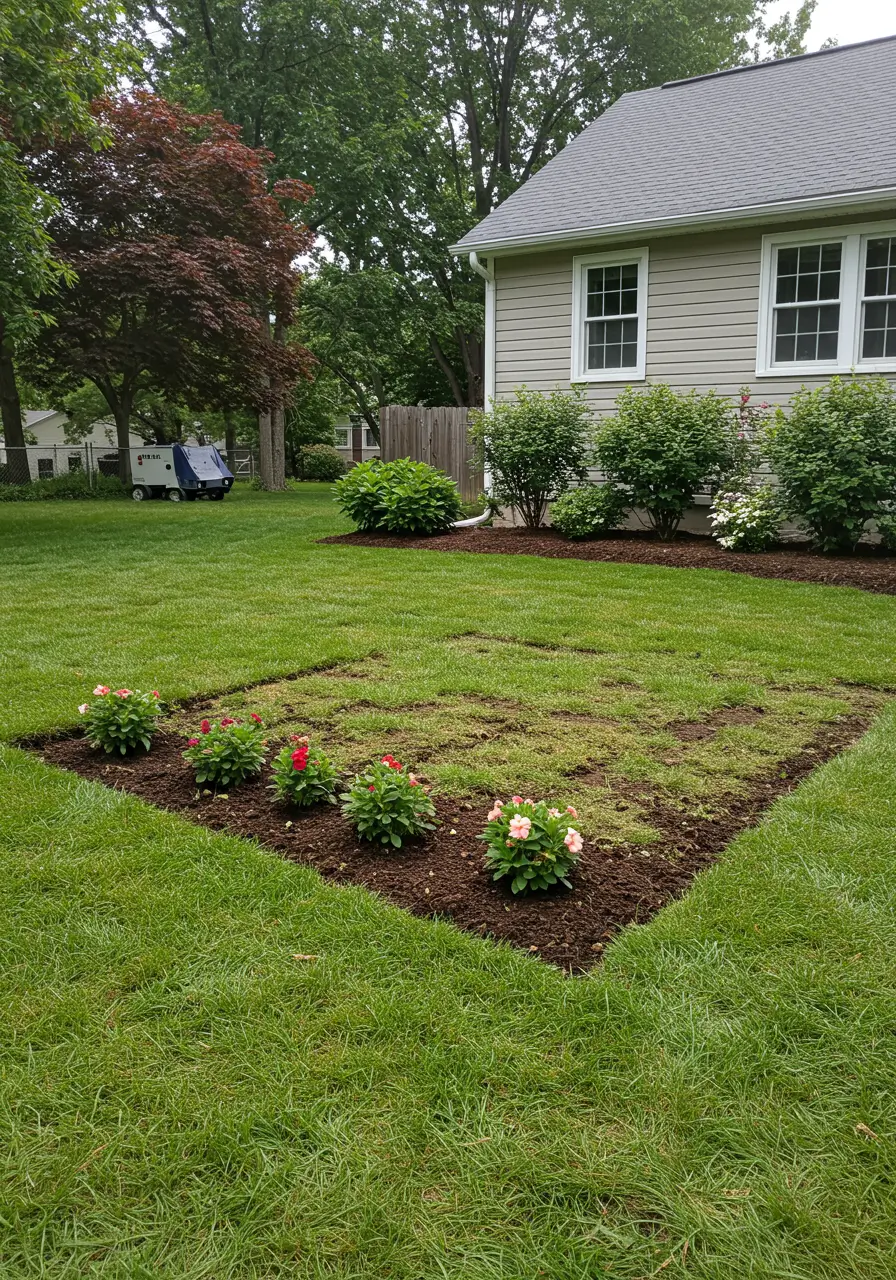
Cut along your marked perimeter with a sharp spade, then divide the interior into strips you can lift. Work just under the turf root layer so you remove the grass without hauling away more topsoil than necessary. Slightly moist ground is often easier to cut than baked-dry or muddy soil. Save sound pieces for bare lawn patches if that makes sense, or follow your local yard-waste rules.
Inspect what remains. A few fragments of aggressive creeping grass can spread back through a new bed, so take time to remove obvious roots. For a large area or physically difficult soil, a rented sod cutter or help with this one stage may be worthwhile. There is no prize for finishing all the heavy work in one afternoon.
If you can wait: smother the turf
Sheet mulching starts by mowing the grass short, covering it with overlapping plain, unwaxed cardboard with tape removed, then wetting the cardboard and covering it with compost and organic mulch. The cardboard blocks light while the vegetation breaks down. The wait depends on climate, season, and the turf or weeds involved; stubborn perennial weeds can outlast ordinary grass. University of Maryland Extension explains the differences between smothering and solarization and why persistent weeds need extra attention.
Do not treat a thin layer of compost over living lawn as an instant, ready-to-plant bed. Give the turf time to die, check for regrowth around the edges, and make planting holes into suitable soil once the area is ready. If you are planting near a tree, avoid covering its trunk flare or heavily burying its root zone.
Clear plastic solarization is another option for a sunny site during sustained summer heat, but it is seasonal and requires a secure cover. It does not belong under a tree canopy, where heat can harm roots. Whichever method you use, keep watching the perimeter: encroaching lawn grass can undo careful preparation surprisingly quickly.
If you need a dependable spade, fork, or hand tool for the job, see Azuloz’s essential garden hand tools guide.
Step 4: Learn What Your Soil Needs Before Adding Anything
Once the area is clear, squeeze a handful of moist soil. Does it form a dense, sticky lump, crumble readily, or fall apart like sand? The answer gives you clues, but a lab soil test offers a more reliable view of pH and nutrients. University of Maryland Extension recommends testing before starting a flower garden; your local cooperative extension service can help you find testing instructions suited to your state.
Do not add lime, sulfur, or a generous helping of fertilizer just because a garden article suggests it. Different flowers prefer different pH conditions, and an unnecessary amendment can create another problem. A test report and your intended plants give you a much better basis for deciding what to use.
Improve the whole bed, where appropriate
For a new bed with heavy clay or thin topsoil, a layer of finished compost can help improve the soil over time. University of Maryland Extension describes incorporating 2 to 4 inches of compost in those new-bed conditions. Work only when the soil is moist enough to crumble; digging saturated clay can leave hard clods and compaction. A garden fork can loosen compacted ground without pulverizing every inch of it.
If you have good existing soil, start with a lighter touch. Compost can also be used as a surface dressing as plants grow. Resist filling individual holes with a very different, rich mixture while leaving the surrounding bed untouched. Roots eventually need to move beyond those holes, so a consistent planting area is more useful than a collection of isolated pockets.
Check that the bed does not slope toward the house or trap water against the foundation. When drainage is poor, identifying the source matters more than piling new soil over it. You may need to redirect runoff, choose plants adapted to periodic wetness, or get professional advice for a significant grading issue. Rake the prepared surface reasonably even and remove construction debris and large rocks.
Step 5: Give the Bed an Edge You Can Maintain
An edge helps the new bed feel intentional before the plants fill in. It also tells you exactly where to cut back invading turf. The simplest choice may be a cleanly cut soil edge maintained with a spade. Other options include metal or plastic edging, pavers, brick, or stone. The right choice depends on the look you want, the shape of the bed, and how you mow.
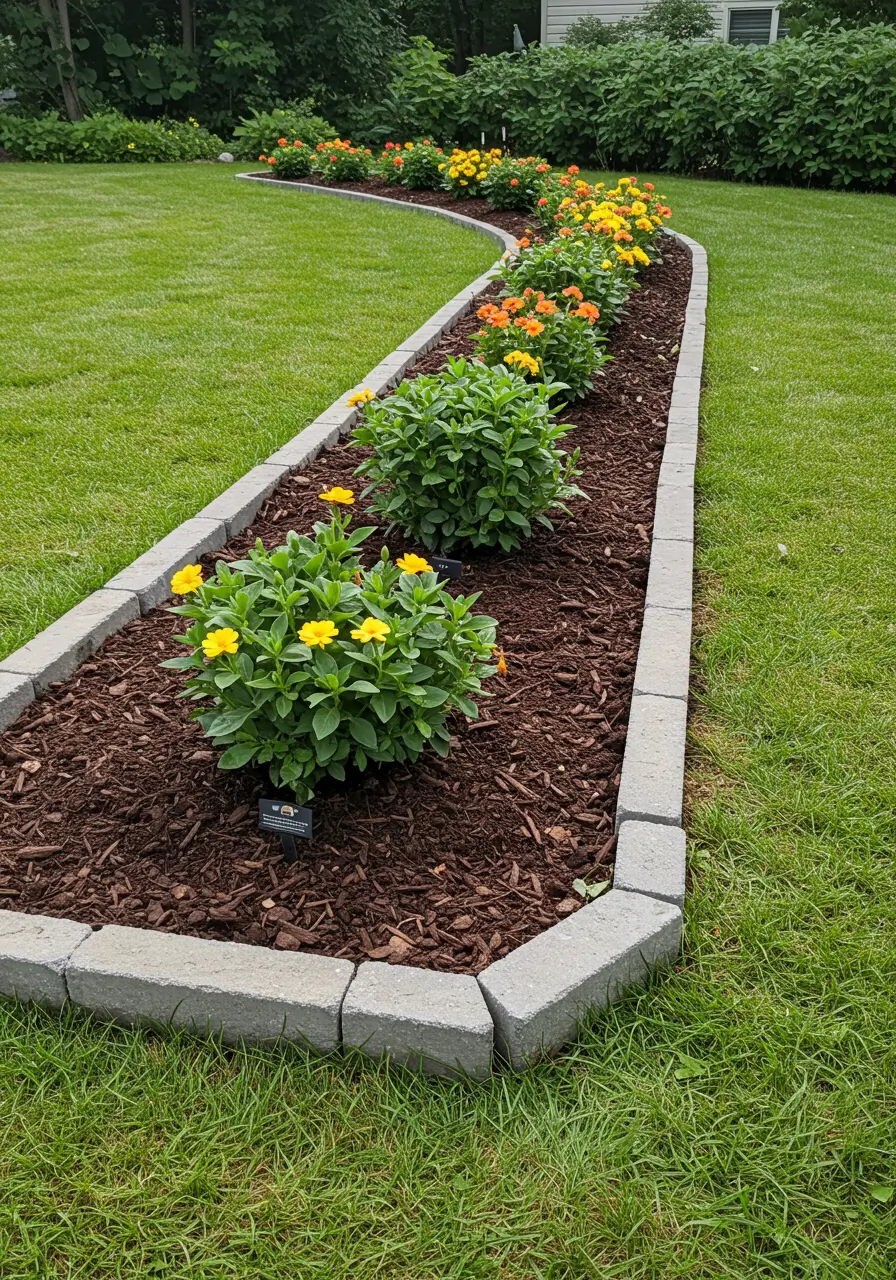
Think through daily use before choosing a material. Flush pavers can create a mowing strip, but they take careful leveling. A raised edge can hold mulch in place, but it may mean extra trimming. Flexible edging follows curves, though it needs proper anchoring and may shift over time. A plain spaded edge costs little but must be recut when grass creeps inward.
Install edging according to the product directions and your utility markings. Make sure it will not create a trip hazard along a path or divert runoff where you do not want it. Leave enough room for the full spread of the plants; edging should frame the bed, not squeeze roots and foliage into a strip too narrow to thrive.
Step 6: Choose Flowers for the Site and Plant Their Mature Sizes
This is the enjoyable part, but nursery pots can make almost any combination seem plausible. Take your notes on sun, drainage, and available width with you. Check each label for mature height and spread, water needs, bloom season, and cold hardiness. A plant labeled “full sun” may survive with less light yet produce far fewer flowers.
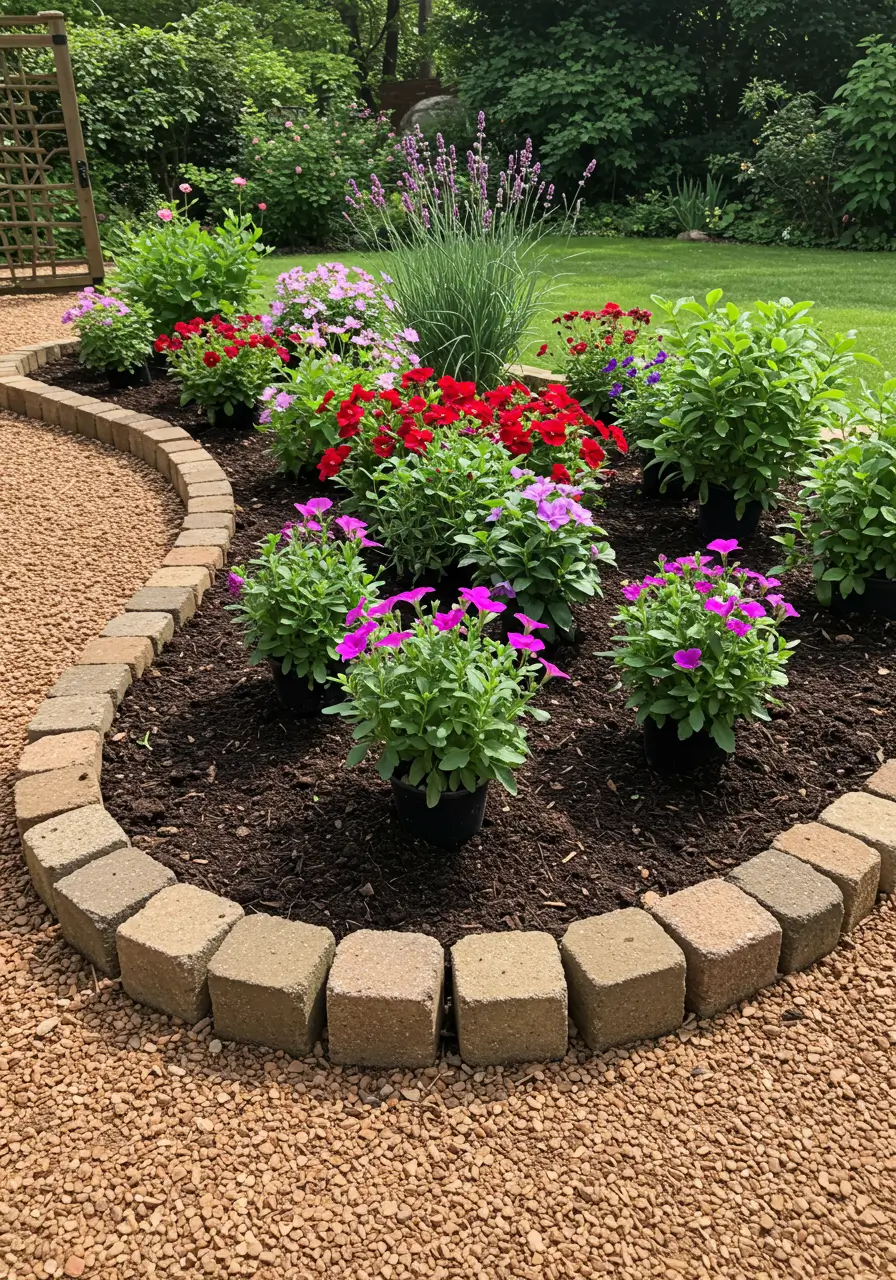
Build a simple planting plan
Choose a few dependable plants that fit the space, then repeat them. In a one-sided border, place the taller selections behind shorter ones, allowing for the view from the street or window. In an island bed, think in layers around a central focal point. You can soften the edges with low-growing flowers or foliage while leaving a clear mowing line.
Perennials return for multiple years when suited to your climate and site; annuals can bring color through much of one growing season. A small shrub may provide structure, but check its mature dimensions before placing it beside a walkway or foundation. If you want color across the seasons, select plants with overlapping bloom times rather than expecting every perennial to flower continuously. This perennial garden planning guide offers a useful framework for arranging bloom times and groups.
For a pollinator-friendly bed, choose species native to your region where practical, include flowers that bloom at different times, and consider host plants as well as nectar flowers. A plant native somewhere in North America is not necessarily local to your county. Your state extension service or regional native plant society can help narrow the list. University of Maryland Extension’s pollinator garden guidance also covers habitat beyond blooms and reducing pesticide use.
Before digging, set the pots on the soil and view the arrangement from several angles. Move them until each has room to reach its listed size. A new bed often looks a little open on planting day; that space is where next season’s growth will go. If the gaps bother you, tuck in a few seasonal annuals rather than crowding permanent plants.
Plant gently and water thoroughly
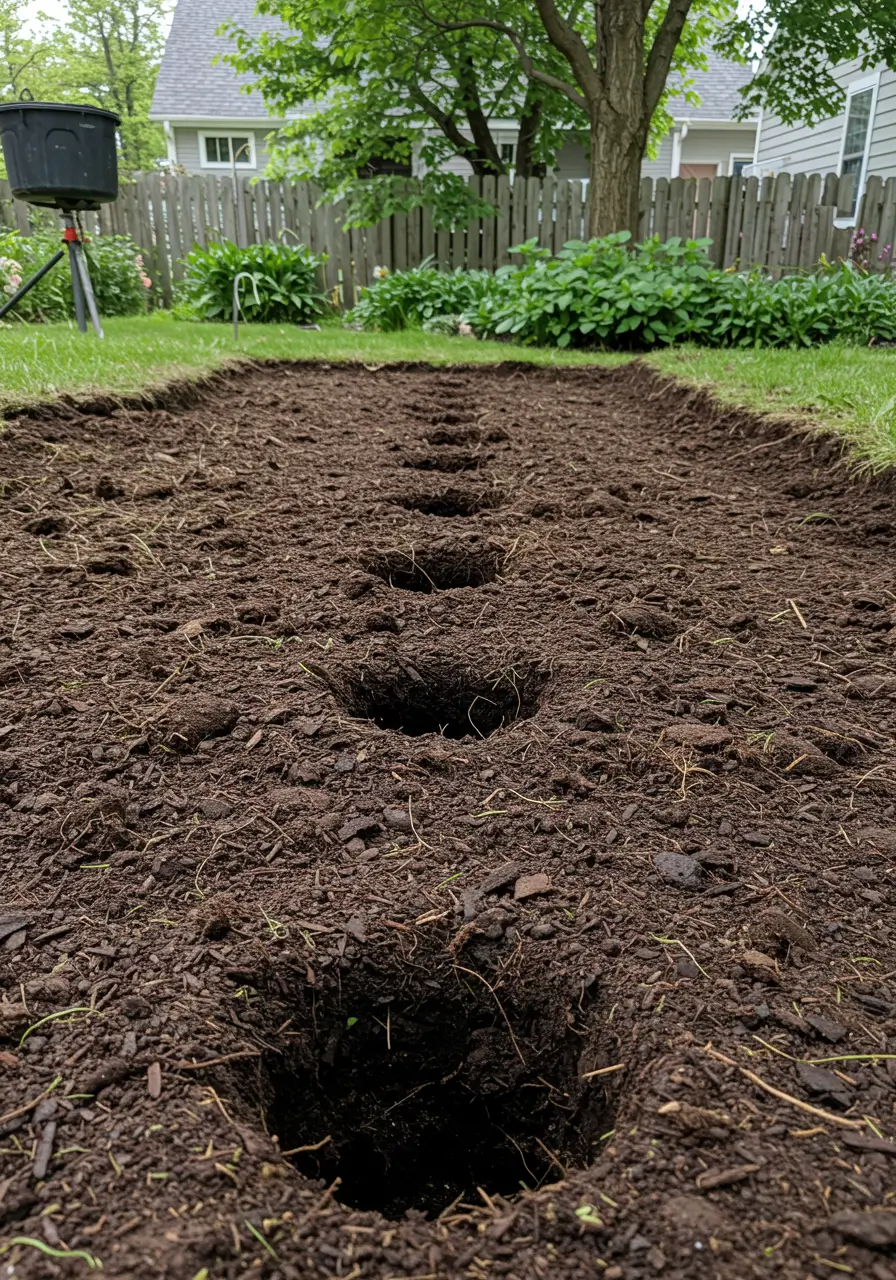
Water dry nursery pots before planting. Dig a hole wide enough for the root ball and deep enough to set the plant at its appropriate level; for many container-grown flowers, that means the top of the root ball sits level with the surrounding soil. Follow species-specific planting instructions when they differ. Slide the plant out by supporting the root ball rather than pulling on its stems, and loosen tightly circling outer roots gently.
Backfill with the soil from the bed, firm lightly to remove large air pockets, and water at the base so the root ball and surrounding soil become moist. Check a newly planted bed often, especially during heat or windy weather. The goal is evenly moist soil while roots establish, not a permanently soggy bed. Push a finger into the soil near a plant before watering again; the surface alone may tell you little about moisture around the roots.
Step 7: Mulch, Then Set Up a Manageable Care Routine
Mulch makes a new bed look finished, but its more useful jobs are slowing evaporation, moderating soil temperatures, and making many young weeds easier to manage. Shredded leaves, untreated wood chips, and other suitable organic materials can work. Choose a texture that fits the plants: fine mulch is easier to arrange around small flowers than large wood nuggets.
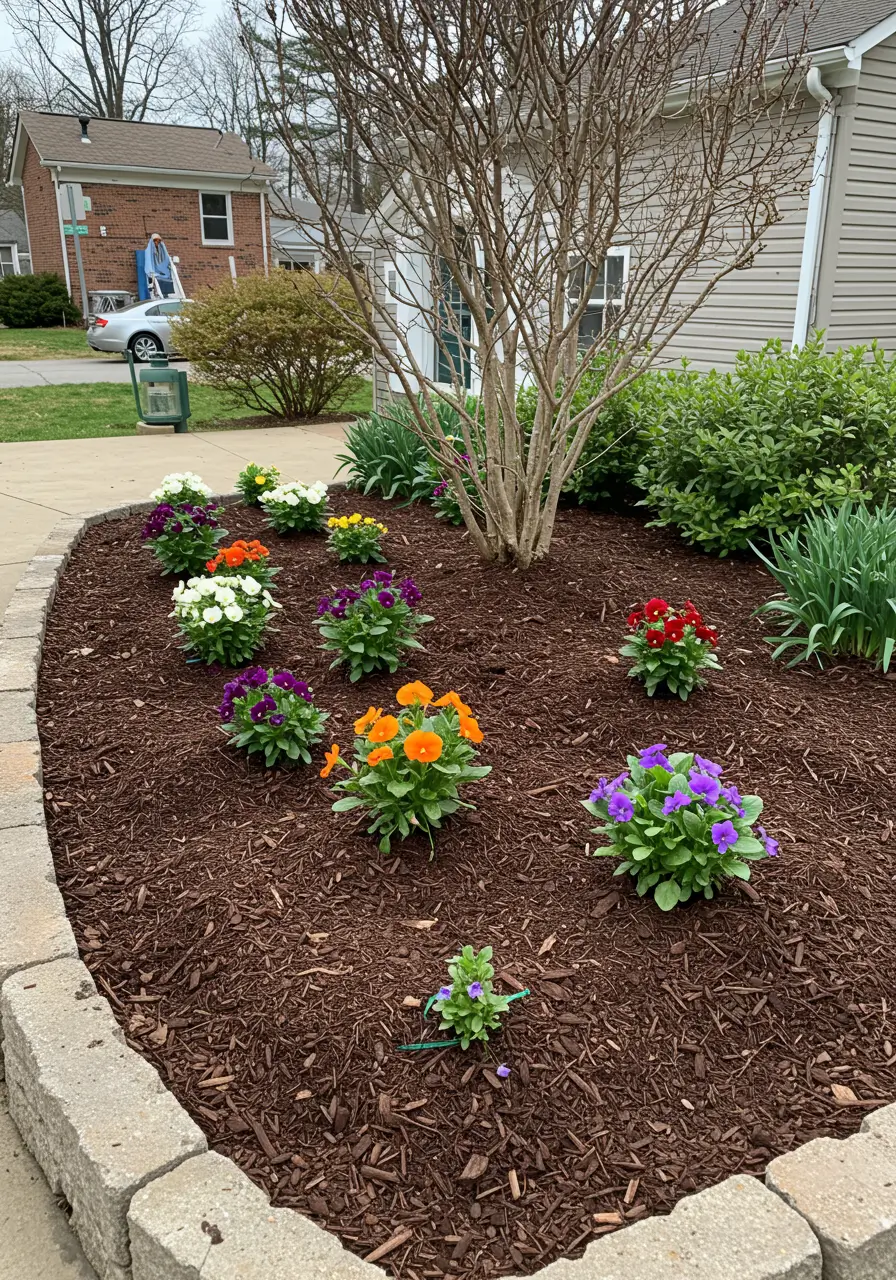
Spread an appropriate layer over bare soil without burying the crowns of herbaceous perennials or piling mulch against stems. The depth depends on the material and planting; a thinner layer often makes sense close to small perennials, while a thicker cover may help in open spaces. Add only what is needed as the mulch settles. Landscape fabric beneath a densely planted flower bed often complicates future planting and weeding, so it is usually simpler to maintain a surface mulch and remove weeds early.
For the first weeks, walk past the bed regularly. Pull new weeds while they are small, check whether the soil is moist below the mulch, and look for plants wilting despite wet soil. Adjust watering to rainfall and your soil type rather than following a rigid daily schedule. Deadhead flowers when the particular plant benefits from it, but leave seed heads or standing stems where they support wildlife and suit the appearance you want.
What Usually Goes Wrong in a First Flower Bed?
Too little sun: If the site receives less direct light than expected, do not keep replacing poor bloomers with more of the same. Switch to plants suited to its actual conditions. Too much water: Wilting can also happen in saturated soil; check moisture below the surface before adding more. Crowding: If plants grow together rapidly, thin or relocate them in a suitable season instead of waiting for airflow problems.
Grass returning at the border: Cut it back before it runs among the flowers, and inspect any gaps left in sheet mulch. Adding fertilizer without a reason: More is not always better. Use soil test results and plant performance to guide changes. Trying to finish every corner at once: A well-prepared small bed is easier to enjoy and learn from than a large, half-planted one.
Spring and fall are often comfortable times to establish many perennials, but the right window depends on the plant and your local climate. Heat-sensitive transplants may need extra care in summer; tender annuals need appropriate temperatures after frost risk. If the season is wrong for the flowers you want, use the time to mark and prepare the site so planting day is easier.
Start with the view you care about most and outline one manageable section. Watch its light, test the soil if you can, and choose a few plants that fit both the conditions and the time you have to care for them. The first bed does not have to be full on day one. Give it room to become the garden you imagined.